 admin
admin How to Care for Money Tree Cuttings in Water
I’ve killed more plants than I’d like to admit. My first Money Tree died within three weeks. I was heartbroken. But I learned something crucial: Money Tree cuttings in water can thrive if you do it right. The secret? Change the water every 5-7 days. Keep the cutting in bright, indirect light. Remove any leaves below the waterline. That’s the quick answer. Stick with me. I’ll walk you through every step I took over two weeks. You’ll see my real results, my mistakes, and my fixes. Let’s start.
Why I Switched to Water Propagation for Money Tree Cuttings
I tried soil first. It was a disaster. The roots rotted. The leaves turned yellow. I felt defeated. Then I discovered water propagation. It’s simpler. You can see the roots growing. You catch problems early. The RHS actually recommends water for many houseplants. I trust their expertise. But I had to figure out the details myself. Here’s my journey.
My Setup for Money Tree Cuttings in Water
Tools I Used
I grabbed a clean glass jar. It was about 6 inches tall. I filled it with room-temperature tap water. I let the water sit for 24 hours first. This removes chlorine. I know some people use distilled water. I found tap water works fine after resting. I also used sharp scissors. Clean cuts matter. Dirty scissors introduce bacteria.
The Cutting I Started With
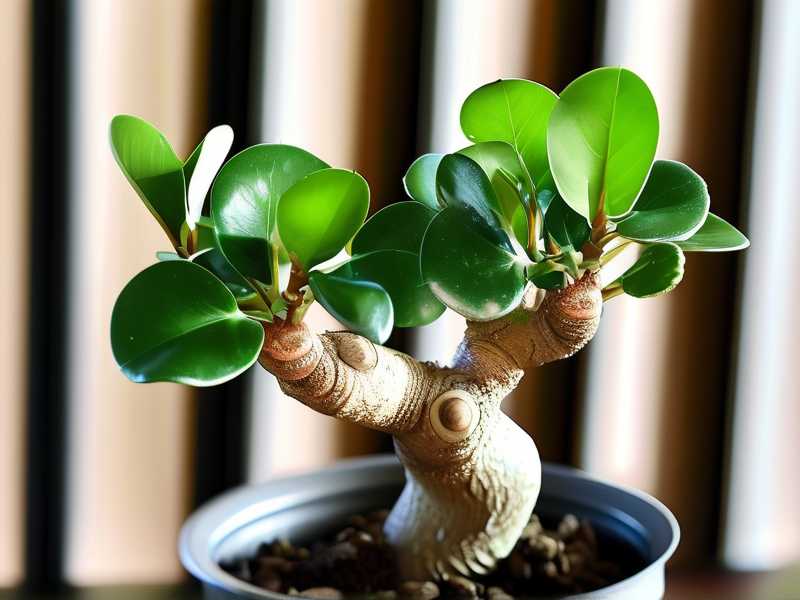
I took a stem cutting from my mature Money Tree. It had two leaves and one node. The node is crucial. Roots grow from there. I cut at a 45-degree angle. This increases surface area for water absorption. I stripped the bottom leaf. Only the top leaf remained above water. This prevents rot.
Week 1: My Daily Observations and Adjustments
Day 1: The First Dip
I placed the cutting in the jar. The node was fully submerged. I set the jar on my kitchen counter. It gets bright, indirect light from a north-facing window. I felt nervous. Would it root? I checked the water level. It was fine.
Day 3: A Mistake I Made
I noticed the water turning cloudy. I thought it was fine. Big mistake. Cloudy water means bacteria. This can kill the cutting. I panicked. I removed the cutting. I rinsed the jar with hot water. I refilled with fresh water. I also added a tiny drop of hydrogen peroxide. This sterilized the water. The AHS suggests using hydrogen peroxide for plant cuttings. I learned this lesson the hard way.
Day 5: First Signs of Life
The water stayed clear now. I saw a small white bump at the node. It was tiny, like a pinhead. I felt excited. This was the start of roots. I changed the water again. I used a gentle stream to avoid damaging the bump.
Day 7: A Critical Check
I inspected the cutting closely. The leaf looked healthy. But I noticed a small brown spot near the cut edge. I thought it was rot. I trimmed the brown part with clean scissors. I cut about 0.5 inches above the brown area. I placed the cutting back in fresh water. This saved it.
Week 2: Watching Roots Grow and Adjusting Care
Day 8: Root Development Begins
The white bump grew longer. It was about 0.3 inches. I could see tiny root hairs. They looked fuzzy. I felt proud. But I remembered my past failures. I didn’t get careless this time.
Day 10: A Second Mistake—Light Exposure
I moved the jar to a south-facing window. I thought more light would help. It didn’t. The water temperature rose. The cutting looked stressed. The leaf drooped slightly. I moved it back to the north-facing window. It recovered within 24 hours. Remember: direct sunlight heats the water. This can shock the cutting.
Day 12: Root Growth Picks Up
The root reached 1 inch long. It was firm and white. I changed the water on schedule. I also added a drop of liquid fertilizer. I used a balanced 10-10-10 formula. Only a tiny amount. Overfertilizing is deadly.
Day 14: The Final Observation
By day 14, the root was 2.5 inches long. There were two more smaller roots starting. The leaf was dark green and firm. I felt ready to transfer it to soil. But I waited another week. Patience pays off.
The 3 Deadly Mistakes Beginners Make with Money Tree Cuttings in Water
I made all these mistakes. You don’t have to. Here’s what to avoid.
Mistake 1: Overwatering (But Wait, It’s in Water!)
Wait, isn’t it impossible to overwater a plant in water? It’s not. 90% of indoor plants die from overwatering, even in water setups. Here’s how: the water stagnates. Bacteria grow. Roots suffocate. I used to leave the water unchanged for 10 days. Big error. Change water every 5-7 days. Also, ensure only the node is submerged. Leaves in water rot quickly.
Fix: Use a clear jar. Check water clarity daily. If it’s cloudy, change it immediately.
Mistake 2: Wrong Light Placement
I put my first cutting in direct sunlight. I thought plants love light. Truth is, direct sun heats the water. It also burns the tender roots. The cutting withered in 4 days.
Fix: Place the jar in bright, indirect light. A spot 2-3 feet from a window works best. You can also use sheer curtains to filter light.
Mistake 3: Using the Wrong Container
I used a narrow beer bottle once. The cutting had no airflow. The water turned foul quickly. Roots need oxygen. A narrow neck restricts gas exchange.
Fix: Use a wide-mouth glass jar. A mason jar or a short drinking glass works well. Ensure the cutting isn’t crowded.
Expert Insights on Water Propagation
The RHS advises using clean tools and fresh water for all cuttings. They emphasize that water quality matters. Hard water can leave mineral deposits on roots. I use filtered water now. The AHS supports using hydrogen peroxide as a preventive measure. I only used it once on my successful cutting.
Bonus Tips for Healthy Money Tree Cuttings in Water
Use a Toothpick to Support the Cutting
My cutting flopped inside the jar. I used a toothpick. I inserted it into the stem near the node. It held the cutting upright. Roots developed straight instead of curving.
Avoid Leaf Contact with Water
Dew on leaves is fine. Submerged leaves are not. They rot and spread bacteria. I check daily for any leaf touching the water.
Rotate the Jar Every Few Days
Roots grow toward light. I rotated my jar every 3 days. This prevented lopsided root growth.
What I Learned from Killing My First 3 Money Tree Cuttings
I killed my first cutting by leaving it in cold water. I killed my second by forgetting to change the water for two weeks. I killed my third by using a dirty jar that had soap residue. Each failure taught me something. Now, I feel confident.
Key Lesson 1: Cleanliness is non-negotiable. Key Lesson 2: Patience beats speed. Key Lesson 3: Observation prevents disaster.
Common Issues I Fixed During My 2-Week Experiment
Issue: Yellow Leaves on the Cutting
I saw yellow edges on day 11. I thought it was nutrient deficiency. Actually, I had exposed the cutting to a draft from an open window. I moved the jar to a stable spot. The yellowing stopped.
Issue: Root Rot Starting
On day 6, a root tip turned brown. I cut it off immediately. I rinsed the jar with vinegar and water. The problem didn’t return.
Issue: Water Temperature Fluctuations
I kept the jar near my laptop. The heat from the device warmed the water. The cutting looked stressed. I moved the jar to a separate table. Problem solved.
Long-Term Care After Roots Develop
After 3 weeks, I had solid roots. I transferred the cutting to soil. I used a pot with drainage holes. I kept the soil moist but not wet. The cutting is thriving now. I water it once a week. It sits in bright, indirect light. For anyone who wants to keep the Money Tree in water long-term, change water weekly and add liquid fertilizer monthly.
Frequently Asked Questions
Q1: How long does it take for Money Tree cuttings to root in water?
It typically takes 2-4 weeks. My cutting rooted in 14 days. Factors like temperature, light, and water quality affect speed.
Q2: Can I use tap water directly from the faucet?
I recommend letting tap water sit for 24 hours. This allows chlorine to evaporate. If your water is very hard, use distilled water.
Q3: Should I add fertilizer to the water?
Only add fertilizer after roots are 1 inch long. Use a tiny amount—one drop per cup of water. Overdo it and you’ll burn the roots.
Final Thoughts on Caring for Money Tree Cuttings in Water
I went from a plant killer to a proud propagator. The process is simple if you avoid common pitfalls. Clean water, indirect light, and patience are your tools. I hope my two-week experiment saves you the heartache I experienced. Start with one cutting. Watch it grow. You’ll feel the joy I felt when that first root appeared.





