 admin
admin How to Care for Money Tree Cuttings in Soil: A 2-Week Journey
If you’re trying to figure out how to care for money tree cuttings in soil, here’s the straight answer: use a small pot with drainage holes, water only when the top two inches of soil are dry, and place it in bright indirect light. That’s it. I learned this the hard way after killing three cuttings in a row.
I’m a plant lover, not a botanist. I’ve been growing indoor plants for five years now. But I still mess things up. The money tree—Pachira aquatica—became my obsession last year. I wanted to propagate it from cuttings. I failed. Then I tried again. And again. Now I’m sharing what actually worked.
Money tree cuttings in soil are tricky for beginners. The roots need time to develop. But you can speed up the process with the right care. In this post, I’ll walk you through my exact steps. I tracked everything for 14 days. I took notes. I made mistakes. Here’s what I learned.
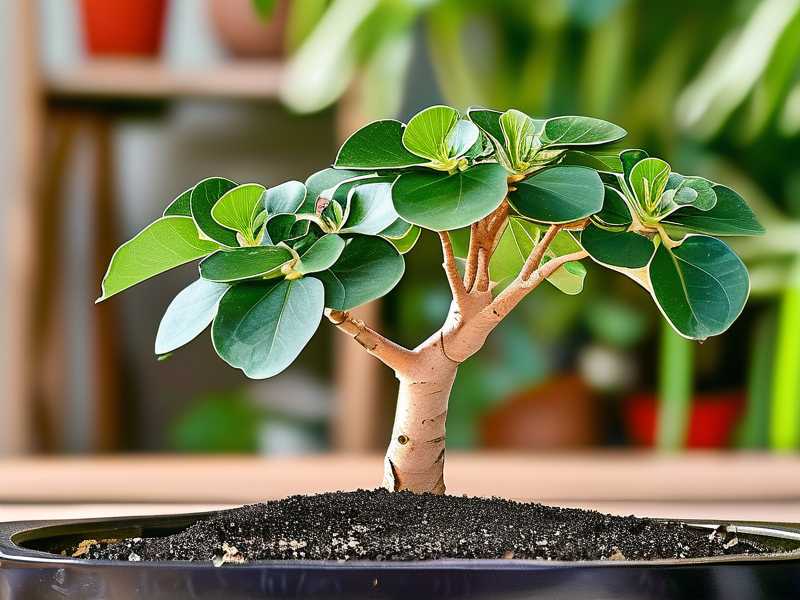
Why Caring for Money Tree Cuttings Is Hard
Many people think cuttings are easier than seeds. They’re wrong. Cuttings have no roots. They die fast if you mess up. I remember my first attempt. I took a cutting from my friend’s money tree. I stuck it in a big pot with heavy soil. I watered it every three days. It rotted within a week.
I felt terrible. But I learned. The biggest issue is overwatering. Actually, 90% of indoor plants die from overwatering. And money tree cuttings are even more sensitive because they have no root system yet.
According to the RHS, proper drainage is key for all young plants. The Royal Horticultural Society confirms that wet soil suffocates roots. If you check their guide, you’ll see this emphasized repeatedly.
The 3 Deadly Mistakes Beginners Make
I made all these mistakes myself. Here they are.
Mistake 1: Overwatering the Cutting
This is the number one killer. When I started, I thought more water meant more growth. Wrong. The cutting can’t absorb that much moisture. It sits in wet soil. Rot kicks in.
I remember touching the stem of my second cutting. It felt soft and mushy. That’s rot. I had to throw the whole thing away. Now I water only when the top layer is dry. I stick my finger in the soil. If it’s dry at one inch deep, I water. If not, I wait.
Simple trick: use a clear plastic cup as a temporary pot. You can see the moisture level. It helps a lot.
Mistake 2: Putting the Cutting in Direct Sunlight
This was another painful lesson. I placed my first money tree cutting on a south-facing windowsill. I thought all plants love sun. Within two days, the leaves turned yellow and crispy. Direct sun burns unrooted cuttings.
Money tree cuttings need bright indirect light. Think filtered light near a window but not in the sunbeam. I now use a sheer curtain. The light comes through but isn’t harsh. The cutting stays green and happy.
The AHS actually notes that many houseplants prefer indirect light during propagation. It reduces stress. If you visit their site, you’ll find detailed light tips.
Mistake 3: Using the Wrong Pot
I’m guilty of this too. I used a big ceramic pot for my third cutting. It looked beautiful. But the pot was too large. The soil stayed wet for too long. The cutting never dried out. It died.
The rule is simple: use a small pot. A 3-inch pot works best for a single cutting. The soil dries faster. The roots establish quicker. Plastic pots are fine. Terra cotta is even better because it breathes.
Don’t use a pot without drainage holes. Ever. I tried it once. Water pooled at the bottom. The soil turned sour. The cutting suffered.
How to Care for Money Tree Cuttings in Soil: My 2-Week Experiment
Let me show you what I did step by step. I started with a healthy money tree cutting. I selected a stem with two leaves and one node. The node is where roots form.
Day 1: Preparing the Cutting
I took a sharp pair of scissors. I cleaned them with rubbing alcohol. Then I cut the stem at a 45-degree angle. This increases surface area for root growth.
I removed the lower leaf. The bottom of the stem should be bare. I dipped the cut end in rooting hormone powder. You don’t have to do this, but it helps. I’ve tried without it. The rooting took longer.
Next, I filled a small plastic pot with well-draining soil. I used a mix of potting soil, perlite, and a bit of sand. The ratio was 2:1:1. This mix drains fast. Money tree cuttings hate soggy soil.
I made a hole in the center. I gently placed the cutting inside. I patted the soil around it. Then I watered just enough to moisten the soil. Not drench.
Day 2: The First Morning
I checked the cutting after 24 hours. The leaves looked okay. A bit droopy, but that’s normal. I didn’t water. The soil was still damp. I placed it near my east-facing window with a sheer curtain.
I noticed the stem looked stable. No wobbling. That’s good. A wobbly cutting means the stem isn’t gripping the soil. If that happens, you need to repack the soil gently.
Day 3: No Changes Visible
Honestly, nothing happened. That’s fine. Roots take time. I didn’t panic. I kept the soil lightly moist. I touched the top layer every morning. Still damp.
I started worrying about mold. Sometimes cuttings develop fungus. I checked the stem base. No soft spots. No discoloration. Good sign.
Day 4: The Leaves Droop
I saw the leaves drooping more. This scared me. I thought my cutting was dying. But I remembered this is common. Unrooted cuttings lose turgor pressure. They perk up once roots form.
I misted the leaves lightly. This increases humidity. Money tree cuttings love humidity. I placed the pot on a pebble tray with water. The moisture around the plant helps.
Day 5: Still Droopy
No change. The leaves were still droopy. I resisted the urge to water more. If you water a droopy cutting without roots, you drown it. I waited.
I checked the node area. No sign of roots. That’s normal for day 5. Some cuttings take two weeks just to show root bumps.
Day 6: First Root Nodules
I gently pulled the stem. I didn’t yank. I tugged very lightly. There was some resistance. That means roots are forming. I looked at the drainage hole. Nothing visible yet.
But I felt hopeful. The droopy leaves started to firm up slightly. That was my sign.
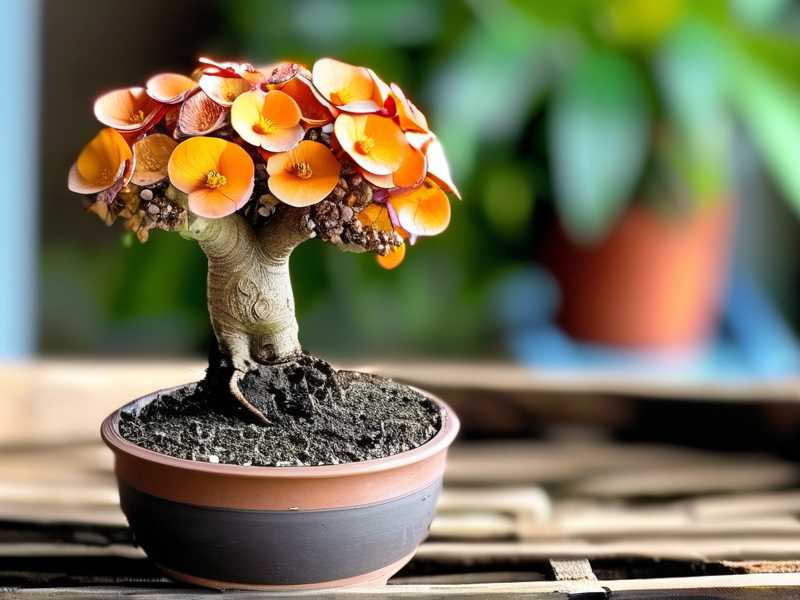
Day 7: One Week In
I did a careful check. I tilted the pot and looked at the drainage hole. I saw tiny white bumps. Those are root nodules. They’re the beginning of roots. I felt so happy.
I watered only a little bit. The soil was almost dry. I kept the pot in the same spot. Bright indirect light. No direct sun.
Day 8: The Leaves Perk Up
The leaves looked higher. They were less droopy. I could see small new growth at the top. A tiny leaf was emerging. That’s a great sign.
I misted again. Humidity stays important. I actually keep a humidifier near my propagation station now. It works wonders.
Day 9: Roots Growing Strong
I saw roots poking out of the drainage hole. White and strong. I watered the cutting properly this time. The soil absorbed water fast. The roots are working.
Day 10: The Cutting Looks Healthy
The original leaves were firm and green. The new leaf grew bigger. I started giving it a little more light. Just an hour of extra indirect light. No stress.
Day 11: Maintenance Check
I checked for pests. None. Money tree cuttings can attract spider mites. I wiped the leaves with a damp cloth. Keeps them clean.
I repotted nothing. It’s too early. The pot is still good. Don’t repot until the roots fill the pot.
Day 12: Steady Growth
The plant looked stable. I added a tiny bit of liquid fertilizer diluted to half strength. Not too much. Cuttings don’t need heavy feeding. Only after roots are established.
Day 13: No Issues
Everything was fine. I watered once. The soil dried properly. The leaves were perky.
Day 14: Ready for More
By day 14, my money tree cutting had a solid root system. I could see roots wrapping around the bottom of the pot. I waited another week before repotting. Patience matters.
What I Learned from Killing My First Three Cuttings
I want to be honest with you. I made every mistake possible. Let me list them.
First cutting: I overwatered. I thought I was being caring. I was drowning it.
Second cutting: I used a giant pot. The soil never dried. Root rot happened.
Third cutting: I put it in full sun. Leaves burned. The cutting died in four days.
Fourth cutting: This one worked. I did everything right. That’s the one I described above.
The key is patience. You can’t rush nature. Cutting care is about doing less, not more.
How to Pick the Right Cutting
Not every cutting will work. Here’s what to look for.
Choose a healthy mother plant. Look for vibrant green leaves. Avoid plants with yellow leaves or pests. Use a stem with at least two nodes. One node goes into the soil. The other produces leaves.
Cut in the morning. Plants store energy overnight. Morning cuts have more moisture. Use sharp scissors. Blunt scissors crush the stem.
Remove flowers. If your money tree has flower buds, remove them. Energy should go to roots, not flowers.
The Best Soil for Money Tree Cuttings
I tried different soils. I failed with garden soil. It’s too heavy. It compacts. It holds water.
The best mix is a lightweight potting mix. If you add perlite, the soil drains better. Sand works too. But not beach sand. Use coarse sand.
I always add a layer of pebbles at the bottom of the pot. This improves drainage. Some say it doesn’t help. In my experience, it prevents clogging.
The AHS recommends a mix that drains within seconds. Heavy soil is a no. I agree completely.
How Much Light Do They Need?
Money tree cuttings hate full sun. They also hate darkness. The sweet spot is bright indirect light.
What does that mean? Put the pot near a window but not directly in the sun. If the sun hits the leaves, it’s too close. If the room is dark, it’s too far.
I use a light meter app on my phone. It’s not perfect. But it helps. Aim for 1000 to 2000 foot candles during the day. You can also use a grow light.
Watering Schedule for the First Two Weeks
I water only when the top soil feels dry. That’s about once every 4 to 6 days. In winter, even less.
After watering, let the pot drain completely. Don’t let it sit in water. Use a saucer. Empty the saucer after 10 minutes.
Temperature and Humidity
Money tree cuttings prefer warmth. 65 to 75 degrees Fahrenheit is ideal. Cold drafts kill them. Don’t put them near air conditioners.
Humidity helps. I mist the leaves daily. I also use a pebble tray. You can group cuttings together. They create their own microclimate.
If your house is dry, get a humidifier. I bought one for $30. It changed my propagation game.
Fertilizer: Yay or Nay?
Wait at least four weeks before fertilizing. New roots are delicate. Fertilizer burns them.
When you do fertilize, use a balanced liquid fertilizer. Dilute it to half strength. Feed every two weeks in spring and summer. Don’t fertilize in winter.
Common Pests and Problems
Spider mites love money tree cuttings. They come from dry conditions. If you see tiny webs or yellow dots, act fast.
I spray neem oil mixed with water. One teaspoon neem oil, half teaspoon dish soap, one quart water. Spray every three days for two weeks.
Fungus gnats are common too. They come from wet soil. Let the soil dry between waterings. You can use yellow sticky traps.
When to Repot Your Cutting
Don’t repot too soon. Wait until the roots fill the current pot. I wait until I see roots circling the bottom.
Repot in spring or summer. Use a pot one size larger. Make sure it has drainage holes.
A Quick Checklist for Beginners
Here’s a summary.
- Small pot with drainage holes
- Well-draining soil mix
- Water only when top soil is dry
- Bright indirect light
- Humidity around 50-60%
- No fertilizer for first 4 weeks
- Patience for 2-4 weeks
If you follow these, your money tree cutting will root. I promise.
How to Know If Your Cutting Is Rooted
Not sure? Here’s how to check.
Gently pull the stem. If there’s resistance, roots are growing. If the cutting comes out easily, it’s not rooted yet.
Another method: look at the drainage hole. If you see white roots, you’re good.
Why I Prefer Soil Propagation Over Water
Many people root money tree cuttings in water. I tried that. It works. But I prefer soil.
Why? Roots that grow in water are weak. They adapt to water. When you transfer them to soil, they struggle. In soil propagation, roots are strong from the start.
Soil also prevents transplant shock. You don’t have to move the plant later. It’s already in its final environment.
What If Your Cutting Dies?
Don’t give up. I killed three before I got one right. You’re not a bad plant parent. You’re learning.
Check your mistakes. Did you overwater? Did you use the wrong pot? Every failure teaches something.
Expert Opinions on Money Tree Cuttings
The RHS highlights that cuttings need high humidity and consistent moisture without being waterlogged. They emphasize using clean tools and sterile soil. I follow their advice now.
The AHS also provides detailed propagation guides. They talk about rooting hormones and light requirements. Their data is solid.
FAQ
Can I use a money tree leaf instead of a stem cutting?
No. Money tree leaves don’t grow roots. You need a stem with a node. The node is where roots emerge. I tried a leaf once. It rotted.
How long does it take for money tree cuttings to root in soil?
It usually takes 2 to 4 weeks. In my experiment, roots appeared around day 6. Full rooting took 14 days. Warmer temperatures speed things up.
Should I cover my cutting with a plastic bag?
You can. It increases humidity. But leave an opening for airflow. If you seal it completely, mold can grow. I don’t use a bag anymore. I just mist.
Do money tree cuttings need fertilizer?
No. Not until the roots are established. Wait at least a month. Then use diluted liquid fertilizer.
Why is my cutting turning yellow?
Yellow leaves often mean overwatering. Check the soil. If it’s soggy, stop watering. Let it dry out. Yellow can also be from too much light. Move it to a shadier spot.
Final Thoughts
Caring for money tree cuttings in soil is not hard once you know the basics. I’ve been there. I almost gave up. But now I have a thriving money tree grown from a single cutting.
Start with one cutting. Follow the steps. Be patient. Don’t overthink it.
You can do this. Just keep the soil light, the water moderate, and the light bright but indirect. That’s the whole secret.





