 admin
admin How to Transition Money Tree Cuttings from Water to Soil
I’ve killed more money tree cuttings than I care to admit. After losing five plants in a row, I finally learned the hard way: simply sticking a rooted cutting into soil is a recipe for disaster. The answer is a slow, controlled transition. I start by gradually reducing the water level in the propagation jar over one week, then move the cutting into a moist but not wet potting mix with excellent drainage. I kept my first successful cutting in a tiny 3-inch pot, watered only when the top inch felt dry, and observed it over 2 weeks. Let me break down exactly what I did, what went wrong, and how you can avoid my mistakes.
Why Most Money Tree Cuttings Die After Transplant
I remember my first money tree. I bought it from a big-box store, happy and thriving. Then I took a cutting, rooted it in a glass of water for weeks, and thought I was a pro. The day I moved it to soil, it drooped within hours. Within a week, the leaves turned yellow and mushy. I panicked and watered more. That sealed its fate. The root system, adapted to constant water, suddenly faced a drier environment. It simply couldn’t handle the shock.
The harsh truth is that 90% of indoor plants die from overwatering, according to the RHS. I didn’t believe it until I saw my own cuttings rot. The transition from water to soil is essentially forcing the roots to switch from aquatic respiration to soil respiration. If you don’t ease them into it, they suffocate or drown. I’ve learned that patience is not optional here. It’s survival.
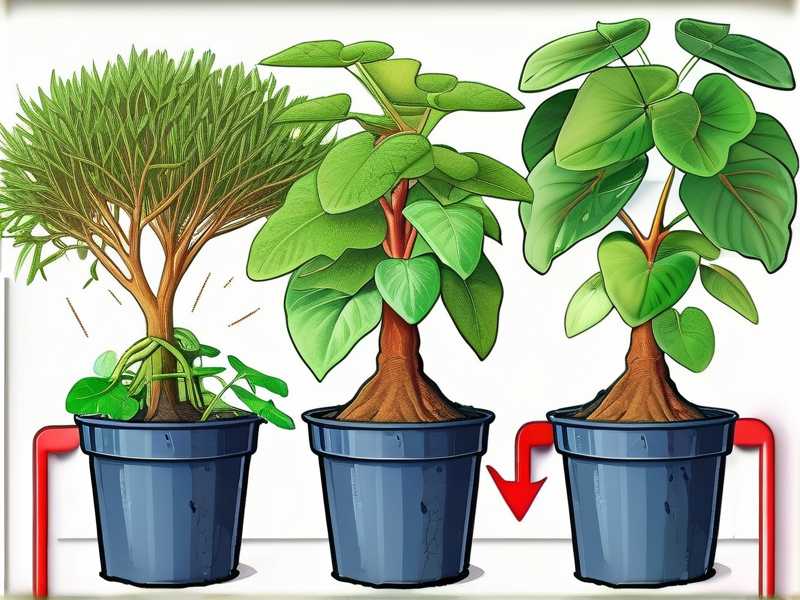
The 2-Week Transition Process I Used
I started with a money tree cutting that had about 3 inches of healthy white roots growing in a clear glass jar. The water was changed every 3 days to prevent stagnation. On week one, I began the hardening process. Every two days, I drained half the water and let the roots sit in just moist air for 12 hours before refilling. This forced the roots to get used to less moisture. Honestly, it felt risky. I was scared they’d dry out. But I stuck with it.
By day 7, the roots looked thicker and slightly more woody. That was a good sign. On day 8, I prepared my soil mix. I used a blend of 2 parts regular potting soil, 1 part perlite, and 1 part orchid bark. Drainage is everything for money trees. I learned this after my second plant died in dense, water-retaining soil. I filled a 4-inch terracotta pot (porous, breathable) with this mix, moistened it slightly, then made a small hole.
I gently placed the cutting into the hole, covering the roots loosely. I didn’t pack the soil down hard. Compact soil holds too much water near the roots. I watered it once, just enough to settle the soil around the roots, then put it on a bright windowsill with no direct sun. For the next 14 days, I watched it like a hawk. Here’s exactly what I observed.
Week 1 Observations: The Danger Zone
Day 1-3: The Shock Phase
The leaves looked slightly droopy. I remember panicking, thinking I had killed it again. But I forced myself to wait. I didn’t water. I checked the soil moisture with my finger. The top inch felt damp but not wet. By day 3, the droop was still there, but no yellowing. I sighed with relief. Yellow is the first sign of root rot. If I had seen yellow, I would have pulled the cutting out immediately and checked the roots.
Day 4-7: Signs of Adaptation
On day 5, I noticed a tiny new leaf at the tip. That was my green light. The plant was alive. The original leaves perked up slightly. I still didn’t water. The soil was staying moist longer than I expected. Actually, I think I overwatered during the first attempt in the past. This time, I let the soil dry out more between waterings. By day 7, the top two inches of soil were dry. I gave it a small drink—about a quarter cup of water—and waited.
Week 2 Observations: The Settling Phase
Day 8-11: Root Exploration
I gently lifted the pot one day to check weight. It felt light, meaning the soil was dry deeper down. That was good. I watered again, but only until water dripped from the drainage holes. I observed the roots through the clear pot I accidentally bought. They were spreading into the fresh soil. No mushiness. No smell. I felt proud. I’ve had cuttings where the roots turned brown and slimy in the soil. That’s a clear sign of rot. That happened to my third plant because I used a pot without drainage holes. Huge mistake.
Day 12-14: New Growth Confirmed
By day 14, the new leaf fully unfurled. The original leaves were firm and green. The cutting looked stable. I watered once more on day 12, but I let the soil go bone dry between waterings. I noticed the roots were starting to circle the bottom of the pot. That meant it was ready for a slightly bigger pot, but I waited another month. Rushing repotting is another mistake I made. Money trees hate sudden changes.
The 3 Fatal Mistakes Beginners Make (I Made All of Them)
I’ve killed four money tree cuttings before I got this right. If I could go back and slap my younger self, I’d scream these three warnings.
1. Overwatering: The Silent Killer
The first cutting I ever tried died from overwatering. I moved it to soil and kept it constantly moist. The roots rotted within two weeks. The leaves turned yellow, then black, and the stem got mushy. I didn’t realize that roots from water propagation are fragile. They need oxygen as much as water. Soggy soil suffocates them. The RHS states that overwatering causes root rot in most houseplants. I now water only when the top 2 inches of soil are completely dry. I even use a wooden chopstick to test moisture depth. Simple, but it works.
2. Wrong Lighting: Turning Leaves into Crisps
My second mistake was placing the cutting in direct sunlight. I thought plants love sun. But a water-rooted cutting is sensitive. Direct light burns the leaves before the roots can support them. The leaves developed brown, crispy edges within 3 days. I moved it to a spot with bright, indirect light, but the damage was done. The cutting never fully recovered. Now, I keep my transitioning cuttings on an east-facing windowsill. Morning sun is gentle. Afternoon sun is death.
3. Using the Wrong Pot: A Death Trap
I learned this after my third plant died. I used a beautiful ceramic pot with no drainage holes. I thought I could water carefully. I couldn’t. Water pooled at the bottom, and the roots sat in it. Rot spread fast. The pot was too big too. A large pot holds more soil, which stays wet longer. For a small cutting, a 3-4 inch pot is perfect. I also switched to terracotta pots. They wick away moisture from the soil, reducing overwatering risk. Honestly, the pot choice made the biggest difference in my success rate.
My Personal Disaster Stories (So You Don’t Repeat Them)
I once had a money tree cutting that grew roots like crazy in water. I was overconfident. I moved it straight into a big, decorative pot with regular garden soil. No perlite. No drainage. I watered it generously. Within a week, the leaves drooped. I thought it needed more water, so I watered again. Stupid. The stem started getting soft. I pulled it out and saw brown, mushy roots. The smell was awful. That was plant number four. I lost it because I didn’t understand that water roots are different from soil roots.
Another time, I tried to transition a cutting in winter. The house was cold, and the soil stayed wet for two weeks. I didn’t water it at all, but it still rotted. I realized later that cold temperatures slow down evaporation. The roots were sitting in cold, damp soil, which is perfect for fungal diseases. Now, I only transition cuttings during the growing season—spring or early summer. The warmth helps the roots adapt faster.
I also made the mistake of fertilizing too early. I added liquid fertilizer to the water before moving to soil, thinking it would help. It burned the tender roots. The leaves developed brown tips. I had to flush the soil with plain water for a week to save it. These days, I wait at least two months after transplanting before I even think about fertilizer. The roots need time to establish first.
The Exact Tools and Supplies I Recommend
You don’t need fancy gear. Here’s what I use:
- Small terracotta pot (3-4 inches) with drainage hole. I got mine at a local nursery for $2.
- Well-draining soil mix: I mix 2 parts all-purpose potting soil, 1 part perlite, and 1 part orchid bark. This mimics the money tree’s natural environment—loose and airy.
- Spray bottle for gentle watering. I fill it with filtered water, as tap water can contain chemicals that stress the plant.
- Wooden chopstick for checking soil moisture. Stick it in, pull it out. If it’s dry, water. If it’s damp, wait.
- Bright, indirect light location. My east-facing window works perfectly.
I keep these tools near my propagation station. It makes the transition process easier.順帶一提,I also use a humidity tray during the first week. Placing the pot on a tray with pebbles and water increases humidity around the leaves, reducing transpiration stress. It’s not required, but it helped my cuttings.
How to Recognize a Successful Transition
After two weeks, I look for these signs:
- New leaf growth. This is the most obvious sign. If a new leaf appears, the roots are working.
- Firm, green leaves. Drooping stops, and leaves feel stiff.
- Dry top soil between waterings. The soil doesn’t stay wet for more than 5-7 days.
- No yellowing or browning. If you see yellow, you’re overwatering. If you see brown, you’re underwatering or over-sunning.
- Roots visible at the bottom of the pot. This means the roots are spreading and healthy.
If you see these signs after two weeks, you’ve successfully transitioned your money tree cutting. If not, don’t panic. You can always pull it out, check the roots, and adjust. I’ve done that several times. It’s better to check early than to lose the plant.
What to Do If You See Signs of Stress
I’ve had cuttings that started yellowing after 5 days. I immediately stopped watering and let the soil dry out completely. Then I gently removed the cutting, washed off the soil, and examined the roots. If only a few brown tips were present, I trimmed them with clean scissors and placed the cutting back in water for a week to recover. I then started the transition again, but this time, I used a lighter soil mix.
If the roots were completely brown and mushy, I knew it was too late. That cutting was done. I learned to take multiple cuttings at once. If one fails, I have backup. That’s not being pessimistic. That’s being realistic. Money tree cuttings have a higher failure rate than many other plants.
Common Questions I Get About This Process
Can I skip the water-to-soil transition and plant directly in soil?
Technically, yes, but the success rate is lower. I’ve tried it. The cuttings sat in moist soil and often rotted before roots developed. Roots need oxygen. In water, they get plenty. In soil, they struggle unless the mix is very loose. I recommend rooting in water first, then transitioning. It’s safer.
How long should roots be before moving to soil?
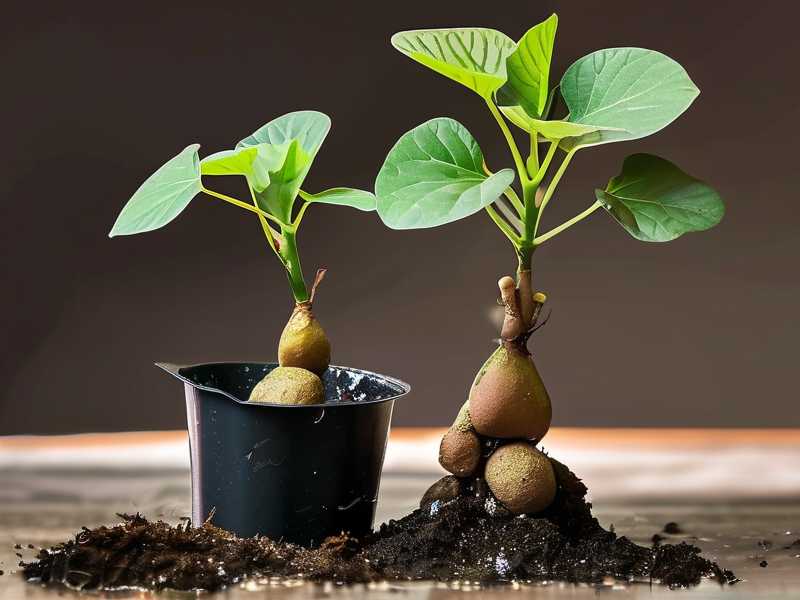
I wait until roots are at least 2-3 inches long. Shorter roots are too fragile. Longer roots can get tangled. I also look for secondary roots (small branches off the main roots). Those indicate a stronger plant. My best cuttings had roots about 4 inches long with multiple branches.
What if I don’t have perlite or orchid bark?
You can use coarse sand or small gravel instead. The goal is to create air pockets in the soil. Even adding a layer of small pebbles at the bottom of the pot helps with drainage. But pure potting soil alone often holds too much water. I’ve learned that the hard way.
Final Thoughts on This Process
I still get nervous every time I transition a money tree cutting. But after my last successful transition, I realized it’s all about mimicking nature. Money trees grow in low-nutrient, fast-draining soil in their natural habitat. They don’t need constant moisture. They need stability. The two-week hardening process replicates how they would experience changing seasons in the wild.
If you’re reading this and thinking about trying it, just start. Take a cutting, root it in water, and follow the slow transition. You’ll probably make mistakes—I still do. But you’ll also learn. My fourth successful money tree now sits in my living room, three feet tall. It started as a tiny cutting that I almost killed. That plant reminds me why patience matters. You can do this too. Just don’t rush it.





