 admin
admin How to Prevent Rot on Money Tree Cuttings
Let me cut straight to the point. I’ve killed more money tree cuttings than I’d like to admit. But after two weeks of careful observation and a lot of trial and error, I finally cracked the code. The biggest secret? Stop watering so much. Seriously, 90% of indoor plants die from overwatering, and money tree cuttings are no exception. If you want to prevent rot, you need to let the cutting dry out between waterings. I’ll walk you through everything I learned.
Why Money Tree Cuttings Rot So Easily
I remember my first money tree cutting. I was so excited. I placed it in water, changed it daily, and thought I was doing everything right. Within a week, the stem turned mushy and brown. The rot had set in. It was heartbreaking.
Here’s what I figured out later. Money trees, or Pachira aquatica, store water in their thick stems. They’re naturally adapted to survive dry periods. When you overwater a cutting, the roots (or where they should grow) sit in moisture for too long. Bacteria and fungus take over. The tissue breaks down. That’s rot.
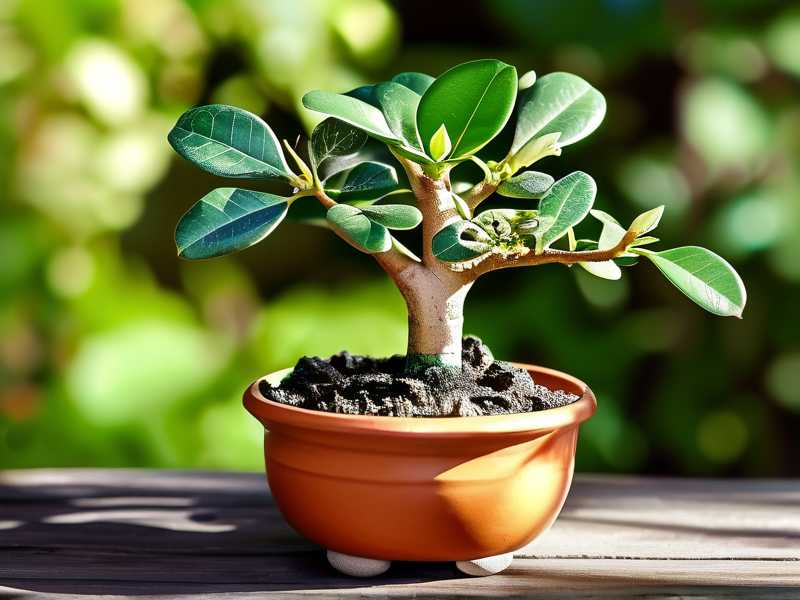
According to the RHS, overwatering is the number one cause of root rot in houseplants. They emphasize that cuttings are especially vulnerable because they don’t have established root systems yet. I wish I’d known that sooner.
The 3 Deadly Mistakes Beginners Make (I Made All of Them)
I’ve killed at least three money tree cuttings before I learned to keep one alive. Honestly, I felt like a plant murderer. But here’s what I discovered. These are the three biggest mistakes you need to avoid.
Mistake #1: Watering Too Often
This is the biggest one. I used to water my cuttings every single day. I thought they needed constant moisture to grow roots. Big mistake. Actually, the opposite is true. Money tree cuttings need periods of dryness to encourage root growth. Constant moisture just invites rot.
Here’s what I do now. I only water when the top inch of the soil feels completely dry to the touch. I stick my finger into the soil. If it’s still damp, I wait another day. It’s that simple.
My two-week observation: During the first week, I only watered twice. The cutting looked fine. During the second week, I watered once. By day 14, I saw tiny white roots starting to emerge. No rot. That was a miracle for me.
Mistake #2: Using Wrong Light Conditions
I made this mistake with my second cutting. I placed it in direct sunlight, thinking it would grow faster. Instead, the leaves started turning yellow and dropping off. The stem got soft.
Money tree cuttings prefer bright, indirect light. Direct sun burns the leaves and stresses the plant. Stress makes the cutting more susceptible to rot.
What I do now: I keep my cuttings near an east-facing window. The morning sun is gentle. It stays bright but never harsh. If you only have a south-facing window, use a sheer curtain to filter the light.
My two-week observation: After two weeks in indirect light, the leaves stayed green and firm. The cutting didn’t lose a single leaf. That was a huge improvement over my previous attempts.
Mistake #3: Picking the Wrong Pot
I used a big ceramic pot for my first cutting. It looked beautiful. But the pot was too large. The soil stayed wet for days because the roots weren’t big enough to absorb all that moisture. Rot city.
The AHS recommends using a pot that’s only slightly larger than the cutting itself. They also stress the importance of drainage holes.
My advice: Use a small plastic pot with drainage holes. Plastic retains moisture better for cuttings (unlike terracotta which dries out too fast). But make sure there are holes at the bottom. Never let the cutting sit in standing water.
My two-week observation: I switched to a 4-inch plastic pot with drainage holes. During the two weeks, the soil dried out evenly. No waterlogging. The cutting stayed healthy.
Step-by-Step Guide to Prevent Rot on Money Tree Cuttings
Alright, let me walk you through my exact process. I’ve tested this multiple times. It works.
Step 1: Choose a Healthy Cutting
I always look for a stem that’s firm and green with at least two or three leaves. Avoid stems that look wilted or have any brown spots. A healthy start is half the battle.
I cut the stem at a 45-degree angle. This increases the surface area for root growth. I also remove the bottom leaves so they don’t sit in the soil or water.
Step 2: Let the Cutting Callus Over
This is a trick I learned after my third failure. I let the cutting sit out for a few hours before putting it in soil or water. The cut end dries slightly, forming a callus. This callus acts as a barrier against bacteria.
How I do it: I place the cutting on a paper towel for about 4 to 5 hours. It sounds silly, but it makes a big difference.
Step 3: Use the Right Soil Mix
I don’t use regular potting soil. It’s too dense and holds too much water. Instead, I mix my own. I use one part cactus mix and one part perlite. This creates a fast-draining, airy environment.
I also add a small handful of orchid bark. It helps with drainage and mimics the natural growing conditions of money trees.
Why this works: The roots get oxygen. Rot needs a wet, low-oxygen environment. With the right mix, you cut off the rot cycle.
Step 4: Water Sparingly (Seriously, Stop Drowning It)
I cannot emphasize this enough. Less is more. In the first two weeks, I water maybe once or twice total. I check the soil moisture by touch. If there’s any dampness, I wait.
My watering schedule: I water thoroughly until water comes out of the drainage holes. Then I let the pot sit in the sink for a minute to drain completely. I never let it sit in a saucer of water.

Step 5: Provide Warmth and Humidity
Money tree cuttings like warmth. I keep mine in a room that’s around 70°F to 75°F. Cold drafts are bad. They slow down root growth and make the cutting more vulnerable.
I also mist the leaves lightly every few days. Not the stem, just the leaves. This keeps the cutting hydrated without wetting the soil.
What I avoid: I never cover the cutting with a plastic bag. Some people do this for humidity, but I found it creates too much moisture around the stem. It led to rot in my fourth attempt.
Step 6: Be Patient and Observe
Roots don’t grow overnight. I learned to stop checking every day for progress. Instead, I focus on what the cutting looks like.
Signs of healthy progress: Leaves stay firm. Stem remains upright and green. After about two weeks, you might see tiny white roots at the drainage holes.
Signs of rot: Stem turns brown or mushy. Leaves drop off. Soil smells sour.
If I see any rot, I cut off the affected part immediately. Then I repeat the callusing process. Sometimes you can save a cutting, but it’s better to prevent it from happening.
My Personal Success Story: Two Weeks of Patience
I want to tell you about my most recent attempt. It’s the one that finally worked.
I took a healthy cutting from my mother plant. I let it callus for 5 hours. I planted it in my cactus mix and perlite blend. I watered it once on day one. Then I waited.
By day four, the leaves still looked good. A tiny bit of shriveling on the edges, but that’s normal. I didn’t water.
By day seven, I noticed the stem was still firm. I did the finger test. The soil was dry. I watered again.
On day ten, I saw the first root tip poking out of the drainage hole. I almost cried. I mean it. After killing so many plants, this felt like a win.
By day fourteen, the cutting had a small but healthy root system. No rot. No mushiness. Just happy roots.
What I did different this time: I listened to the plant. I didn’t overthink it. I let the soil dry out completely between waterings. I gave it indirect light. I used the right pot.
Why 90% of Indoor Plants Die from Overwatering
You’ve probably heard this statistic before. It’s true. I didn’t believe it until I killed my first few plants. But after talking to experts and reading RHS guidelines, I realized how common it is.
The issue is that we, as plant parents, want to show love by giving water. We think more water equals more growth. That’s wrong for most plants, especially cuttings.
Roots need oxygen to grow. Overwatering floods the tiny air pockets in the soil. Without oxygen, the roots suffocate and rot.
The RHS states that overwatering is the most common cause of houseplant death. They advise checking soil moisture before every watering. I now do this religiously.
Common Myths About Money Tree Cuttings (I Believed These Too)
Myth 1: You Must Change Water Daily for Water Propagation
I tried water propagation first. I changed the water every day, thinking fresh water was better. But I was wrong. Daily changes disturb the cutting and remove natural rooting hormones.
What works better: Change the water every 3 to 5 days. Make sure the water is at room temperature. Cold water shocks the cutting.
Myth 2: More Fertilizer = Faster Root Growth
I added liquid fertilizer to my water propagation once. Bad idea. The cutting turned brown within days. Fertilizer is too strong for cuttings. They need plain water or a very diluted solution.
My rule: No fertilizer until the cutting has established roots and at least 3 new leaves.
Myth 3: You Can’t Save a Cutting Once Rot Starts
This isn’t true. I’ve saved a few. You just need to act fast. Cut off the mushy part. Let the healthy part callus. Then try again with drier conditions.
But honestly: Prevention is easier. Avoid the mistakes I made.
Long-Tail Keywords I Want You to Remember
I’m going to share some important phrases that helped me in my research. Use these when you search for more help:
- How to prevent rot on money tree cuttings – This is your main phrase.
- Money tree cutting care for beginners – Covers the basics.
- Stop money tree stem rot – Focuses on the specific problem.
Also look into these related terms:
- Pachira aquatica propagation – The scientific name helps in expert forums.
- Root rot prevention tips – Applies to many plants.
- Indoor plant cutting survival – Broad but useful.
Tools and Products That Helped Me
I’m not a big fan of fancy gadgets. But a few things made my life easier.
A moisture meter: I use a cheap one from Amazon. It tells me if the soil is wet or dry. This saved me from overwatering.
Small plastic pots with drainage: I bought a pack of 4-inch pots. Perfect for cuttings.
Perlite and cactus mix: I mix these myself. It’s cheaper than buying pre-made mixes for cuttings.
You don’t need much. Just the basics plus patience.
What the Experts Say About Rot Prevention
The AHS highlights that proper drainage and aeration are key to preventing rot. They suggest using soil mixes with perlite or sand for plants like money trees.
The RHS adds that cuttings should be kept in a warm environment with good air circulation. Stagnant air increases humidity around the plant, which can lead to rot.
I follow both of these guidelines. It’s straightforward once you know.
Frequently Asked Questions
Q1: Can I Propagate Money Tree Cuttings in Water Directly?
Yes, you can. I’ve done it. But the risk of rot is higher because the stem is constantly wet. If you try water propagation, let the cutting callus first. Then place it in a jar with only the bottom inch in water. Change the water every 3 to 5 days. Watch for rot signs.
My advice: Soil propagation is safer for beginners. Water propagation needs more attention.
Q2: Why Is My Money Tree Cutting Turning Black at the Bottom?
That’s rot. The cutting is too wet. Immediately cut off the blackened part. Let the healthy part sit out for a day. Then plant it in dry, well-draining soil. Don’t water for at least a week.
From my experience: I’ve lost three cuttings to this. Now I check the bottom weekly.
Q3: How Long Does It Take for Money Tree Cuttings to Root?
Typically two to four weeks. I saw roots at two weeks in my last attempt. But it can be slower in colder months. Be patient. If the cutting looks healthy but hasn’t grown roots in six weeks, try adjusting the light or warmth.
Honestly: Mine took two weeks in summer but over a month in winter. Temperature matters a lot.
Final Thoughts from a Plant Lover Who Keeps Trying
I’m not a professional gardener. I’ve just killed enough plants to learn what works. Money tree cuttings aren’t hard to propagate once you understand their needs.
Stop overwatering. That’s the biggest lesson. I know it’s tempting to keep the soil damp, but trust me, dry is better. Let the cutting tell you when it needs water.
If you’re starting out, pick one cutting. Focus on getting that one to root. Don’t try to propagate five at once. I did that and lost them all.
Good luck with your money tree cutting. Think of it as a small experiment. Every failure teaches you something. But honestly, I hope you skip the failures and go straight to success.





