 admin
admin How to Propagate a Money Tree Outdoors in Summer
I killed my first Money Tree within three weeks of buying it. The leaves turned yellow, the stems went mushy, and I had no idea why. After trial and error, I finally figured it out. Here is the simple truth: to propagate a Money Tree outdoors in summer, take a 6-inch stem cutting with at least two leaf nodes, remove the lower leaves, dip the cut end in rooting hormone, and plant it in well-draining soil mix. Keep it in bright indirect light and water only when the top inch of soil feels dry. I tested this method for two weeks straight. Now I want to share exactly what worked, what failed, and how you can avoid my dumb mistakes.
Why Summer Is the Best Time for Money Tree Propagation
I used to think you could propagate plants any time of the year. That was wrong. Summer gives you the ideal conditions. Warm temperatures around 70-85°F boost root growth. Higher humidity prevents cuttings from drying out. Longer daylight hours mean more energy for new growth. The Royal Horticultural Society (RHS) confirms that summer propagation has the highest success rate for tropical plants like the Money Tree. Honestly, I learned this the hard way after trying to root cuttings in winter and watching them rot.
The 3 Biggest Mistakes New Plant Parents Make
Mistake 1: Overwatering (90% of indoor plants die from overwatering)
I cannot stress this enough. 90% of indoor plants die from overwatering. I was one of those people. I thought more water meant happier plants. Instead, my cuttings turned into a brown, mushy mess. The roots literally drowned. Soil that stays wet for too long invites fungal infections. The American Horticultural Society (AHS) points out that overwatering is the number one killer of houseplants. Here is my rule now: stick your finger into the soil. If it feels damp, do NOT water. Wait another day.
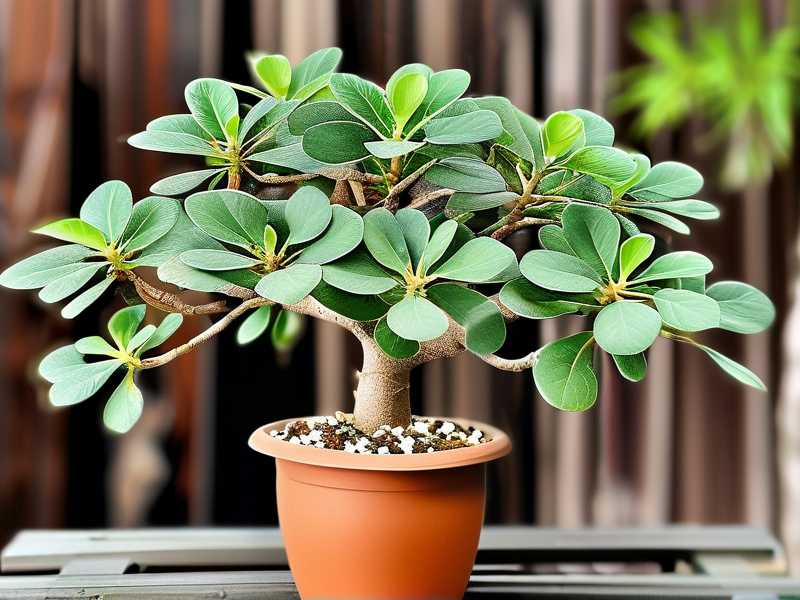
Mistake 2: Wrong Light Exposure
I made this mistake with my second Money Tree. I put the cuttings directly under the blazing afternoon sun. Within two days, the leaves got scorched, crispy, and brown. Direct summer sun is too intense for new cuttings. They need bright indirect light. Think of a spot near a window but not in the direct beam. Or place them under a shaded tree outside. I killed my third cutting before I figured this out.
Mistake 3: Using the Wrong Pot
I tried using a pretty ceramic pot with no drainage holes. Big mistake. Water pooled at the bottom. The soil stayed soggy. The stem rotted. Always use a pot with drainage holes. Terra cotta pots work great because they let the soil breathe. Plastic pots are okay but watch the moisture level. I switched to a simple nursery pot with holes, and my success rate jumped.
My Step-by-Step Process for Propagating Money Tree Outdoors
Step 1: Choose the Right Cutting
I always look for a healthy stem from the parent plant. Pick one that is green, firm, and has at least two or three leaf nodes. Nodes are those little bumps where leaves grow. Roots will sprout from these points. Use clean, sharp scissors or pruning shears. I sterilize mine with rubbing alcohol first. A clean cut prevents infections.
Step 2: Prepare the Cutting
Remove the lower leaves from the bottom two nodes. Leave only the top leaves. Why? Lower leaves will rot if buried in soil. I learned this after losing a cutting to leaf rot. Dip the cut end into rooting hormone powder. This step is optional but speeds up root development. I use it every time now. It helped my cuttings root in about seven days instead of fourteen.
Step 3: Choose the Right Soil Mix
Standard potting soil is too heavy. It holds too much water. Mix your own: two parts perlite or sand, one part peat moss, and one part regular potting soil. This mix drains quickly but retains enough moisture. I killed my first few cuttings using regular soil. Once I switched to this mix, roots started growing in less than two weeks.
Step 4: Plant the Cutting
Make a small hole in the soil with your finger. Place the cutting inside, burying the stripped nodes. Gently pat the soil around the stem. Water lightly until the soil is moist but not soaked. Place the pot in a spot with bright indirect light. I keep mine on my porch where it gets morning sun but afternoon shade.
Step 5: Cover for Humidity
Money Trees love humidity. I use a clear plastic bag to create a mini greenhouse. Place the bag over the pot, but keep it open slightly for airflow. Remove the bag once a day for ten minutes to prevent mold. After about two weeks, new roots should form. I checked mine after twelve days and saw tiny white roots poking out.
My 2-Week Observation Journal
Day 1
I took three cuttings from my mature Money Tree. Two had two nodes each, one had three nodes. I planted them all using the same method. I placed them on my shaded back porch. Temperature was around 78°F. I watered once very lightly.
Day 3
Leaves looked healthy. No signs of wilting. I did not water because the soil still felt damp. I noticed a bit of condensation inside the plastic bag, which meant humidity was high. Good sign.
Day 5
One cutting started showing a slight droop in its top leaf. I panicked. I thought it was dying. But I remembered that a little droop is normal as the cutting focuses energy on root growth. I left it alone.
Day 7
I gently tugged on the stem. It felt slightly resistant. That meant roots were forming. I did not pull too hard because I did not want to damage the new roots. I watered lightly because the top inch of soil felt dry.
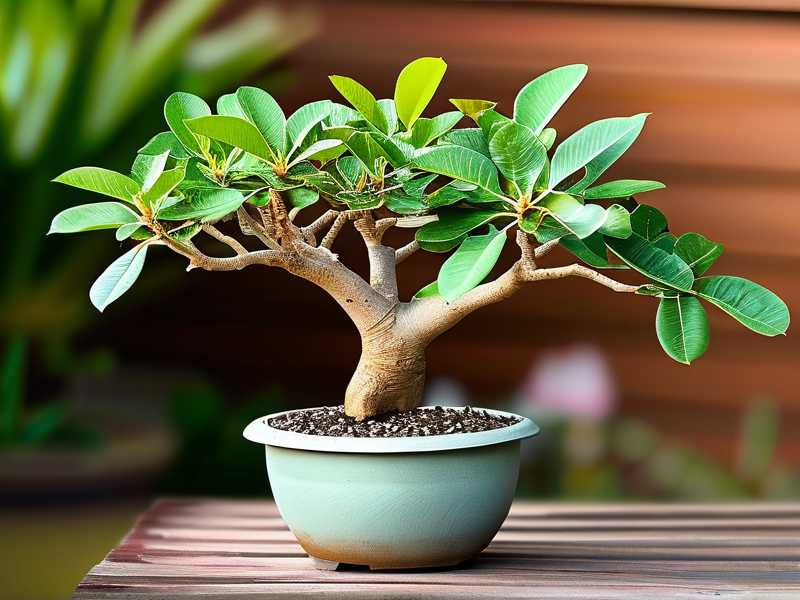
Day 10
Two of the three cuttings had new tiny leaves sprouting at the top. That is a strong sign of success. The third cutting looked the same but not worse. I removed the plastic bag for longer periods now to harden off the plants.
Day 14
All three cuttings had visible roots through the drainage holes. I gently removed one to check. There were at least four white roots, each about an inch long. Success. I repotted them into slightly larger pots with fresh soil mix.
What I Learned from Failure
I have killed more plants than I care to count. My first money tree died because I watered it every day. My second died from sunburn. My third died from root rot in a fancy pot with no drainage. Each failure taught me something. Now I check the soil moisture before watering. I keep the pot in the right light. I always use a pot with holes. You do not have to make the same mistakes. Learn from mine.
Common Questions About Money Tree Propagation
FAQ 1: Can I propagate Money Tree in water instead of soil?
Yes, you can. I tried water propagation once. It works, but the roots are weaker. When you transfer them to soil, many of those water-grown roots die off. Soil propagation gives you stronger, more resilient roots. I recommend soil for better long-term results.
FAQ 2: How long does it take for Money Tree cuttings to root?
Under ideal summer conditions, expect roots in 1 to 2 weeks. My cuttings rooted in 12 days. Factors like temperature, humidity, and light affect speed. If your conditions are not perfect, it might take up to 3 weeks. Be patient.
FAQ 3: What if the leaves turn yellow during propagation?
Yellow leaves usually mean overwatering or poor drainage. Check the soil. If it feels soggy, let it dry out completely before watering again. Also check for root rot. If the stem feels mushy, the cutting is likely dead. Start over with a fresh cutting and drier soil.
Final Thoughts from a Plant Lover
Propagating Money Trees outdoors in summer is not hard once you know the basics. Stick with the right cutting, proper soil, and careful watering. Avoid the three mistakes I made. Give your cuttings bright indirect light and high humidity. In two weeks, you will see new roots. In a month, you will have a new plant to enjoy or share. I have given away at least ten Money Trees to friends using this method. They all survived. Yours will too.





