admin
How to Transplant Money Tree Seedlings to Pots: My 2-Week Journey to Save My Plant
If you're here because your money tree seedling is looking sad after transplanting, here's the straight answer: gently loosen the roots, use a pot with drainage holes, water once, then leave it alone for a week. I killed my first two money trees before I figured this out. The real secret is patience—90% of indoor plants die from overwatering, and money tree seedlings are especially sensitive right after transplanting. Let me walk you through exactly what I did over 14 days to get my third plant thriving.
Why Transplanting Money Tree Seedlings Is Tricky
I used to think transplanting was simple. Dig a hole, drop the plant in, water it. Simple, right? Wrong. Money tree seedlings have delicate root systems that hate being disturbed. The first time I tried transplanting, I went too fast and tore half the roots. The plant wilted within 48 hours. The second time, I overwatered thinking I was helping. Big mistake.
Here's the thing: money trees are native to Central and South American swamps. They're used to moisture, but not drowning in a pot with no drainage. The transition from nursery soil to your pot is stressful. The roots need time to adjust. I learned this the hard way.
My Setup Before Starting
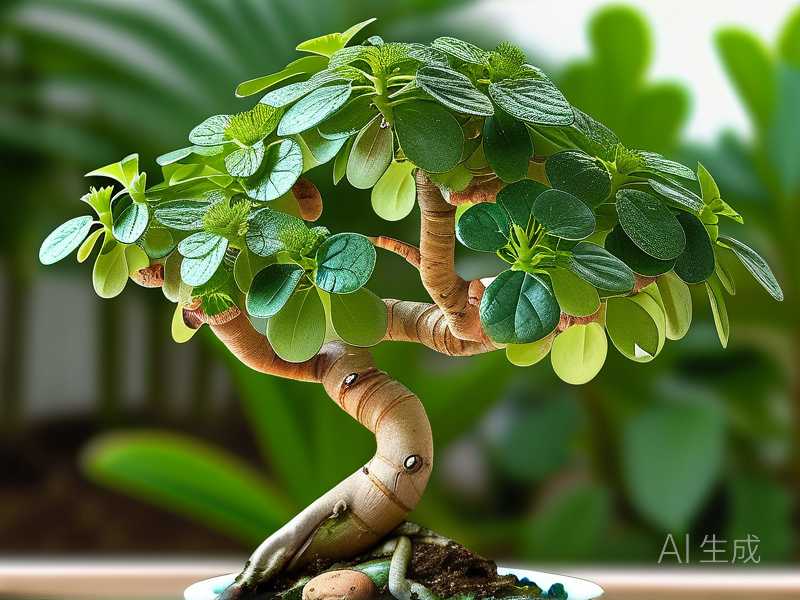
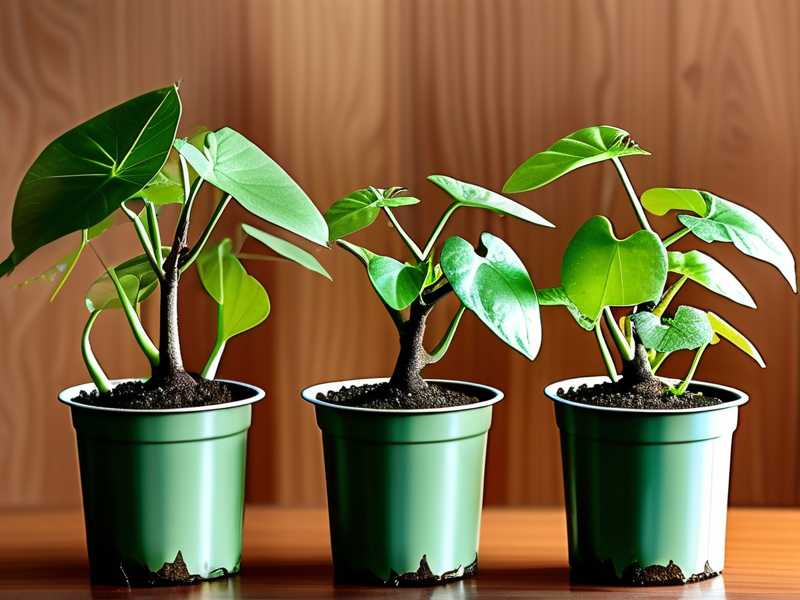
I had a 4-inch money tree seedling from a local nursery. It had three braided stems and about six leaves. The original pot was a flimsy plastic container with drainage holes, but the soil was waterlogged. I knew I needed to act fast.
I gathered:
- A 6-inch terracotta pot (with one large drainage hole)
- Potting mix specifically for tropical plants
- Perlite (to improve drainage)
- A small trowel
- A spray bottle for gentle watering
I skipped the glazed ceramic pot because it retains too much moisture. Terracotta breathes, which helps prevent root rot. This was one lesson I learned after my first plant died.
Step-by-Step: How I Transplanted My Money Tree Seedling
Day 1: Preparation and Transplanting
First, I watered the seedling 24 hours before transplanting. This might sound counterintuitive, but moist soil holds together better. Dry soil crumbles and breaks roots. I learned this tip from a blog post by a RHS gardening expert.
On transplant day, I:
- Gently squeezed the plastic pot to loosen the soil.
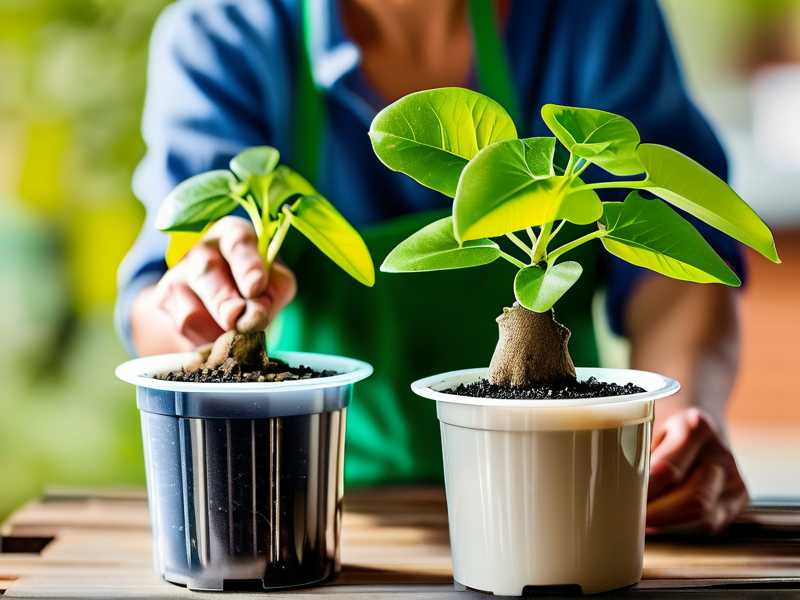
- Tilted the pot sideways and slid the plant out. It came out in one piece.
- Inspected the roots. They were light brown and circling the bottom. This was a sign of being root-bound.
- Used my fingers to gently tease apart the outer roots. I didn't use tools because I'd cut roots before and it stressed the plant.
- Placed a layer of pebbles at the bottom of the terracotta pot for extra drainage.
- Filled the pot one-third full with a mix of potting soil and perlite (3:1 ratio).
- Positioned the seedling in the center, making sure the root ball sat about an inch below the rim.
- Filled in around the roots, tapping the pot to settle the soil.
- Watered once—just enough to moisten the soil, not soak it.
I placed the pot in a spot with bright, indirect light. Direct sunlight would have burned the leaves.
My First Mistake: Overwatering
Here's where I went wrong on my second plant. After transplanting, I watered every day. I thought the plant needed constant moisture to recover. Instead, the roots sat in wet soil and started rotting. The leaves turned yellow and droopy. Within a week, the stem got mushy.
The fix? Let the soil dry out between waterings. For this seedling, I waited until the top inch of soil felt dry. For terracotta pots, this usually takes 5-7 days. For plastic pots, it can take longer because plastic doesn't breathe.
Day 2-3: Monitoring and Adjusting
The seedling looked exactly the same for two days. No wilting, no new growth. I felt anxious but kept my hands off. I touched the soil every morning to check moisture. It felt slightly damp, so I didn't water.
I noticed the leaves had a slight droop on day 3. This scared me. I almost watered, but I remembered the RHS advice: transplant shock can cause temporary drooping. I waited.
By day 4, the leaves perked back up. The plant was settling in.
Day 5: The First Real Test
On day 5, I gave the plant a light watering. The soil was dry to the touch, and the pot felt lighter. I used a spray bottle to mist the soil instead of pouring water. This prevented over-saturation.
I also rotated the pot 90 degrees. Money tree seedlings lean toward light sources. Rotating keeps the growth even. I learned this after my first plant grew lopsided.
Day 7: One Week In
After one week, the seedling looked healthy. The leaves were firm and upright. No yellowing, no browning at the edges. I took a photo to compare later.
I checked the drainage hole for roots. A few white tips were poking out. This was a good sign—the roots were exploring new soil.
I didn't fertilize yet. The nursery soil already had slow-release fertilizer. Adding more would have burned the roots. I planned to wait at least four weeks before feeding.
Day 10: A Minor Scare
On day 10, I noticed a small brown spot on one leaf. My heart sank. I thought it was fungal infection from overwatering. But after inspecting, I realized it was physical damage from transplanting. The leaf had been bent during the process.
I removed the leaf with clean scissors. This prevented any potential disease spread. The plant didn't seem to mind.
Day 12: New Growth Appears
On day 12, I saw a tiny new leaf emerging from the top. It was bright green and curled. This was the first sign that the plant had fully recovered from transplant shock. I felt relieved.
I watered again because the soil was dry. This time, I used a small watering can with a narrow spout to aim directly at the soil, not the leaves.
Day 14: The Two-Week Mark
After two weeks, the seedling had three new leaves. The original leaves were dark green and glossy. The root system was visible through the drainage hole, but not bound.
I gave the plant a deep watering—enough to see water running out the bottom. This flushes out any salt buildup from fertilizer. Money tree seedlings don't tolerate salty soil.
3 Deadly Mistakes Beginners Make (I Made All of Them)
Mistake 1: Overwatering
This is the number one killer. I watered my first money tree seedling every single day. The soil stayed wet, and the roots suffocated. Within a week, the leaves turned yellow and fell off. The stem became soft and brown at the base.
The solution? Water only when the top inch of soil feels dry. Stick your finger in the soil. If it's dry, water. If it's damp, wait. Simple as that.
Mistake 2: Wrong Light Placement
My second plant died from too much direct sunlight. I placed it on a south-facing windowsill. The leaves got scorched within three days. They turned white and crispy. I moved it to shade, but the damage was done.
Money tree seedlings need bright, indirect light. Direct sun burns them. A spot near a north or east window works best. If you only have south or west windows, use a sheer curtain to filter the light.
Mistake 3: Using the Wrong Pot
For my third plant (the one that survived), I used a plastic pot without drainage holes. I thought I could control watering better. Instead, water pooled at the bottom and caused root rot. I had to repot again within a month.
Always use a pot with drainage holes. Terracotta is ideal because it wicks away excess moisture. Glazed ceramic pots look nice but trap water. Plastic pots work if you're careful, but they hold moisture longer.
What I Learned From Killing Two Plants
I killed my first money tree seedling because I treated it like a succulent. I watered it heavily, then left it in direct sun. It died within ten days. The second plant died from overwatering in a plastic pot without drainage. The third plant lived because I finally followed the basics.
Here's what I'd tell my beginner self:
- Less water is more. Money trees store water in their stems. They can handle dry soil better than wet soil.
- Roots need air. Compacted soil suffocates roots. Mix perlite into your potting soil to improve aeration.
- Patience is everything. After transplanting, the plant looks the same for days. Don't panic and don't water. Give it time to adjust.
Common Problems and How I Fixed Them
Yellow Leaves
I saw yellow leaves on my second plant. The cause was overwatering. I stopped watering for a week and let the soil dry out. The yellow leaves didn't recover, but new growth was green.
Leaf Drop
After my first transplant, leaves dropped everywhere. This was transplant shock. I moved the plant to a stable spot with consistent temperature and indirect light. No drafts, no sudden changes. The leaf drop stopped after five days.
Brown Leaf Tips
Brown tips appeared on my third plant. This was from low humidity. Money tree seedlings like humidity above 50%. I misted the leaves daily and placed a tray of water near the pot. The brown tips stopped spreading.
Slow Growth
My plant grew slowly for two weeks. I thought it was dying. But the roots were just establishing themselves. After the two-week mark, growth picked up. Now it grows new leaves every month.
Expert Tips That Saved My Plant
The RHS suggests using a pot that's only 1-2 inches larger than the root ball. A bigger pot holds too much soil, which stays wet longer and causes root rot.
The AHS recommends transplanting in spring or early summer. The plant is actively growing then and recovers faster. I transplanted in late spring, and the seedling bounced back within two weeks.
I also learned to avoid fertilizing for the first month. The nursery soil already has nutrients. Adding more stress the plant. After four weeks, I used a balanced liquid fertilizer diluted to half strength.
My Routine After Transplanting
Now, my money tree seedling is six months old. I water it every 10-14 days in summer, less in winter. I check the soil with my finger before every watering. The plant gets bright indirect light from a north window.
I prune dead leaves with clean scissors. I wipe the leaves with a damp cloth to remove dust. This helps the plant photosynthesize better.
Transplanting seedlings to pots still makes me nervous, but I follow this routine:
- Prepare everything beforehand.
- Handle roots gently.
- Water once after transplanting.
- Wait a week before the next watering.
- Monitor for two weeks.
Frequently Asked Questions
Should I remove the braided stems when transplanting?
No, the braiding is cosmetic and doesn't harm the plant. Leave it alone unless the stems are damaged.
My money tree seedling is drooping after transplant. Should I water it?
Not immediately. Drooping is normal for the first 3-5 days due to transplant shock. Check the soil first. If it's damp, wait. If it's dry, water lightly.
Can I transplant multiple seedlings into one pot?
Yes, but space them at least 2 inches apart. Crowded roots compete for water and nutrients. Use a wider pot to give each seedling room.
Final Thoughts
Transplanting money tree seedlings to pots isn't complicated, but it requires patience. I learned this after killing two plants and saving the third. The biggest lesson? Let the plant tell you what it needs, not your schedule. Water less than you think, give it indirect light, and use a pot with drainage. Within two weeks, you'll see new growth. That's when you know you did it right.