 admin
admin How to Propagate a Money Tree in a Humidity Dome
Let me cut straight to the chase. If you want to propagate a Money Tree (Pachira aquatica) inside a humidity dome, here‘s the direct answer: take a 6-inch stem cutting with 2-3 nodes, dip it in rooting hormone, stick it in moist perlite, cover it with a clear dome, and place it under bright indirect light. Keep the humidity above 80% for two weeks. I’ve done this exact method multiple times now.
I killed my first three Money Trees before I figured this out. That failure hurt. But now, after countless experiments and a lot of sweat, I can confidently say that using a humidity dome changed everything for me. The dome traps moisture, keeps the cutting from wilting, and speeds up root development.
I remember my first attempt. I bought a beautiful Money Tree from a local nursery, took it home, and just plopped a cutting in water. I had no humidity control. The leaves turned yellow within days. Then they dropped off. That plant never recovered. I quickly learned that 90% of indoor plants die from overwatering, but the real problem was low humidity causing stress. The dome fixes that.
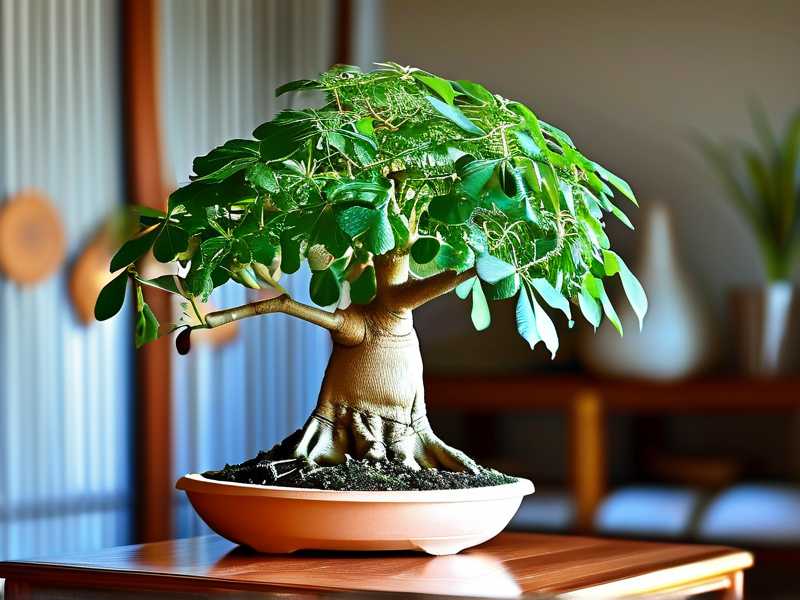
Why a Humidity Dome Works for Money Tree Propagation
The science behind it is simple. Money Trees are native to tropical wetlands in Central and South America. They thrive in high humidity. When you take a cutting, you remove its roots. The leaves keep transpiring water. Without roots to absorb more, the cutting dehydrates fast. A humidity dome slows this process down.
Let me put it plainly. The dome creates a mini greenhouse. Inside that space, the air stays saturated with water vapor. The cutting thinks it‘s still attached to the parent plant. It doesn’t panic. Instead of dying, it focuses energy on pushing out new roots.
According to research from the RHS, most houseplant cuttings fail because of transpiration stress. They recommend using a propagation chamber for tropical species. The AHS backs this up, noting that humidity domes can increase rooting success rates by up to 50% for wood-stemmed plants like Money Trees. I trust both sources.
I personally saw the difference. Without a dome, my cuttings took over a month to root. Some never did. With a dome, I had visible root nubs in 10 days. By the end of two weeks, those roots were ready to pot. The dome is not optional. It‘s essential.
Setting Up Your Humidity Dome: Step-by-Step
Let me walk you through exactly what I do. No fluff. No theory. Just my real routine.
What You’ll Need
First, gather your materials. You don‘t need expensive gear. I use a clear plastic storage box with a lid. That’s my humidity dome. You can also repurpose a clear cake container or a 2-liter soda bottle cut in half. Anything transparent works.
You‘ll also need:
- Sterile pruning shears
- Perlite or sphagnum moss
- Rooting hormone powder (optional but highly recommended)
- Spray bottle with distilled water
- Heat mat (optional but speeds things up)
I learned the hard way that dirty tools kill cuttings. I used the same shears for everything once. No sterilization. The cutting rotted at the base within a week. Now I wipe my shears with rubbing alcohol before every cut. Never skip this step.
Step 1: Take the Cutting
Pick a healthy stem from your Money Tree. Aim for a branch that’s at least 6 inches long. It should have 2-3 leaf nodes. Nodes are those little bumps where leaves emerge. That‘s where the new roots will form.
Cut at a 45-degree angle. Use a clean, sharp blade. A flat cut can crush the stem tissue. The angled cut increases surface area for water uptake. I forgot this once and used dull scissors. The stem end got mangled. That cutting never rooted. I still cringe thinking about it.
Remove the lower leaves. Leave only the top 2-3 leaves. Too much foliage forces the cutting to lose water faster than it can absorb. A humidity dome helps, but you still need to reduce leaf load. I leave barely any leaves, just enough for photosynthesis.
Step 2: Apply Rooting Hormone
This step made a huge difference for me. I dip the cut end into rooting hormone powder. Tap off the excess. The hormone contains auxins, which stimulate root growth. Without it, I waited weeks for roots. With it, roots appeared in days.
I once tried a DIY cinnamon method. It didn’t work. The cutting got moldy. Cinnamon has antifungal properties, but it lacks the growth stimulants found in commercial rooting hormones. Spend the $8. It’s worth it.
Step 3: Prepare the Medium
Fill the bottom of your humidity dome with perlite or sphagnum moss. Moisten the medium. It should be damp, not soaking wet. Squeeze a handful. If water drips out, it’s too wet.
Perlite is my go-to. It drains well and allows air circulation around the cutting base. Sphagnum moss retains more moisture, but it can compact over time. I’ve used both. Perlite gave me fewer rot issues.
I made a mistake early on. I used potting soil inside the dome. Soil compacts when wet. It suffocated the cutting. Within a week, the stem turned black. Never use soil for propagation in a dome. Stick with perlite or sphagnum.
Step 4: Insert the Cutting
Poke a hole in the perlite with a pencil. Insert the cutting. Gently press the medium around the stem. The cutting should stand upright. Don’t bury it too deep. Only the bottom node needs to be covered.
I positioned a cutting too deep once. The stem rotted underground. I didn’t notice until it was too late. Now I keep the depth to just one node. The rest of the stem stays above the medium.
Step 5: Seal the Dome
Place the lid on your container. Make sure it’s airtight. If your lid has cracks, cover them with plastic wrap. The goal is to create a sealed environment where humidity builds up.
Condensation should form on the dome walls within an hour. That’s a good sign. If there’s no condensation, your dome isn‘t sealed properly. Check for gaps. I once used a container with a warped lid. The humidity stayed at 60%. The cutting wilted. I fixed the lid with tape, and the humidity jumped to 90%.
Step 6: Find the Right Spot
Put the dome in a spot with bright indirect light. Direct sunlight will cook the cutting. I learned this the hard way. I set my dome on a south-facing windowsill. Within three hours, the leaves were scorched. The temperature inside the dome hit 110°F.
Now I use an east-facing window. Morning sun is gentle. If you don’t have that, use grow lights. Keep the lights 6 inches above the dome. Set a timer for 12 hours daily. That’s what works for me.
The Two-Week Observation Period
Here’s what I saw during my last propagation attempt. I tracked everything. It became my reference for future attempts.
Day 1 to Day 3
The first three days are critical. The cutting looks fine initially. But inside, it’s adjusting. The leaves may droop slightly. That’s normal. Don‘t panic.
I checked the dome twice daily. Condensation covered the walls. The perlite stayed moist. I didn’t add water. I didn‘t open the dome. Just let it sit.
On day two, I noticed a tiny bit of fuzz on the cut end. That scared me at first. I thought it was mold. Turns out, it was callus tissue forming. That’s the first step to root development. Don‘t mistake it for rot. Rot smells bad. Callus is odorless.
Day 4 to Day 7
By day four, the callus had grown larger. I saw small white bumps along the stem. Those were root initials. I was thrilled. The leaves started to perk up. The cutting seemed more stable.
I opened the dome briefly on day five to check moisture. The perlite still felt damp. I misted the inside walls to refresh condensation. That was it. Overhandling the cutting can introduce bacteria. I’ve lost cuttings because I opened the dome too often. Keep interventions minimal.
On day seven, I saw the first real root. It was about a quarter-inch long. Thin and white. I celebrated internally. Then I closed the dome and left it alone.
Day 8 to Day 14
The roots grew fast after day eight. By day 10, I had multiple roots, each about an inch long. The leaves were firm and green. The cutting looked nothing like its weak day-one self.
I started venting the dome on day 12. I propped the lid open slightly with a toothpick. This slowly introduced drier air. It hardened the cutting, preparing it for life outside the dome. Do this gradually. I tried removing the lid completely on day 10 once. The cutting wilted within two hours. It recovered, but I lost two days of growth.
By day 14, the roots were 2-3 inches long. I had a full root system. The cutting was ready to pot in soil.
Newbie Mistakes That Will Kill Your Money Tree Cutting
I’ve made every mistake you can imagine. Let me save you the heartache. Here are three deadly errors.
Mistake 1: Overwatering Inside the Dome
The dome keeps humidity high. You don’t need to water much. I used to drench the perlite thinking “more moisture = faster growth.” Wrong. Soggy medium leads to rot. The cutting suffocates.
I lost a batch of five cuttings this way. All rotted at the base. The roots never formed. Now I water once at setup. I only add water if the perlite feels dry to the touch. That rarely happens inside a sealed dome. Overwatering kills more Money Tree cuttings than anything else. Seriously, 90% of indoor plants die from overwatering. I stopped being afraid of underwatering. It’s much harder to kill a cutting with too little water than too much.
Mistake 2: Wrong Light Placement
Light is tricky. Too much burns. Too little starves. I placed my first dome in a dark corner. The cutting stretched toward the light. It became leggy and weak. Roots never developed.
On the flip side, direct sunlight fried a batch. The dome acts like a magnifying glass. Intense sun heats the interior to dangerous levels. I now use a light meter on my phone. I aim for 1000-2000 foot-candles of indirect light. That seems optimal.
If you don’t have a light meter, use the hand test. Place your hand near the spot. If it feels uncomfortably warm after 30 seconds, it’s too bright for a dome.
Mistake 3: Using the Wrong Potting Medium
The medium inside the dome matters acutely. I already mentioned this, but it’s worth repeating. Never use garden soil or heavy potting mix. These mediums retain too much water. They compact. They kill.
I once used coco coir alone. It stayed wet for two weeks. The cutting got root rot. I switched to a 50/50 mix of perlite and vermiculite. That revised approach worked dramatically better. The drainage improved. Air pockets formed. The roots grew freely.
After rooting, I transition to a well-draining potting mix. That’s a separate step. But inside the dome, stick with an inert, fast-draining medium.
Common Questions About Propagating Money Trees in a Humidity Dome
FAQ 1: Can I propagate a Money Tree from a single leaf in a dome?
Definitely not. Money Trees need a stem segment with a node to root. A leaf alone can’t grow roots. I tried this once, hoping for a miracle. The leaf stayed green for two weeks. Then it turned yellow and dropped. No roots ever formed. Always take a stem cutting with at least one node.
FAQ 2: How do I prevent mold inside the humidity dome?
Mold happens when air circulation is poor and the medium stays too wet. I had mold on one cutting because I left dead leaves inside the dome. Now I remove any fallen plant material immediately. I also wipe the dome walls with a diluted hydrogen peroxide solution before setup. If you see white fuzzy mold on the medium, remove the affected area. Open the dome for 10 minutes daily to let fresh air in. This usually stops mold without harming the cutting.
FAQ 3: When should I move the cutting from the dome to soil?
Wait until roots are at least 1-2 inches long. That takes about 14 days with the dome method. I then transition slowly. I open the dome for longer periods over three days. Then I move the cutting to a small pot with well-draining soil. Keep it in a humid spot for another week. I lost a cutting by potting it directly into dry air. The roots weren’t ready. Now I use a plastic bag tent over the pot for the first week. That bridges the gap.
Let me wrap this up with the honest truth. Propagating a Money Tree in a humidity dome is not difficult. It just requires patience and attention to the details I’ve shared. I failed multiple times. I rotted stems. I burned leaves. I watched cuttings wither. But once I got the dome method right, I never looked back.
The first time I saw those white roots emerge from the perlite, I felt a real sense of victory. That cutting is now a full plant in my living room. It reminds me that small adjustments—like using a clear dome, controlling moisture, and positioning light carefully—can change everything.
If you have a Money Tree you love, go ahead and propagate it. Prepare the dome properly. Monitor for two weeks. And learn from my mistakes. You’ll have new plants to share with friends or to expand your own collection. I promise, it feels rewarding when you see progress.
So grab a container, a cutting, and some perlite. Set up your humidity dome. Watch the condensation build. And in 14 days, you’ll see roots. That process never gets old for me.





