admin
How to Thin Money Tree Seedlings for Healthy Growth
I killed my first three money tree seedlings before I learned the truth. The answer to thinning them is simple: wait until they reach 4 inches tall, then cut the weakest stems at soil level. Leave only the strongest two or three stems per pot. Do this over two weeks, removing one stem every three to four days. I learned this the hard way after losing a whole tray of seedlings to rot.
Why Thinning Matters More Than You Think
Most people don't realize that money tree seedlings grow in clusters. They look cute packed together. But here's the thing — each seedling competes for water, light, and nutrients. If you don't thin them, none of them thrive. I used to think more plants meant more success. That was wrong.
According to the RHS, overcrowded seedlings develop weak root systems. The plants stretch toward light. They become leggy. And eventually, they fall over. The AHS confirms that thinning improves air circulation, which reduces fungal diseases.
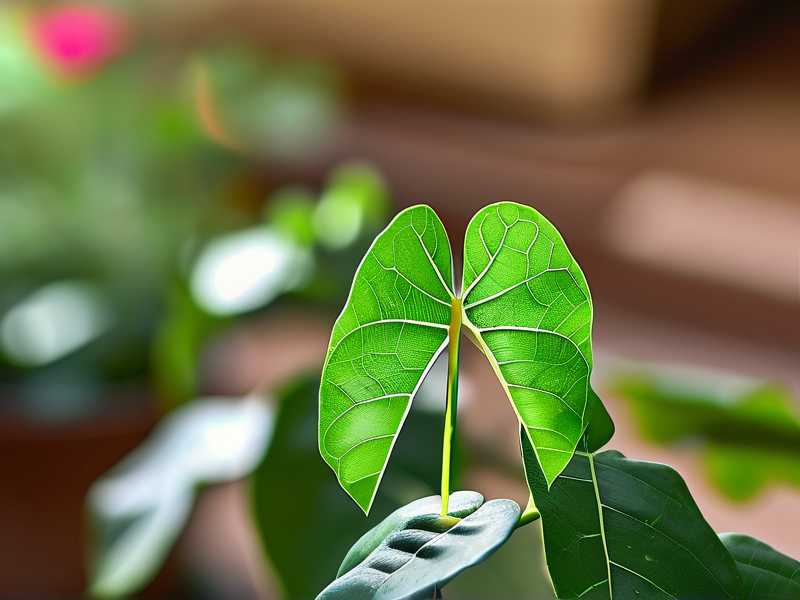
I remember my first batch. I had 20 seedlings in one small pot. They looked like a tiny forest. I felt proud. Two weeks later, half of them had mold on the soil surface. The stems turned brown at the base. That's when I realized I was drowning them with love.
My Two-Week Thinning Process
Week One: The Initial Assessment
I start by examining the seedlings closely. I look for the strongest stems. These are thicker, darker green, and more upright. The weak ones are pale, thin, and leaning.
Day 1: I water the soil lightly. Wet soil makes pulling easier and reduces root damage to remaining seedlings. I use clean scissors, not my fingers. Fingers can tear the roots of nearby plants.
Day 3: I remove the first weak seedling. I cut it at soil level instead of pulling it out. This prevents disturbing the roots of the stronger ones. I learned this after yanking out a weak seedling and taking three healthy roots with it. That mistake cost me two good plants.
Day 6: I remove another weak seedling. By now, the remaining three or four seedlings get more light and airflow. I notice the leaves start to darken. They look happier.
Week Two: Final Selection and Observation
Day 8: I check for any signs of stress. Yellow leaves? Wilting? If everything looks good, I remove another weak seedling. I leave two or three strong ones.
Day 10: I rotate the pot. Seedlings lean toward the window. Rotating ensures even growth. I water only when the top inch of soil feels dry.
Day 12: I remove any seedlings that still look weak. At this point, I should have no more than three per pot.
Day 14: I check the results. The remaining seedlings look sturdy. Their stems are thicker. The leaves are wider and darker. They're ready for another month of growth before transplanting.
During this two-week period, I keep the seedlings in bright indirect light. Direct sunlight burns them. I learned that when my second batch got crispy edges on their leaves. It looked like someone had singed them with a match.
The 3 Deadly Mistakes Beginners Make
Mistake 1: Overwatering the Seedlings
I can't stress this enough. 90% of indoor plants die from overwatering. Money tree seedlings are especially sensitive. Their tiny roots rot quickly in soggy soil.
I used to water my seedlings every day. I thought they needed constant moisture. Instead, I created a swamp. The roots suffocated. The stems turned mushy. One morning I touched a seedling and it just collapsed. It was like a miniature tree that had given up.
Now I water only when the soil feels dry to my fingertip. I push my finger about an inch deep. If it's dry, I water. If it's damp, I wait. Simple.
Mistake 2: Wrong Light Placement
Money tree seedlings need bright but indirect light. Direct sun burns them. Low light makes them stretch.
I tried putting my seedlings on a south-facing windowsill. They got three hours of direct afternoon sun. Within four days, the leaves turned yellow. Then brown. Then crispy. I moved them to a north-facing window. They became leggy and pale. They looked like they were reaching for something that wasn't there.
The sweet spot? East-facing window with morning sun. Or a few feet back from a south window. I use sheer curtains to filter harsh light. My seedlings stopped burning and stopped stretching. They just grew.
Mistake 3: Using the Wrong Pot
Big pots kill small seedlings. I bought a beautiful 8-inch ceramic pot for my first batch. I thought it would give them room to grow. Instead, the soil stayed wet too long. The roots rotted before they could fill the pot.
The right pot is small. I use 3-inch nursery pots with drainage holes. No drainage? Don't even think about it. The AHS recommends pots that are one to two inches wider than the root ball. Anything bigger is a death trap.
I also learned to avoid terracotta for seedlings. It wicks moisture away too fast for their tiny roots. Plastic or glazed ceramic works better. They hold moisture more evenly.
Real Stories From My Garden Failures
I killed my first money tree seedling within two months. I was a complete beginner. I bought a small starter plant from a nursery. It looked healthy. I repotted it into a huge container. I watered it every other day. Within three weeks, the leaves drooped. The stem felt soft. Then it died. I didn't even know what I'd done wrong.
For my second attempt, I grew from seed. I planted ten seeds in one pot. They sprouted beautifully. I was thrilled. Then I made the classic mistake — I didn't thin them. They grew into a tangled mess. Each plant was weak. They all fell over like a row of dominoes. I lost all ten.
My third try was different. I thinned them properly. I used the two-week method I described above. I kept the strongest three. They grew into healthy, bushy plants. I eventually transplanted them into individual pots. They're still alive today, two years later. That's when I understood that thinning isn't cruel. It's necessary.
How to Spot Weak Seedlings Early
Look for these signs of weakness:
- Thin stems — they can't support the leaves
- Pale color — indicates poor photosynthesis
- Uneven growth — the plant is struggling
- Leaning — reaching for light it's not getting
- Small leaves — compared to other seedlings in the same batch
I check my seedlings every morning. I look for these signs. The weak ones don't get better on their own. They only get worse. Removing them early gives the strong ones a better chance.
Tools You Actually Need
You don't need fancy equipment. Here's what works for me:
- Clean scissors or pruning shears — sharp and sanitized
- Small pots with drainage holes — 3-inch size is perfect
- Well-draining potting mix — I mix regular soil with perlite (3:1 ratio)
- Spray bottle — for gentle watering without disturbing the soil
- Plant labels — so I remember when I thinned and when to water
I keep my tools in a small basket near my plants. It makes thinning less of a chore. I can grab everything quickly and get it done.
The Right Soil Mix Matters
Money tree seedlings need loose, airy soil. I tried regular garden soil once. It compacted around the roots. The seedlings couldn't breathe. They turned yellow and stopped growing.
Now I use a mix of potting soil, perlite, and a little sand. The perlite creates air pockets. The sand improves drainage. The RHS suggests adding coarse grit for seedlings. It prevents waterlogging.
I make my own mix: two parts potting soil, one part perlite, one part coarse sand. I mix it in a bucket before filling pots. It's cheap and effective. My seedlings love it.
When to Transplant Thinned Seedlings
After the two-week thinning process, your seedlings need time to recover. I wait another four to six weeks before transplanting. They need to establish stronger roots first.
Signs they're ready for transplanting:
- Roots start coming out of the drainage holes
- The seedling has at least three sets of true leaves
- The stem feels firm, not flimsy
- New growth appears regularly
I transplant into pots that are two inches wider than the current ones. I use the same well-draining soil mix. I water lightly after transplanting and keep them in indirect light for a week.
Common Questions After Thinning
FAQ 1: What if I accidentally remove the strongest seedling?
It happens. I did this once when I was rushing. If you realize immediately, you can try to replant it. But honestly, it rarely survives. The root damage is usually too severe. I learned to slow down. I label the strong seedlings with a plant marker before I start cutting. That way I don't make mistakes.
FAQ 2: Can I thin seedlings that are already rootbound?
Yes, but you need to be careful. Rootbound seedlings have tangled roots. If you pull them apart, you risk damaging all of them. I cut the pot open if needed. Then I carefully separate the root balls underwater. The water helps untangle the roots without tearing. It's a trick I learned from a friend who grows orchids.
FAQ 3: How many seedlings should I keep in one pot?
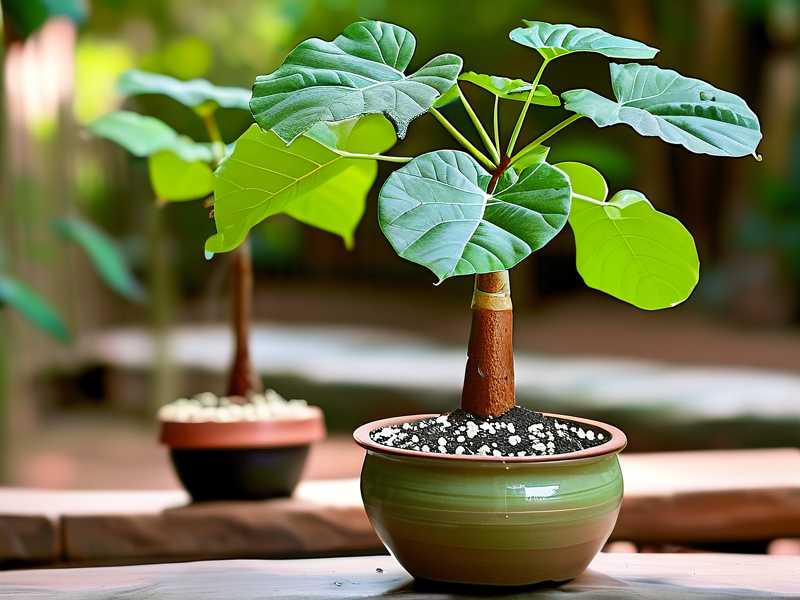
For money trees, I recommend two to three per 3-inch pot. More than that leads to competition. Less than that leaves too much space, and the soil stays wet too long. Two or three is the sweet spot. They support each other without suffocating each other.
Final Thoughts From Someone Who's Been There
Thinning money tree seedlings feels wrong at first. You're removing living plants. But think of it this way — you're saving the strong ones. You're giving them room to breathe, to grow, to become beautiful plants. The weak ones would die anyway. You're just helping them go quickly.
I keep a journal of my thinning dates. I write down which seedlings I removed and why. It helps me learn. I see patterns. I notice what works and what doesn't. It's not rocket science. It's just paying attention.
The most important thing I've learned: be patient. Don't rush the process. Don't hope the weak ones will magically improve. They won't. Cut them early. Focus on the strong ones. In six months, you'll have healthy, thriving money trees that reward your effort.
And if you mess up? That's fine. I killed four batches before I got it right. Every failure taught me something. The mistakes I listed above — overwatering, wrong light, wrong pot — those are the big ones. Avoid those, and you're already ahead of most beginners.
Good luck with your money tree seedlings. You've got this. I believe in you.