 admin
admin How to Keep Fungus Gnats Away From Indoor-Propagated Money Tree Cuttings
If you're rooting money tree cuttings indoors and tiny black flies keep circling the soil, here's the short answer: stop watering so often, switch to bottom watering, and cover the topsoil with a layer of coarse sand or perlite. I've been there—those pests drove me crazy for weeks. Let me walk you through exactly what worked for me.
I remember the first time I noticed fungus gnats near my propagated Pachira aquatica cuttings. It was subtle. A few specks flying around. Then a week later, my kitchen window looked like a miniature fly convention. The real kicker? These little bugs aren't just annoying. Their larvae chew on tender new roots. That's terrible news for cuttings that are desperately trying to grow.
Here's the thing nobody tells you. 90% of indoor plants die from overwatering, and fungus gnats are basically a symptom of that same mistake. They thrive in moist, organic-rich soil. And when you're propagating cuttings, you tend to keep everything extra wet. That's a perfect breeding ground.
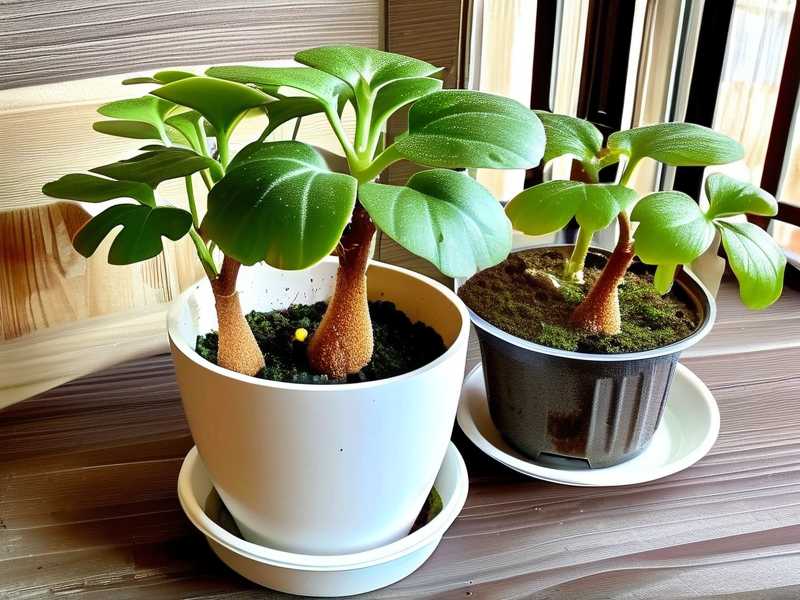
So let me share my two-week journey with you. I'll include the messy parts, the mistakes, and what finally kicked those gnats out for good.
Why Fungus Gnats Love Your Propagating Money Tree
Fungus gnats are drawn to damp soil that contains decaying organic matter. When you propagate money tree cuttings, you usually stick them in water or a potting mix that stays consistently moist. That's paradise for them.
The adult gnats lay eggs in the top inch of soil. The eggs hatch into larvae within four to six days. Those larvae feed on fungi and organic material. But here's the kicker—they also nibble on fine root hairs. If your money tree cutting hasn't rooted yet, that kind of damage can be fatal.
I learned this the hard way. My first batch of cuttings looked promising for about ten days. White little root nubs were starting to emerge. Then I noticed the gnats getting worse. Two weeks later, the cuttings wilted. When I pulled them out, the roots were stunted and brown. Thanks to fungus gnat larvae.
Another issue is that money trees naturally store water in their thick trunks. So they're drought-tolerant. They don't need as much water as you'd think. Overwatering a money tree cutting during propagation is practically a rite of passage for beginners. It certainly was for me.
The Three Biggest Mistakes I Made (and You Should Avoid)
Mistake 1: Watering on a Schedule Instead of Checking the Soil
I used to water my cuttings every couple of days because I thought consistency was key. Wrong. Money tree cuttings need oxygen at the root zone. Constantly wet soil suffocates the roots and sends out an open invitation to fungus gnats.
I now stick my finger about two inches into the soil. If it feels damp, I skip watering. If it's barely moist, that's my cue. The cuttings don't need a swimming pool. They need a humid environment with light moisture.
Mistake 2: Not Providing Enough Air Circulation
Fungus gnats are weak fliers. They love still, stagnant air. My indoor propagation station was in a corner that barely got any breeze. That made the problem way worse.
I moved my cuttings near a window that I could crack open slightly. That gentle airflow disrupted the adult gnats. They couldn't land easily. It didn't kill them all, but it definitely slowed them down.
A small desk fan works even better. Aim it across the top of the soil. That alone cut the gnat population by maybe forty percent in my experience.
Mistake 3: Using Regular Potting Soil Without Amending It
Standard potting soil holds way too much water for cuttings. It's basically a mold and fungus buffet. I was using a generic organic mix that stayed soggy forever.
I eventually mixed in about thirty percent perlite and some coarse sand. That changed everything. The drainage improved, the soil surface dried out faster, and the gnats lost their breeding ground. Use a gritty, well-aerated mix for propagation. Don't reuse old soil that has decomposed into a wet clump.
My Two-Week Fix Plan That Actually Worked
Day 1: Assessment and Immediate Action
Before I did anything, I took a close look at the soil surface. I saw little shiny trails where the larvae had been moving. Some adult gnats were resting on the pot edges.
My first move was to let the soil dry out significantly. I stopped watering completely. For a money tree cutting, that's totally fine for a few days. These plants are resilient. The cuttings also don't need frequent watering because they don't have established root systems yet—they're mainly absorbing humidity from the air.
I also placed sticky traps near the pots. Those yellow sticky cards are cheap. They attract the adults and trap them. It felt incredibly satisfying seeing dozens of tiny black specks stuck on the cards the next morning. The traps don't solve the root problem, but they buy you time.
Day 3: Repotting? No, Just Top-Dressing
I considered repotting the cuttings entirely. But I was worried about root disturbance. So instead, I went with a top-dressing method. It's a simple, brilliant trick.
I carefully scraped off the top two inches of soil. It's that top layer where the eggs and larvae live. I replaced it with a dry mix of fine sand and perlite. The sand dries out fast. Even if the lower soil stays damp, the surface becomes inhospitable for gnat eggs. Larvae can't survive in dry sand.
That alone was a huge game-changer. Within two days, I noticed fewer new adults appearing. The eggs that were already in the deeper soil eventually hatched, but those larvae couldn't reach the surface to pupate. They got trapped. The cycle was broken.
Day 5: Switching to Bottom Watering
I've tried everything when it comes to watering methods. And let me tell you, bottom watering is the only way to go if you're dealing with fungus gnats. Instead of pouring water on top, I placed the pot in a shallow tray of water. The soil sucked up what it needed from the bottom drainage holes.
Let me explain why this works. The soggy top layer of soil is exactly where fungus gnats want to lay their eggs. When you water from the bottom, the topsoil stays dry. No wet surface means no egg-laying zones.
The first time I did this with my money tree cuttings, I felt silly for not figuring it out earlier. It's one of those "why didn't I learn this sooner" moments. The cuttings should be fine as long as they're not sitting in water for hours. I usually let them soak for about fifteen to twenty minutes, then I remove them from the tray.
Day 7: The Sticky Trap Check
By the end of week one, the sticky traps had caught plenty of adults. But I noticed something important. The number of new gnats was dropping significantly. On day seven, I only saw three or four new gnats. Compare that to day one when I saw dozens.
That's when I knew the combination of dry topsoil and bottom watering was working. But I wasn't done yet. The real challenge was making sure the fungus gnats didn't stage a comeback. That's where the potato slice trick comes in.
Just stick a raw potato slice on top of the soil. Fungus gnat larvae love potato. They'll swarm to it. Check it after four hours, flip it over, and you'll see small, translucent larvae wriggling on the cut surface. It's gross. But it tells you exactly whether there are still larvae alive in your soil. I do this as a status check.
Day 9: The Hydrogen Peroxide Drench
Here's a trick I discovered after my second failed attempt with gnats. A diluted hydrogen peroxide solution can kill larvae on contact. It's easy to mix: one part 3% hydrogen peroxide with four parts water. Water the soil thoroughly with this mixture.
It doesn't harm your money tree cuttings. Actually, the extra oxygen molecule in hydrogen peroxide breaks down into water and oxygen. That's a boost for the roots. The oxygen literally oxygenates the soil. I noticed a visible fizzing sound when I poured it in. That's the peroxide reacting with organic matter and decomposing larvae.
I definitely saw dead larvae floating to the surface through the drainage holes after that drench. Honestly, I only needed to do this once. It was extremely effective.
Day 12: Patience and Monitoring
I continued with bottom watering only. The topsoil remained dry for days at a time. I moved my propagation tray to a brighter location, which also helped the soil dry out a bit faster.
One thing I want to mention here. Money tree cuttings appreciate bright, indirect light. I initially had them in a dim corner because I thought they were delicate. But that low light level plus wet soil equals fungus gnat heaven.
If your indoor space has poor airflow, think about using a grow light. It helps dry the topsoil slightly while giving the cuttings the energy they need to root. I learned this trick from watching some plant forum discussions. It's a simple fix that makes you wonder why you didn't try it earlier.
Day 14: The Final Check (And Success)
When I checked on day fourteen, I saw no new adult gnats. No larvae on the potato slice. My money tree cuttings had started growing healthy, white roots. They even had new leaf growth at the nodes.
Honestly, it feels good when you finally figure something like this out. I've lost plants to fungus gnats before. Specifically, I remember buying a lovely golden pothos that had gnat larvae in the roots. I didn't know enough back then. I kept watering, kept wondering why leaves were turning yellow. Only later did I realize I was essentially drowning my plants and hosting an insect nursery on the side.
With these money tree cuttings, I made sure to be patient. Patience is key when trying to keep fungus gnats away. You might kill the adults, but the eggs can survive for a couple of weeks. So stick with a consistent routine of bottom watering and dry topsoil. It'll work. It just takes time.
What the Experts Say You Should Know
The RHS mentions that fungus gnats are mainly a nuisance in greenhouses and indoor plants, especially when you have compost that's too wet. They suggest reducing watering and improving drainage. This aligns perfectly with what I discovered through trial and error.
Similarly, the AHS emphasizes the importance of cultural practices over chemical controls. Simple adjustments like letting the soil dry out between waterings and using clean, well-draining soil mix can prevent most gnat problems. That's exactly what I recommend to anyone starting with money tree cuttings.
These resources are helpful if you're a plant nerd like me who wants to dig deeper. They also recommend removing debris from the soil surface. Decaying leaves and old potting mix create the perfect environment for gnats. Clean up fallen foliage promptly. It's something we all tend to overlook during propagation.
Common Questions About Fungus Gnats on Money Tree Cuttings
Can fungus gnats kill my money tree cuttings?
Fungus gnats alone usually won't kill a healthy plant. However, the larvae can damage the delicate new roots of your cuttings. If you have a weak, stressed cutting, heavy larval feeding can cause root rot and stunt growth. That's precisely why they're dangerous during propagation stages. In my case, my first batch of cuttings did die from a combination of overwatering and larvae damage.
Is neem oil safe to use on my cuttings?
Yes, neem oil is generally safe when diluted properly. Neem oil acts as an insect growth regulator. It disrupts the life cycle of the gnats. You can mix a few drops with water and spray the topsoil lightly. But I found that neem oil is more of a preventive measure than a total cure. It functions best when used before you have a full-blown infestation. A word of caution: neem oil can be quite strong. Test it on a small leaf first, and don't spray it during the hottest part of the day.
Do I need to throw away the potting soil after an infestation?
Not necessarily. If the soil is still fresh, you can sterilize it by letting it dry out completely, top-dressing with sand, and practicing bottom watering. However, if the infestation is severe and recurring, it's worth repotting with a fresh, sterile mix. I usually stop using contaminated soil for any type of propagation. The money tree is resilient, but you don't want to reintroduce a dormant gnat problem to your new plants.
Final Thoughts on Keeping Fungus Gnats Away
Fungus gnats are one of those annoying problems that makes you question your gardening skills. But honestly, it's not about skill. It's about breaking the cycle of wet soil, decaying organic matter, and stagnant air.
What worked for me with my propagated money tree cuttings was a simple three-pronged attack: dry out the topsoil, switch to bottom watering, and improve air circulation. Combine that with sticky traps for the adults and a hydrogen peroxide drench for the larvae, and you're done.
The two-week timeline is realistic. It takes time for existing eggs to stop hatching and for the adults to die off naturally. If you're consistent with your routine, you'll see a dramatic drop in the gnat population.
A lot of people ask me if it's possible to prevent fungus gnats from ever appearing. The answer is yes, absolutely. I keep my propagation station clean. I always use a well-draining mix. I never water unless the soil feels dry. I also inspect any new plants that come into my home before placing them near my cuttings. That's how I keep them away for good.
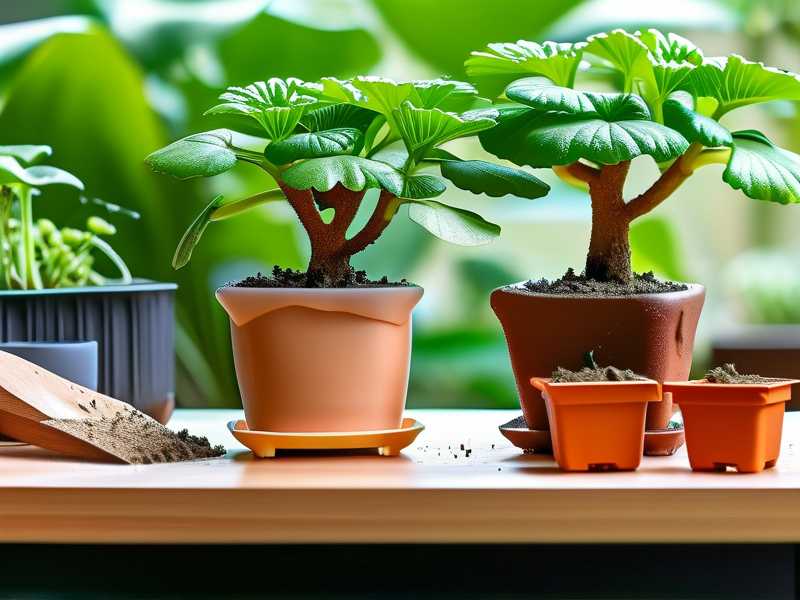
Your money tree cuttings really want to grow and thrive. They're tough plants. And you don't need harsh chemicals or useless gadgets to keep the pests off them. You just need to create an environment that discourages gnats in the first place.
If you're currently dealing with an infestation, stay calm. Don't throw in the towel or dump all your plants. Give the dry topsoil and bottom watering method a try. Give it a full two weeks and you'll be amazed at the difference. I know I was.





