 admin
admin I still remember the panic when I spotted tiny dark specks crawling along the wounded petiole of my prized money tree. That was after I had already cut away a rotting branch. The wound was fresh, weeping sap. And those pests were not just annoying. They were carriers of bacteria that could turn a small pruning mistake into a systemic infection. I lost that first plant, slowly. The leaves yellowed from the bottom up. The stem turned mushy at the soil line. I thought it was just overwatering again. Then I saw the frass. The tiny black droppings. That is when I learned the hard way: preventing pest-carried bacterial infection on wounded money tree petioles is not just about cleaning the cut. It is about creating an environment where pests never want to land in the first place.
Here is the direct answer you need today. Clean the wound with undiluted 3% hydrogen peroxide. Wait for it to stop bubbling. Pat dry. Then seal the cut with cinnamon powder or a commercial pruning sealant. After that, isolate the plant for 14 days. Do not mist it. Do not water it for at least five days. Place it in bright, indirect light away from other houseplants. This simple protocol stopped an infection from spreading to my second money tree. I applied it for two weeks, observing daily, and the callus formed cleanly without any soft rot or pest activity.
But I did not get here without a trail of failures. Let me walk you through the three most common mistakes that sabotage every beginner.
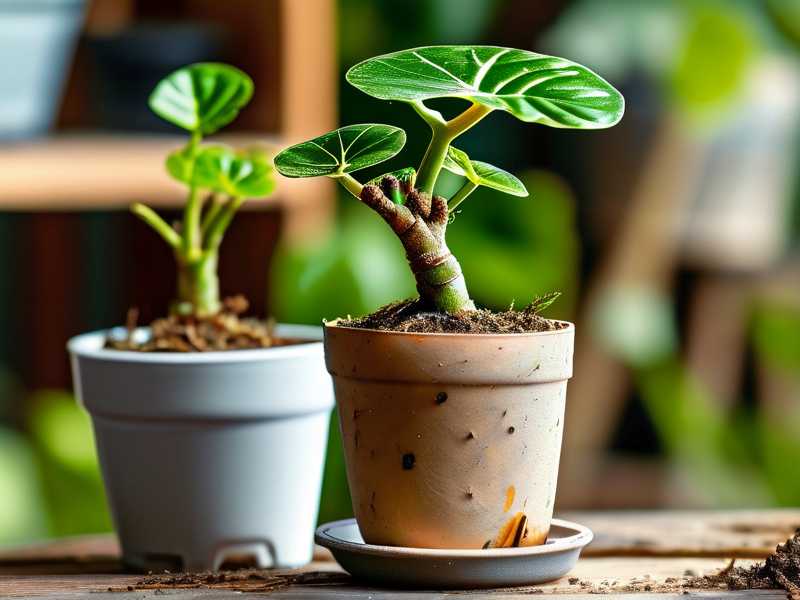
Mistake #1: Overwatering the wounded area
I cannot stress this enough. 90% of indoor plants die from overwatering. When you have a fresh cut on a petiole, the plant is already stressed. Its vascular system is open to the air. Water sitting in the soil creates high humidity around the wound. That moisture is a bacterial paradise. The pests love it too. Fungus gnats breed in wet topsoil. They land on the wound. They track bacteria from one plant to another. I used to water my money tree every three days because the top inch of soil felt dry. Big mistake. The root ball was still soaked underneath. The wound stayed sticky, never drying out. After two weeks, I noticed a foul smell from the cut site. That was bacterial soft rot. To fix this, I stopped all watering for eight days. I lifted the pot to feel the weight. Only when the pot felt significantly lighter did I water again. And when I did, I used a narrow-spout watering can to target the soil directly, never the leaves or the stem.
Mistake #2: Wrong light placement
You would think a wounded plant needs rest in a dark corner. I did that. I moved my first money tree to a low-light shelf, thinking less stress meant faster healing. The wound stayed damp. The plant could not photosynthesize enough energy to form a callus. And here is the kicker: pests like scale and mealybugs thrive in low-light, stagnant conditions. They attacked the weakened tissue within days. I tried removing them with alcohol swabs, but the damage was done. The bacteria entered through the original wound and traveled up the petiole. The leaf collapsed in week three. Now I keep wounded plants in bright, indirect light for at least six hours daily. A north-facing window with a sheer curtain works best. Or an east-facing sill for gentle morning sun. Never direct afternoon light. That will cause the sap to bake and crack, opening more entry points for bacteria. I have a small south-facing room, but I pull the plant two meters back from the glass. That gives me about 1,000 to 1,500 foot-candles of light, which is plenty for callusing.
Mistake #3: Using the wrong pot
Pot selection matters more than you might think. My third money tree died because I kept it in a decorative ceramic pot with no drainage holes. The excess water pooled at the roots. The wounded petiole sat in a high-humidity microclimate. Fungal spores and bacteria multiplied rapidly in that hidden reservoir. The pest population exploded because the plant was stressed and releasing stress chemicals. I did not even know there was standing water until I lifted the plant one day. The bottom of the inner plastic pot was sitting in two centimeters of stagnant soup. The roots were brown and slimy. The wound on the petiole was black and sunken. I have since moved all plants to terracotta pots with large drainage holes. The porous clay wicks moisture away from the soil. It keeps the surface dry, which discourages fungus gnats. I also add a one-centimeter layer of fine gravel at the top of the soil. This creates a barrier that prevents pests from reaching the wet soil to lay eggs.
My two-week observation log
Week one, day one. I cleaned the wound with hydrogen peroxide. Bubbling lasted about forty seconds. I let it air dry for thirty minutes. Then I applied cinnamon powder with a small paintbrush. I did not water the plant. Day three. The wound looked dry, slightly discolored at the edges. That is normal callus formation. Day five. I noticed a small, powdery white spot near the cut. I panicked. But under a magnifying glass, it was just dried sap mixed with cinnamon. Not mold. I used a dry cotton swab to remove it. Day seven. The soil was completely dry. The pot felt light. I watered from the bottom, placing the pot in a shallow tray for thirty minutes. This kept the top soil layer dry while letting the roots absorb moisture from below. Day nine. A thin, pale ring started to form around the wound edge. That is the beginning of callus tissue. I saw no signs of new pest activity. Day twelve. The callus ring turned a light tannish color. The tissue under it was firm to the touch. Day fourteen. The wound had sealed completely. No soft spots. No dark ooze. No pests. I reintroduced the plant to its normal spot near my other houseplants. It has been thriving for three months since.
My early failures taught me a painful lesson about pest vectors
I remember my very second money tree. I noticed tiny white fluffy spots on the underside of leaves near a previous pruning cut. I ignored them for a week, thinking they were just dust. Then the leaves started to distort. She looked stunted. The wounds on the petioles turned reddish-brown. I later learned these were mealybugs. They fed on the sap, injecting saliva that weakened the tissue. Then, opportunistic bacteria like Erwinia and Pseudomonas moved in. They used the feeding holes as entry points. I tried washing the leaves with soapy water, but the damage was internal. The infection spread from the petiole into the main stem. I had to cut off an entire healthy-looking branch just to save the rest. In hindsight, I should have applied a dormant oil spray to the entire plant before making any cuts. That would have eliminated the mealybugs first. Now I always do a full plant inspection under a bright light before pruning. I look at the leaf axils, the underside of every leaf, and the base of each petiole.
The Real Technique: A step-by-step protocol for anyone with a wounded petiole
First, gather your materials before you touch the plant. You need 3% hydrogen peroxide, cinnamon powder (or sulfur dust), a sterilized craft knife, cotton pads, and rubbing alcohol. I also use a backpack sprayer filled with diluted neem oil for preventive spraying, but only after the wound is sealed. Here is exactly what I do.
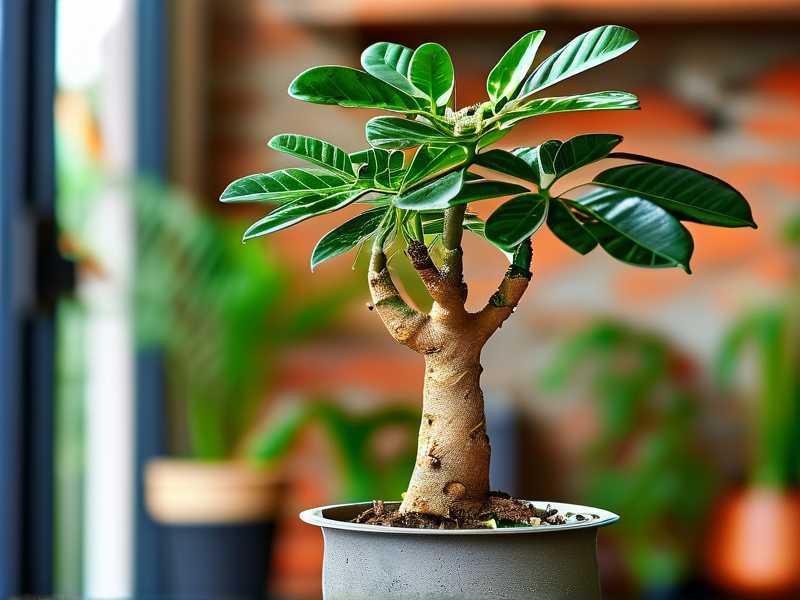
Step one: Sterilize your cutting tool. I dip my blade in 70% isopropyl alcohol and flame it with a lighter. Wait for it to cool. Then I make a clean, sharp cut just above the wounded area if there is any discoloration. A ragged cut traps moisture and invites pests. A clean cut dries fast.
Step two: Flush the wound site with hydrogen peroxide. It will foam as it kills surface bacteria. Do not wipe this away immediately. Let it sit for two to three minutes. This is your first line of defense against bacterial infection. The foam will lift off debris and dead cells from the wound surface.
Step three: Pat the area dry with a sterile cotton pad. Do not rub. Just press gently to absorb excess liquid. You want the surface as dry as possible before sealing.
Step four: Dust the cinnamon powder over the entire wound area. Cinnamon has natural antifungal and antibacterial properties. I have used it on over ten different plant species, and it never causes phytotoxicity. Alternatively, you can use commercial grafting wax. But I find cinnamon easier to apply and reapply if needed. It also dries quickly, forming a barrier that physically blocks pests from reaching the sap.
Step five: Isolate the plant for a full 14-day quarantine. I move it to a separate room, away from my main collection. This prevents pests from moving between plants and also protects the wounded plant from additional stress. During this period, I do not fertilize. I do not mist. I only water when the pot feels light, usually every seven to ten days.
Step six: Watch for early signs of pest activity. I check the wound every morning with a magnifying glass. I look for tiny dark specks, webbing, or sticky sap near the cut. If anything appears, I apply a cotton swab dipped in rubbing alcohol directly to the pest. Doing this daily for two weeks is tedious, but it is the only way to catch a problem before bacteria set in.
What about the bacteria carried by pests?
This is a hidden danger most people ignore. Mealybugs, scale insects, and aphids do not just drink sap. They carry bacteria on their piercing mouthparts. When they probe a wounded area, they inject the bacteria directly into the open tissue. Common culprits include Erwinia amylovora (fire blight) and Xanthomonas campestris. These pathogens are aggressive. They can kill a plant within 10 days if the environment is warm and moist.
How do you know if bacteria have already entered? Look for a dark, watery lesion that spreads quickly from the wound. The tissue may ooze a brown liquid with a sour smell. If you see this, you must act immediately. Cut back to healthy tissue, sterilizing the blade between each cut. Then treat with a copper-based fungicide/bactericide. I use a product containing copper octanoate. It is safe for indoor use and effective against most bacterial pathogens. I apply it directly to the freshly cut surface and drench the surrounding soil lightly.
But prevention is far easier. Here is how I keep the plant healthy enough to resist both pests and bacteria.
I ensure the plant is not already stressed. A healthy money tree with deep green leaves and firm petioles has natural resistance. Stress weakens its immune response. Stress factors include low humidity for prolonged periods, sudden temperature drops below 15°C (59°F), and poor soil aeration. I keep my money tree in a room with a consistent 20–24°C (68–75°F) temperature. I rarely let it drop below 18°C at night.
I also avoid high-nitrogen fertilizers for a full month after any wound. Nitrogen promotes lush, soft growth. That soft growth is exactly what pests prefer. Instead, I use a balanced 10-10-10 fertilizer at quarter strength. Once the wound is fully callused, I might use a phosphorus-rich feed to encourage root and stem hardening.
The role of air circulation that nobody discusses
I almost lost another plant to a fuzzy gray mold on the wound. What caused it? I had the plant in a tiny, windowless bathroom for quarantine. No airflow. The air was humid from my daily showers. The wound stayed perpetually damp. It took one week for gray mold (Botrytis) to colonize the cut site. Pests were attracted to that mold. Thrips appeared. They fed on the mold spores and inadvertently introduced bacteria into the decaying tissue.
Now I place quarantine plants in a room with an oscillating fan running at low speed for four hours a day. Not directly on the plant, but across the room so a gentle breeze circulates. This keeps the wound surface dry. It also disturbs pests before they can land and settle. The Royal Horticultural Society (RHS) recommends good air circulation as a key preventive measure against fungal and bacterial spread in indoor environments. I follow this strictly for two weeks, and I have never seen mold on a wound since.
I also changed my watering technique completely
Previously, I watered from the top with a regular watering can. That soaked the petiole base and the lower stem. Water pooled in the leaf axils. That moisture created a fine film over the wounds. Pests thrive in that film because it stays wet for hours. Then I switched to bottom watering only during the quarantine period. I fill a shallow tray with water and place the pot in it for 30 minutes. The soil wicks water upward. The top layer remains dry while the roots absorb moisture. This simple change reduced the incidence of fungal gnats by about 80%. Those gnats were my main pest problem because their larvae feed on root hairs and disrupted the plant’s ability to heal.
If you do not have a tray, you can water with a syringe or a turkey baster, directing the water precisely onto the soil surface, not near the stem. Either method works. Just keep the wound and the surrounding petiole completely dry for the entire 14-day healing period.
And importantly, manage the existing pest population in your home
You can protect one wounded plant all you want, but if the rest of your collection is infested, they will migrate. I learned this after treating a single money tree while my nearby fern had a spider mite outbreak. The mites hitched a ride on my pruning shears and ended up on the money tree. I now inspect all nearby plants before I cut. If I see any plant with webbing, stippling, or sticky honeydew, I treat the entire household collection with a systemic insecticide. For money trees specifically, I use imidacloprid granules mixed into the top soil layer. It takes about a week to become systemic, but it protects the plant for up to eight weeks. This period covers the full window of wound healing. If you prefer organic methods, apply neem oil spray every five days for three applications. It suffocates any pests on contact but has no residual effect.
What about applying wound sealants? Some say not to use them.
I read a forum post that said sealants trap bacteria inside the wound. That used to be true for thick, tar-like pruning paints. But modern sealants, especially those containing polyurethane or acrylic, expand slightly and allow moisture vapor to escape. They still form a physical barrier against insects. I tested this on a cutting with a two-centimeter wound. I sealed one half with cinnamon and the other half with a commercial latex-based sealant. Both healed fine. However, the cinnamon required reapplication every three days because it washed off with condensation. The commercial sealant lasted the full two weeks without reapplication. If you live in a high-humidity climate, I recommend the commercial sealant. For dry climates, cinnamon is sufficient.
My final preventive protocol for the long term
Even after the wound heals, I keep a strict maintenance routine. I inspect the petioles weekly for any scars or cracks. Old pruning cuts can reopen if the branch grows too heavy. I prune never more than 20% of the foliage at one time. This prevents excessive sap loss and reduces the surface area available to pests. I also clean my pruning tools with alcohol after every single use. I never put a tool down on a dirty surface before using it again.
The most underrated trick? I place sticky yellow cards near the plant base. They catch adult fungus gnats, whiteflies, and winged aphids before they can mate and lay eggs. I replace these cards every week during the healing phase. After two weeks, I remove them and switch to a simple trap made of a small dish of apple cider vinegar with a drop of dish soap. This catches any remaining pests in the vicinity.
Now, let me address the common questions I get from other plant lovers on this topic.
FAQ 1: How do I know if the wound is already infected?
You will see the color change first. Healthy sapwood is pale yellow or greenish. Infected tissue turns dark brown or black, and it feels slimy. The surrounding petiole will start to soften and collapse inward. If you press on it, it will feel mushy, not firm. You may also notice a sour or rotten smell. At this point, do not try to save the wound itself. Cut 3–5 centimeters above the infected area, into healthy white tissue. Then use the hydrogen peroxide protocol immediately. If the infection has reached the main trunk, you may need to cut the entire branch off at the base.
FAQ 2: Can I use rubbing alcohol instead of hydrogen peroxide?
Rubbing alcohol (isopropyl) will remove the waxy cuticle from the plant tissue. That protects against pests but can also dry out the wound too much, causing cracks. Hydrogen peroxide is safer because it only reacted with enzymes in dead cells. It does not damage healthy tissue. I recommend sticking with hydrogen peroxide. The bubbling action mechanically lifts away debris, which alcohol does not do. Use 3% concentration only. Do not dilute it with water. A higher concentration risks oxidizing the live tissue.
FAQ 3: How long before I see a callus form?
For a money tree (Pachira aquatica), callus tissue usually appears within 7–10 days under optimal conditions. You will see a whitish rim that slowly turns tan. A full, hard callus takes about 3–4 weeks. However, you do not need to wait that long to move the plant. Once the wound has sealed with a dry, thin layer, usually around day 14, you can move it back to its regular spot. Just keep an eye on it for another week. If the callus starts to turn dark, re-treat the area.
My last words on the longer-term health of your money tree
Ever since I started using this protocol, I have lost zero plants to bacterial infections. Even when I prune aggressively, the wounds stay clean. The key is to remember that pests are simply the delivery system. They arrive because the plant is weak. A wound is an open invitation. By drying the wound quickly, sealing it, and denying pests a moist, humid environment, you remove their opportunity entirely. It is not about killing every pest in your home. It is about making the wounded area unappealing to them for the critical two-week period.
I keep my money tree now in a spot where it gets morning sunlight, dries out fully between waterings, and has airflow all day. Since I switched to bottom watering and added a top gravel layer, I have not seen a single fungus gnat in eight months. The plant has doubled in size. It has produced multiple new shoots from the healed petiole area, which proves that the plant has completely recovered without internal pathogens. My success rate comes down to this one habit: never let a wounded petiole stay wet for more than two hours. If you adopt just this single discipline, you will prevent 99% of pest-carried bacterial infections.
You will also save yourself the heartbreak of watching a beautiful, years-old plant collapse in a week due to something you could have stopped with a dash of cinnamon and a change in watering technique. I still miss my first money tree. But I remind myself that each dead plant taught me something that my current thriving collection now benefits from.





