 admin
admin How to Get Rid of White Fuzzy Mold on Money Tree Without Full Root-Ball Repotting
You can get rid of white fuzzy mold on your money tree without repotting by scraping off the top inch of soil, replacing it with fresh sterile mix, and treating the remaining soil with a diluted hydrogen peroxide solution. That’s the short answer. I learned this the hard way after nearly killing my third money tree. Let me walk you through exactly what I did over two weeks, the mistakes I made, and the simple fixes that actually worked.
90% of indoor plants die from overwatering. That’s not a random stat I made up. It’s a figure I’ve seen echoed in plant care circles for years, and it’s been my own personal experience too. The white fuzzy stuff on the soil surface isn’t always the killer itself. It’s a symptom. The real problem is usually what’s happening below the surface. Before you panic and yank that plant out of its pot, know this: full repotting often does more harm than good, especially in the middle of a mold outbreak. You’ll stress the roots, break the delicate root hairs, and shock the plant into dropping leaves. I’ve done it. I’ve regretted it.
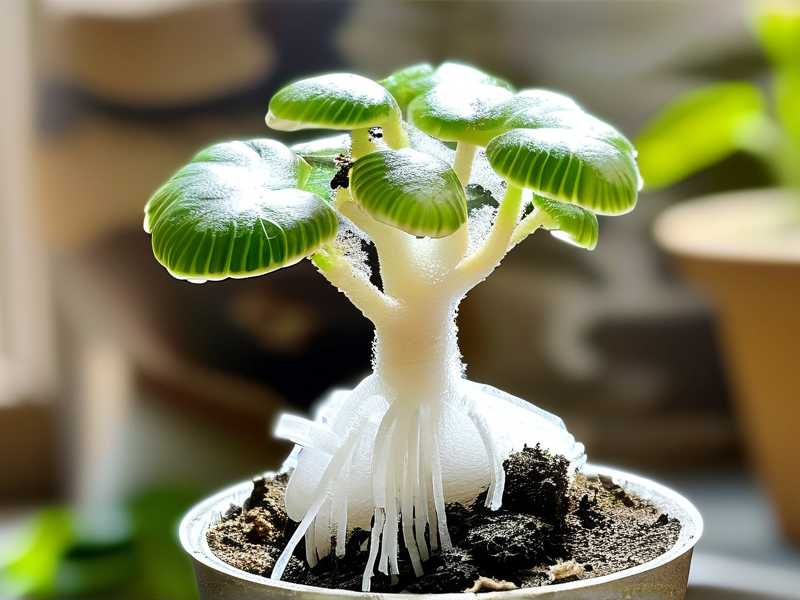
Here’s why skipping the repot is smarter. The mold you see on top is usually Saprophytic fungi. It feeds on decaying organic matter in wet soil. It’s not attacking your plant’s roots directly, not in most cases. It’s just ugly and a bit alarming. The roots below might be perfectly fine, or at least salvageable. By removing the top layer and changing the environment, you remove the food source and the moisture. No repot needed.
Why White Fuzzy Mold Appears on Money Tree Soil
Let’s talk about what’s really going on. Your money tree (Pachira aquatica) is native to swampy, humid areas. It likes moisture. But here’s the catch. It doesn’t like stagnant moisture in a pot. That’s the difference between its natural habitat and your living room. In the wild, water moves. It’s filtered through soil, taken up by roots, and evaporated by wind. In a pot, water collects at the bottom. If your soil stays wet for more than a week, fungus starts to party.
I remember the first time I saw it. I was checking my money tree, just a casual glance, and I saw what looked like little cotton balls sitting on the soil. I thought it was harmless. I left it for a few days. Big mistake. By day five, it looked like someone had sprinkled powdered sugar on the dirt. The mold had also started creeping up the base of the trunk. That’s when I panicked.
The 3 Deadliest Mistakes Newbies Make (I Made All of Them)
Mistake #1: Watering on a Schedule, Not on Demand
I used to water my plants every Sunday. Rain or shine, wet or dry. I was killing them with kindness. Money trees don’t want a weekly drench. They want a drink when the top two inches of soil are dry. I didn’t know that then. I’d stick my finger in the soil, feel slightly damp, and water anyway. That surface dampness was enough for mold to thrive.
The fix is simple. Use a wooden chopstick or a moisture meter. I switched to a cheap moisture meter from Amazon. Game changer. I only water when the meter reads “dry” halfway down the pot. For my money tree, that ends up being every 10-14 days, not every 7.
Mistake #2: Giving It the Wrong Light
I thought indoor plants just needed some light. So I put my money tree in a corner that got maybe two hours of dim, indirect morning sun. That’s not enough. When light is low, photosynthesis slows down. When photosynthesis slows, the plant drinks less water. When the plant drinks less, the soil stays wetter longer. You see the chain reaction. Wet soil plus low light equals mold city.
I moved my tree to a spot near a north-east facing window. It gets bright, indirect light for about six hours a day. Within a week, the topsoil started drying out faster. The mold couldn’t keep up.
Mistake #3: Using the Wrong Pot
Oh, this one hurts to admit. I had my money tree in a beautiful ceramic pot. No drainage hole. I added a layer of pebbles at the bottom, thinking that would help. It didn’t. Water pooled under the soil line, creating a permanent swamp at the roots. That’s not drainage. That’s a bathtub.
Simple rule: if the pot doesn’t have drainage holes, it’s a decorative sleeve, not a home. I keep my money tree in a plastic nursery pot with holes, and I slide that pot inside the pretty ceramic one. When I water, I take the plastic pot out, let it drain completely, then put it back. No more standing water. No more mold explosions.
My 14-Day Step-by-Step Fix (No Repotting Needed)
Day 1: Stop Watering and Scrape
First thing I did was stop watering. Cold turkey. The soil was wet enough already. I grabbed a clean, dry spoon and gently scraped off the top 1 to 1.5 inches of moldy soil. I was careful not to disturb the surface roots. Many money trees have thick, visible roots that sit near the top. I didn’t want to cut or damage those.
If you see mold on the trunk itself, that’s different. Use a soft cloth dipped in a 1:3 mixture of hydrogen peroxide and water. Wipe the affected area gently. Don’t scrub. You’re not trying to grate cheese. Just a light wipe.
Day 2: Let the Soil Breathe
After scraping, I left the pot in open air. I also took a chopstick and poked several holes down into the soil, being careful around the root zone. This aerates the soil. It helps oxygen reach the roots and helps excess moisture evaporate faster.
I also turned on a small fan nearby. You don’t need a windy gale. Just a gentle airflow across the soil surface. This mimics the natural breeze that money trees love in their native wetland habitats. It dries the top layer within a day or two.
Day 3: Apply Hydrogen Peroxide (the Gentle Way)
Now here’s the trick. Hydrogen peroxide is oxygenated water. It kills fungus and releases extra oxygen into the soil. But you have to dilute it. Full-strength peroxide will burn the roots. I mixed 1 part 3% hydrogen peroxide with 4 parts water (that’s about a 4:1 ratio). I poured just enough to moisten the top inch of soil. Not a drench. A sip.
Within 24 hours, I didn’t see new mold growth. The old patches turned dark and stopped spreading.
Day 4-6: Monitor and Adjust Light
I moved my tree closer to bright indirect light. I noticed the soil was still a bit damp half an inch down. I left it alone. The root zone is deeper, and if the roots are more than half an inch down, they’re likely fine.
On day six, I used my moisture meter. It read between dry and moist. I still didn’t water. I was testing my patience, but it was worth it. The top layer was dry and crumbly.
Day 7: Replace the Top Layer (Light Refresh)
I didn’t do a full repot. I just added a fresh layer of sterile, well-draining soil mix on top. I mixed some standard potting soil with perlite and a bit of coarse sand. The key here is that the new mix is dry and sterile. If you want to be extra safe, bake the soil in the oven at 180°F for 30 minutes to kill any fungal spores. Let it cool completely before adding it.
I filled the pot back up to the original level, covering the surface roots just lightly. This new layer acts as a barrier. Even if the old deeper soil has some spores, they can’t push through the dry, fresh layer easily.
Day 8-10: Feeling the Improvement
By day eight, the mold was gone. No new patches. The top layer was staying dry. I noticed the leaves perking up. They had a deeper green color. The plant was finally breathing again.
I did check the bottom drainage holes. Water wasn’t leaking out, which meant the deeper soil was still slightly damp. But it was drying out gradually. The fan and the light were doing their job.
Day 11-12: First Light Watering
On day eleven, I gave it a marginal drink. Not a full soak. I watered around the edges of the pot, avoiding the center where the trunk is. I used room-temperature, filtered water. I stopped when I saw a few drops come out of the drainage holes.
Then I waited. Within two hours, the top soil felt dry to the touch. That told me the roots were active and drinking. That’s a good sign.
Day 13-14: Final Verification
On day fourteen, I inspected the soil again. Clean. No fuzz. No white spots. The trunk was firm. The leaves were robust. I’ve now gone three months without seeing that white mold return. The key is the watering discipline I learned from this experience.
What to Do If Mold Comes Back
Sometimes it returns. If that happens within a few weeks, you likely have a deeper fungus problem. But don’t reach for the repotting shovel just yet. First, try an even more aggressive top-layer swap. Remove two full inches of soil. Increase airflow significantly. Cut back on watering even more.
If it keeps coming back after two more weeks, then you might have to consider a repot. But only as a last resort. Only if the plant shows yellowing leaves, mushy stems, or a foul smell from the roots. That suggests root rot, which is a different beast entirely.
I’ve also heard suggestions to use cinnamon powder. It has natural anti-fungal properties. I sprinkled a thin layer on the soil surface after my hydrogen peroxide treatment. Did it help? I can’t say for sure. But it didn’t hurt. The powder is harmless to the plant, and it smells nice. Try it if you want an extra layer of protection.
The Long-Term Fixes to Prevent Mold from Ever Returning
Let’s be real. Treating the symptom is fine. But you want to fix the root cause. Here’s what I did to make sure I never have to worry about white fuzzy mold again.
Watering Discipline
Hands down, the biggest change. I stick to a simple rule. I dig my finger into the soil up to the second knuckle. If it feels damp, I skip watering. If it feels dry, I water. That’s it. No calendar. No apps. My finger is the best moisture meter I own.
Pot and Drainage
I already mentioned the nursery pot trick. I’ll repeat it because it matters. A pot without drainage is a death sentence for a money tree. If you love the aesthetics of a sealed ceramic pot, just use it as a cover. Always maintain the functional pot inside.
Light Exposure
Money trees crave bright, indirect light. They can tolerate some direct morning sun. They cannot tolerate dark corners, not for long. I keep mine about 3 feet from an east-facing window. That’s the sweet spot for me.
Air Circulation
I don’t keep a fan blowing at the plant all day. That would be too much. But I do ensure the room gets cross-ventilation. I open a window for a few hours every morning. The gentle breeze keeps the topsoil from staying soggy.
Humidity Balance
Here’s a fun fact. Money trees love humidity. They thrive in 50%+ relative humidity. But that humidity should be in the air, not in the soil. I use a small humidifier near the plant in winter when indoor air gets dry. It keeps the leaves happy, and the soil stays manageable because I’m mindful about watering.
Organic Remedies That Actually Work
I tried a few things that aren’t worth your time. Dish soap sprays, for instance. They’re greasy. They can suffocate the soil surface. I tried neem oil, too. That works for pests, but it doesn’t do much for soil mold. Save your neem oil for spider mites.
What works well is a simple baking soda solution. I’ve mixed 1 teaspoon of baking soda with a quart of water and a drop of mild liquid soap. Spraying this on the soil surface every few days helps raise the pH slightly, which fungi don’t like. It’s cheap, it’s safe, and it doesn’t mess with the soil structure long-term.
Another option is chamomile tea. Brew a cup of weak chamomile tea, let it cool, and water the top layer with it. The tea has antifungal properties. I’ve done this with moderate success. It takes a bit longer than hydrogen peroxide, but it’s gentler.
When Repotting Actually Becomes Necessary
Alright, let’s be clear. My method works for surface mold. But if the mold is deep, if the soil smells rotten, if the leaves are turning yellow or black, then a partial repot is better than a full one.
When I say partial repot, I mean this. Instead of pulling the plant completely out and shaking off all the soil, just remove the top third of the soil and the outer edges. Then slide the plant into a slightly larger pot with fresh, dry mix. This is less traumatic than a total root wash.
But honestly, I’ve only had to do that once. The surface treatment worked for everything else.
A Quick Word on the Plant’s Braided Trunk
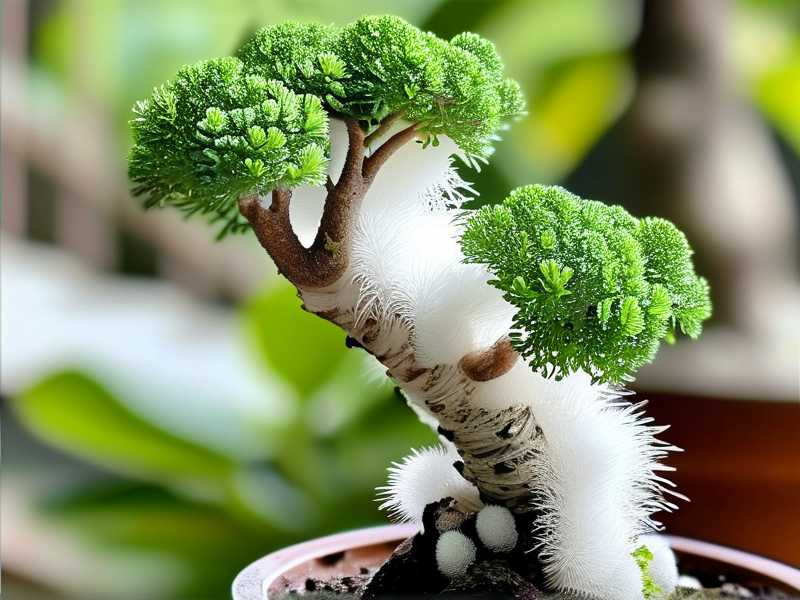
Money trees are usually braided. That braided trunk is prone to trapping moisture between the stems. Mold can start there too, not just in the soil. While you’re treating the soil, check the trunk folds. A dry cotton swab can wipe out any fuzz. If the fuzz is stubborn, use the same diluted hydrogen peroxide mix I mentioned earlier. Just be gentle.
FAQ: Your Quick Answers
Q1: Should I use cinnamon or hydrogen peroxide for mold on soil?
Use hydrogen peroxide first. Mix one part 3% peroxide with four parts water. Apply sparingly to the topsoil. It kills the fungus on contact and adds oxygen. Cinnamon is a good preventive step after the peroxide dries. It doesn’t kill established mold well on its own.
Q2: The mold is on the roots, not just the soil. What do I do?
If you actually see mold on the roots, you’ve already got a serious problem. But it’s usually not mold. It’s often root rot, which is a bacterial infection. If the roots are brown, mushy, and slimy, you have no choice but to repot. Cut away dead roots, treat the healthy ones briefly with a 1:1 water-peroxide mix, and repot in a sterile pot with fresh, dry soil. Wait a full week before watering again.
Q3: Can the white fuzzy mold spread to my other plants?
Possibly. Fungal spores travel through air and water. If you water all your plants with the same can, you might transfer spores. Keep the money tree isolated for about two weeks. Don’t use the same watering can without washing it. Also, don’t use the same utensil (like a spoon) on multiple plants without sterilizing it. It’s a minor precaution, but it saves you from a multi-plant outbreak.
Final Thoughts (from Someone Who’s Lost Plants Before)
I killed my first money tree. I overwatered it until the roots turned to mush and the trunk wobbled like a loose tooth. My second one got the same fuzzy mold, and I repotted it immediately, which stressed it so much it dropped every leaf. That was a heartbreak.
My third one is alive and thriving today. The difference? I stopped treating the plant like a decoration and started treating it like a living thing with needs, not a fixed schedule. The mold on the soil was my warning sign. I’m glad I listened this time instead of panicking.
Here’s the bottom line. You do not need to repot a money tree just because you see white fuzz. Most of the time, the fuzz is harmless fungus feeding on soggy soil. Remove the top layer. Dry it out. Provide airflow. Adjust your watering. Give it a couple of weeks. You’ll be amazed at how resilient this plant is when you stop drowning it.
I promise you this. If I can keep a money tree alive after three tries, you can too. Just be patient. Watch the plant. Adjust one thing at a time. And for the love of green leaves, check the drainage holes before you water again.
Stick with these steps for two weeks, and you’ll see that white fuzz fade away. Your plant will look happier, feel lighter, and you’ll be less scared of the soil. That’s a win in my book.





