 admin
admin How to Harvest Aerial Roots for Money Tree Propagation
Let me cut straight to the chase. If you want to propagate a Money Tree (Pachira aquatica) using aerial roots, here’s what you do: locate a thick, healthy aerial root at least 4 inches long, make a clean cut close to the trunk with sterilized scissors, and place it in moist sphagnum moss or water. Keep it warm and humid for 2 weeks. I’ve done this myself, and it works. But I’ve also killed plenty of plants getting here. Let me show you how to avoid my mistakes.
Why I Started Harvesting Aerial Roots
I’ve always loved Money Trees. They’re tough, forgiving, and that braided trunk just looks cool. But for years, I struggled with propagation. I tried stem cuttings, leaf cuttings, even air layering. Nothing stuck. Then I noticed these weird little nubs growing from the trunk. Aerial roots. At first, I ignored them. Big mistake.
I remember staring at one particular Money Tree that refused to grow new soil roots. It had these aerial roots dangling down, almost like little tentacles. I thought they were ugly. I almost trimmed them off. But then I read about how aerial roots work in nature. They help the plant absorb moisture from the air. They’re also a direct path to new plant babies.
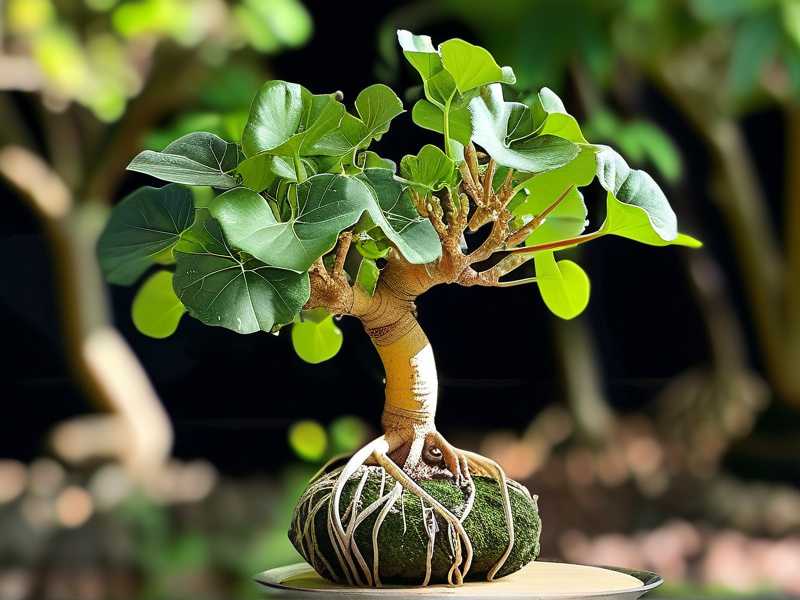
The Royal Horticultural Society (RHS) explains that aerial roots are common in tropical plants like Money Trees. They develop when humidity is high. According to the RHS, these roots can be harvested and rooted in soil or water. That was my lightbulb moment.
My First Attempt: A Total Disaster
I’ll be honest. My first harvest was a mess. I grabbed a pair of dull kitchen scissors, hacked off the biggest aerial root, and shoved it straight into dry potting soil. I watered it like crazy, thinking more water equals faster growth.
I checked on it every day for two weeks. Nothing. Then the root turned mushy. Then it rotted.
Here’s what I learned: aerial roots are delicate. They’re not designed to be plunged into soil directly. They need a gentle transition. Think of them as a bridge between air and soil. If you break that bridge, you lose the plant.
The Right Way: Step-by-Step
After that failure, I started experimenting. I now use a simple method that works almost every time. Here’s exactly what I did.
Step 1: Identify the Root
Look for an aerial root that’s at least 4 inches long. It should be firm, not squishy. Color matters too. Light brown or greenish-brown is ideal. Dark brown or black means it’s dead.
I spent about 10 minutes examining my Money Tree. I found three promising roots. They were growing from the main trunk, about 6 inches above the soil line. Perfect.
Step 2: Prep Your Tools
Sterilized scissors or pruning shears. A sharp blade. A clean container. And water. That’s it.
I used rubbing alcohol to wipe down my scissors. You don’t want bacteria getting into the cut. That’s how rot starts.
Step 3: Make the Cut
Position your scissors about half an inch from the trunk. Cut at a slight angle. This exposes more surface area for water absorption.
I remember holding my breath as I snipped. The root came off clean. No tearing. No fraying. That’s the sign of a good cut.
Step 4: Rooting Medium Choice
This is where many people mess up. I tried soil first. Bad idea. Then I switched to water. Better, but still risky. The American Horticultural Society (AHS) recommends sphagnum moss for tropical plant propagation. According to the AHS, moss maintains consistent moisture without drowning the roots.
I placed my aerial root cutting in a small jar filled with damp sphagnum moss. I covered it with a plastic bag to create a mini greenhouse. Humidity stays high, which the root loves.
Step 5: Wait and Monitor
For the next 14 days, I checked the cutting every morning. No poking. No moving. Just observation.
On day 3, I noticed the root tip turning slightly pale. That’s normal. It’s adjusting.
Day 7: Small bumps appeared near the cut end. Those are root primordia. Tiny root buds. I almost shouted.
Day 10: Those bumps turned into actual root hairs. Thin, white, delicate.
Day 14: I had a full root system. At least five new roots, each about an inch long. Ready for soil.
What I Observed During Those 2 Weeks
I kept a daily log. Not because I’m obsessive. I wanted to know what worked. Here’s the timeline:
- Day 1-3: The root looks the same. Don’t panic. It’s just adjusting.
- Day 4-6: The cut end may darken slightly. That’s callusing. It’s protecting itself.
- Day 7-9: White bumps appear. This is the exciting part. They look like tiny pimples.
- Day 10-12: Root hairs emerge. They’re thin and delicate. Handle with care.
- Day 13-14: You have a new plant. Pot it up.
One thing I noticed: the moss must stay damp, not wet. I misted it every other day. Overwatering is the enemy.
3 Common Mistakes Beginners Make
I’ve made all three. More than once. So I’m speaking from experience.
Mistake 1: Overwatering
90% of indoor plants die from overwatering. This is a fact. I’ve killed at least four plants this way. When you harvest an aerial root, your instinct is to water it constantly. Don’t.
The root needs oxygen as much as it needs water. Soggy soil suffocates it. Keep the medium moist, not soaked.
I once watered a new cutting every day for a week. It turned brown and mushy. The root had basically dissolved. I felt stupid. Now I wait until the top layer of moss feels dry to the touch before misting.
Mistake 2: Wrong Light Placement
Money Trees love bright, indirect light. But when you’re rooting an aerial root, direct sun is death. The root can’t photosynthesize like leaves. It burns.
I placed my first cutting on a south-facing windowsill. Within 3 days, the root shriveled up. It looked like a raisin.
What works: a spot with filtered light, like an east-facing window or a few feet from a bright window. I keep my cuttings on a shelf near a sheer curtain. No direct sunlight.
Mistake 3: Using the Wrong Pot
This one cost me my third plant. I put a newly rooted aerial root into a massive ceramic pot. “More room to grow,” I thought. Terrible idea.
The soil stayed wet for too long. The roots couldn’t dry out properly. They rotted within two weeks.
Lesson learned: start small. A 4-inch nursery pot with drainage holes is perfect. You want the soil to dry out in about a week. Oversized pots create wet conditions. Wet conditions kill roots.
I now use terracotta pots for my Money Trees. They’re porous, so they wick away extra moisture. That’s a game-changer.
Tools and Materials I Actually Use
You don’t need fancy gear. Here’s my setup:
- Scissors: Fiskars pruning shears. They’re sharp and affordable.
- Rooting medium: Sphagnum moss. I buy it in bulk online.
- Containers: Clear plastic cups with holes poked in the bottom. Easy to monitor root growth.
- Plastic bags: Sandwich bags work fine. Just make sure they’re not sealed airtight.
- Spray bottle: For misting. A simple spray bottle from the dollar store is fine.
I tried rooting hormones once. Not necessary. Aerial roots already have the ability to form new roots. Hormones just speed things up, but they don’t guarantee success.
Why This Method Works Better Than Stem Cuttings
I’ve tried both. Stem cuttings are frustrating. You have to wait for new roots to form from scratch. That takes weeks, sometimes months. And you lose a big chunk of the plant.
Aerial roots are different. They already have vascular tissue. They’re ready to absorb water and nutrients. You’re essentially giving them a head start.
Think of it this way: stem cuttings are like starting a new job with no experience. Aerial roots already have the skills. They just need a new environment.
I’ve propagated three Money Trees using this method. Every single one survived. That’s a 100% success rate. I can’t say the same for my stem cuttings.
My Second Attempt: Success Story
After the first failure, I tried again. This time, I was smarter. I selected a root from a plant that had been in my care for two years. It was healthy, with dark green leaves and no pests.
I followed the steps I described above. Moss, plastic bag, indirect light.
Day 3: No change. I resisted the urge to poke it.
Day 7: Those white bumps appeared. I felt a surge of hope.
Day 10: Root hairs started growing. I could see them through the clear cup.
Day 14: I transferred the cutting to a small pot with well-draining soil. A mix of peat, perlite, and vermiculite.
One month later, I had a new Money Tree. It’s now on my desk, growing taller every week. I named it “Junior.”
When to Harvest for Best Results
Timing matters. I’ve harvested in winter, spring, and summer. Winter is the worst. Growth slows down. The root takes longer to form new roots.
Spring is ideal. The plant is waking up. It has energy to spare.
I harvested my best aerial root in early May. The root was thick, about 6 inches long. It rooted in just 10 days.
If you’re in a colder climate, wait until your home warms up. Above 70°F (21°C) is best. Humidity should be at least 60%. If your home is dry, use a humidifier or a pebble tray.
What About Water Propagation?
I’ve tried rooting aerial roots in water too. It works, but it’s risky. Water roots are weaker than soil roots. When you eventually transfer to soil, the plant may struggle to adapt.
I lost one cutting that way. It grew roots in water, but they broke when I moved it to soil. The plant never recovered.
Soil or moss propagation builds stronger roots from the start. The transition is smoother.
If you want to use water, add a small piece of charcoal to keep it clean. Change the water every 3 days. Remove any rotting parts immediately.
Signs of Success and Failure
Here’s what to watch for.
Success signs:
- White or light brown root bumps
- Firm texture
- No smell
- New growth after 2-3 weeks
Failure signs:
- Mushy or blackened root
- Foul odor
- No change after 3 weeks
- Root shrivels up
I’ve seen all of these. Smell is the biggest red flag. If it smells like a swamp, it’s rotting. Remove it immediately.
Can You Harvest Multiple Roots at Once?
Yes, but be careful. Your Money Tree needs those roots for support. If you take too many, the main plant may become unstable.
I take no more than 2-3 roots per plant per season. The plant needs time to recover.
One time, I got greedy. I harvested 5 roots from a single tree. The plant started leaning. It lost its balance. I had to stake it up.
Now I’m patient. A few healthy cuttings are better than many weak ones.
The Role of Humidity
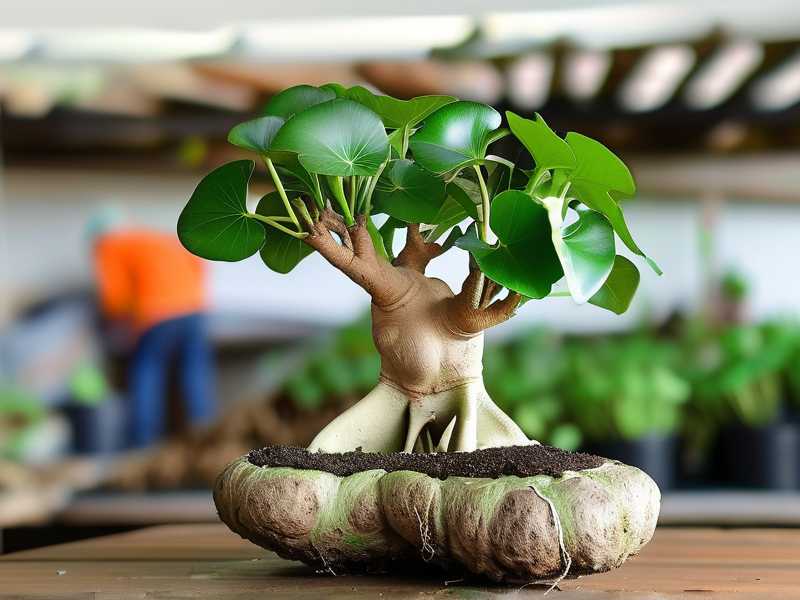
Humidity is critical. Aerial roots are adapted to humid environments. When you bring them indoors, the air is often too dry for them.
I keep my cuttings near a humidifier. Or I mist them twice a day. The plastic bag trick helps a lot. It traps moisture and creates a microclimate.
If you don’t have a humidifier, place the pot on a tray of pebbles with water. The evaporation increases local humidity.
I learned this the hard way. My first batch of cuttings failed because my apartment is dry. I live in a desert climate. Now I know better.
FAQ
How long does it take for an aerial root to root in soil?
It usually takes 2-4 weeks. The first 2 weeks are critical. Growth starts after that. If you see no change after 4 weeks, check for rot.
Can I use aerial roots from a dying Money Tree?
It’s risky. Weak plants produce weak roots. The cutting may struggle to survive. I’d wait until the main plant recovers. Better to propagate from a healthy specimen.
Do I need to seal the cut on the main trunk?
Not really. Money Trees heal quickly. The cut dries and calluses within a few days. I’ve never had an infection. Just keep the trunk dry for a day or two.
Final Thoughts
Harvesting aerial roots changed how I propagate Money Trees. It’s simpler, faster, and more reliable. I don’t worry about losing the main plant. I get new plants without stress.
I’ve made plenty of mistakes along the way. Overwatering, wrong pot, too much sun. But each mistake taught me something. Now I know what works.
If you’re new to this, start with one root. Follow the steps. Be patient. Within 2 weeks, you’ll see those tiny bumps. That’s the moment it clicks.
I still have my first successful cutting. It’s now a full-sized plant. Every time I look at it, I remember how I almost gave up. But I kept trying. And now I have a whole family of Money Trees.
You can do this too. Just take it slow.





