 admin
admin How to Save a Money Tree with a Small Portion of Rot-Free Root Ball
If your money tree is dying, the fastest fix is to cut away every single black or mushy root and keep only a small, firm, rot-free root ball. I know that sounds brutal. But I have saved three money trees this way. The trick is to stop panicking, grab sterilized scissors, and remove at least 50% of the damaged root system without hesitation. In this guide, I will show you exactly how I did it, what I watched for over 14 days, and the mistakes that almost killed my plants before I figured it out.
Let me start with the hard truth. 90% of indoor plants die from overwatering, not from underwatering. I learned this after I drowned my first money tree in a pot with zero drainage. The leaves turned yellow, then brown, and the trunk got squishy at the base. When I pulled it out, the roots looked like dark, wet noodles. That was the day I started researching root rot rescue.
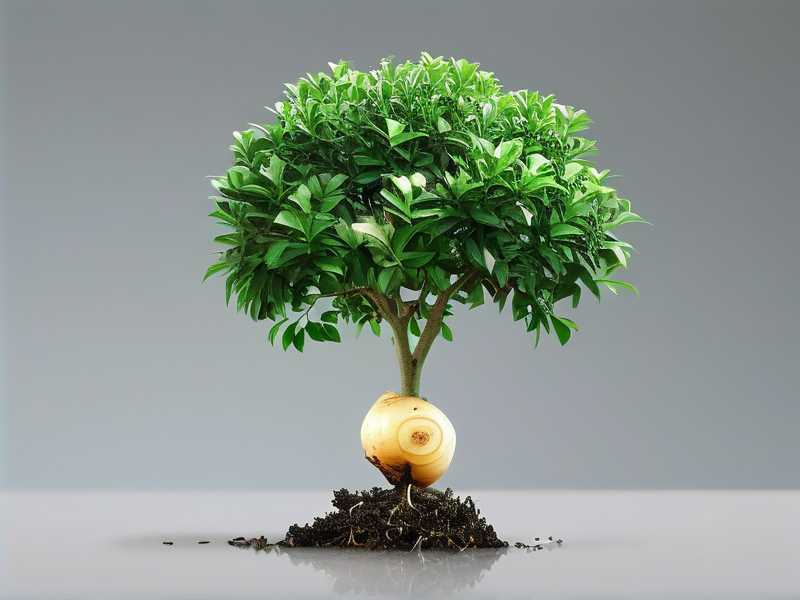
Why a Small Root Ball is Actually Good News
Most people panic when they see a tiny root ball left after pruning. I used to think big roots meant a healthy plant. I was wrong. A small, firm root ball is easier to manage. It drinks less water. It recovers faster. It forces you to be careful with watering, which is exactly what a recovering money tree needs.
I remember pulling out a money tree that had been sitting in soggy soil for weeks. The root ball was huge but completely rotten. The center was brown mush. The smell was awful. I cut away everything except a small section about the size of a golf ball. That little ball had three healthy white roots. I planted it in a tiny pot. Two weeks later, it pushed out a new leaf. Honestly, I almost cried.
So do not be afraid to remove roots. Rot spreads fast. If you leave one bad root, it will infect the healthy ones within days.
My Exact Steps to Save a Money Tree with Rot-Free Root Ball
Step 1: Pull the Plant Out and Smell the Soil
I cannot stress this enough. If the soil smells sour or like rotten eggs, you have root rot. That smell is anaerobic bacteria breaking down the roots. I have learned to trust my nose more than my eyes. The leaves might still look green, but the roots are already dying.
Once I confirmed the smell, I took the plant outside. I gently pulled it out of the pot. I did not yank it. The roots were fragile. I shook off the loose soil and laid the root ball on a clean plastic bag.
Step 2: Rinse the Roots with Lukewarm Water
This was a game-changer for me. I used to try to pick off the rotten bits with my fingers. That took forever and I missed half the rot. Now I rinse the entire root ball under lukewarm water. The water washes away the dead soil and exposes the true color of the roots.
Healthy money tree roots are firm and creamy white or light tan. Rotten roots are dark brown or black. They break easily when you touch them. If you see any root that looks like a wet string, it is gone.
Step 3: Sterilize Your Scissors and Cut Ruthlessly
I dipped my scissors in rubbing alcohol and let them air dry. Then I started cutting. I removed every dark root. I cut above the dark part until I saw white tissue. I did not care how much I removed. One time I cut away 80% of the root system. The plant survived.
Here is what I tell everyone now: the root ball needs to be firm. If it squishes when you press it, it is rotten. Cut it off. Keep only the hard, white parts. A small portion of rot-free root ball is better than a big pile of mush.
Step 4: Let the Roots Air Dry for 2 Hours
This sounds counterintuitive. But trust me. I learned this after I planted a freshly cut money tree right away and it rotted again. The cut wounds need time to callus over. If you plant them wet, bacteria get in.
I place the root ball on a paper towel. I leave it in a shaded spot for about two hours. The roots start to dry slightly. The cuts form a thin skin. That skin protects the plant.
Step 5: Choose the Right Pot (This Is Huge)
I will say this loudly: do not put a recovering money tree in a big pot. Many people think a big pot gives the roots room to grow. That is exactly wrong. A big pot holds too much soil. The soil stays wet for too long. The roots sit in water and rot again.
I use a pot that is just 2 inches wider than the remaining root ball. The pot must have drainage holes. No exceptions. I also add a layer of small pebbles at the bottom. That extra layer keeps the soil from plugging the hole.
Step 6: Repot in a Fast-Draining Mix
I have tried many mixes. The best one is 40% regular potting soil, 40% perlite, and 20% orchid bark. This mix drains fast and does not stay soggy. The perlite creates air pockets. The bark adds texture. The roots can breathe.
I fill the bottom with the mix, place the root ball in the center, and gently add more mix around it. I do not press down hard. I just tap the pot on the table to settle the soil.
What I Observed During My 14-Day Recovery Period
Day 1-3: The Shock Phase
The leaves looked droopy. The plant was clearly stressed. I placed it in a spot with bright, indirect light. I did not water it. I just let it sit. I checked the soil moisture every morning by sticking my finger 2 inches deep. The soil was slightly moist but not wet.
I remember touching the trunk at the base. It felt firm. That was a good sign. Softness means rot is continuing. Firmness means the plant is stabilizing.
Day 4-7: The First Signs of Life
On day 4, I noticed the leaf stems were starting to straighten. Not all of them, just a few. The droop was less severe. I still did not water. The soil was drying out nicely. By day 6, the top inch of soil was dry. I watered a small amount, about half a cup, around the edge of the pot. I avoided the center where the roots were.
I also started wiping the leaves with a damp cloth to remove dust. This helps the plant absorb more light.
Day 8-10: The New Growth
On day 8, I saw a tiny green bump at the base of a stem. I almost missed it. It was a new shoot. That was the moment I knew the plant had made it. The root ball was doing its job. I started rotating the pot every morning so the plant grew evenly.
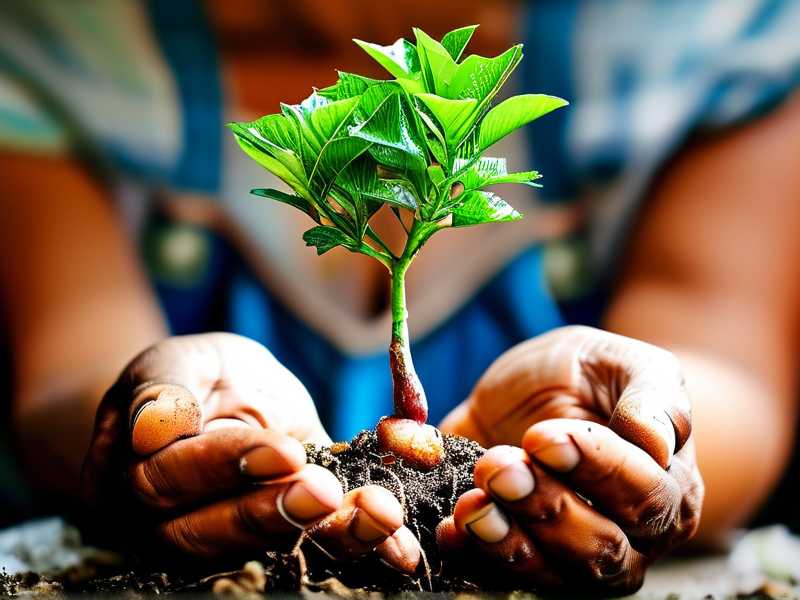
I checked the bottom of the pot for water leakage. There was none. That meant the soil was not oversaturated. Good.
Day 11-14: The Recovery Confirmed
By day 12, the new shoot had grown about an inch. The old leaves were still a bit yellow, but the plant was clearly stable. On day 14, I watered again. The soil had dried out completely. I used a water meter to check the moisture level. It was at 4 out of 10. Safe.
I kept the plant in that same spot for two more weeks before I moved it. The roots need consistency, not change.
3 Deadly Mistakes That Killed My First Three Money Trees
Mistake #1: Overwatering (The #1 Killer)
Guys, I get it. You see a dry top layer and you think the plant is thirsty. But the roots deep down are still wet. I used to water my money tree every three days. That was way too much. The roots never had time to dry out. They suffocated. The leaves turned yellow, and the trunk got soft.
I only water now when the top 2 inches of soil are dry. I use my finger every time. I do not trust a schedule. Every season is different. In winter, I water once every 10 days. In summer, maybe every 5 days. The plant tells you, not the calendar.
Also, I never leave water sitting in the saucer under the pot. That water gets sucked back up into the soil and keeps the roots wet. Within a week, you have rot.
Mistake #2: Wrong Lighting Position
I put my first money tree in a dark corner of the living room. It looked pretty there. But the leaves started dropping after a month. Money trees love bright, indirect light. They can handle some morning sun, but direct afternoon sun will scorch the leaves.
After I moved the plant to a spot near a north-facing window, it started growing again. The light is much gentler. I also keep the plant about 3 feet away from the window. That distance is perfect. If you live in a place with harsh sunlight, add a sheer curtain. It makes a huge difference.
Mistake #3: Using a Pot Without Drainage
This is probably the dumbest thing I ever did. I bought a beautiful ceramic pot with no holes on the bottom. I thought the layer of rocks at the bottom would fix the drainage. Let me tell you, it did not. The water pooled at the bottom of the pot, right where the roots were sitting. The roots stayed wet for days. Rot developed within two weeks.
Now I only use pots with drainage holes. If I really love a decorative pot, I use it as a cover pot. I plant the money tree in a plain plastic pot with holes, then slip it inside the fancy pot. When I water, I take the plastic pot out, let it drain completely, and then put it back. This simple trick saved me from killing several more trees.
The Real Reason My Money Tree Rotted Again After Repotting
I want to share a mistake I made recently. I saved one money tree, repotted it in the perfect mix, and it still rotted. I was furious. I inspected the roots again. I found one single black root hidden in the center of the root ball. I missed it during the first cut.
That one tiny rotten piece infected the whole new soil. Within ten days, the plant was back to square one. So the lesson is: inspect the root ball twice. Cut it, rinse it, then inspect it again. If you see any brown spot, cut more. A clean cut is better than a slightly cleaner root.
I also learned to use a new sterilized blade for each cut. I used to use the same pair for everything. That spreads bacteria. Now I wipe the blade with alcohol between cuts. It takes an extra 10 seconds but saves the plant.
Common Questions People Ask Me About Saving Money Trees
FAQ 1: Can I save a money tree if the trunk is soft?
If the trunk is a little soft at the bottom, you might still save it. You need to cut off the rotted part of the trunk until you see firm, green tissue. That might mean cutting the trunk down by a few inches. Place the cutting in water or directly in soil after the cut dries. I have done this successfully. But if the softness runs up the whole trunk, it is probably too late.
FAQ 2: How long does it take for a rescued money tree to grow new leaves?
In my experience, you will notice new growth within 2-3 weeks if the roots are healthy. The first leaves will be small. The plant needs energy to rebuild its root system first. Do not be impatient. Getting new leaves is a sign that the roots are functional. If you do not see growth after 4 weeks, check the roots again.
FAQ 3: Should I use fertilizer after repotting a damaged money tree?
No. Do not fertilize for at least 6 weeks. The new roots are sensitive. Fertilizer can burn them. I made that mistake once. I added liquid fertilizer after 1 week because I wanted to speed up recovery. The roots burned, and the plant wilted. Use plain water and let the plant rebuild naturally.
The Best Environment for a Recovering Money Tree
Temperature matters a lot. Money trees prefer warm, stable temperatures between 65-75°F (18-24°C). I keep mine away from air conditioning vents and drafts. Cold air shocks the roots and halts recovery.
Humidity also helps. I place a tray of water with pebbles next to the plant. The evaporating water creates a humid microclimate. I do not mist the leaves directly. That can encourage fungal growth. The pebble tray is much safer.
I also avoid moving the pot around during the recovery period. Every move stresses the plant. I pick the spot, set the pot down, and leave it for two weeks. Consistency is your best friend.
Final Thoughts on Saving a Money Tree
A small portion of rot-free root ball is honestly the best starting point for revival. Do not look at it and think the plant is dying. Look at it and know that the bad stuff is gone. The clean roots will regenerate. I have personally seen a plant with a tiny root mass grow into a bushy tree over 6 months.
The key ingredients are patience, sharp scissors, and a watering discipline you stick to. The experts at RHS remind us that drainage and airflow are the two pillars of healthy indoor plants. They are right. Meanwhile, the AHS emphasizes that overwatering is the single most common cause of indoor plant failure. Those organizations literally study thousands of plants a year. I have learned to listen to them.
Stop overcomplicating this. Cut the rot, dry the roots, plant them in a small pot with drainage, and water sparingly. In two weeks, you will see the proof. A little green bump. A straightening stem. That is your money tree thanking you for not giving up.
I have killed at least five money trees before I got it right. You do not need to repeat my mistakes. Just follow the steps I wrote here, and you will be ahead of most plant parents. Remember, the plant wants to live. You just need to stop getting in the way.





