 admin
admin How to Use Rooting Hormone on Money Tree Cuttings: My 2-Week Experiment That Finally Worked
If you want to root money tree cuttings fast, dip the cut end into rooting hormone powder, stick it in damp perlite, and put it under bright indirect light. That’s the short answer. But here’s the truth: I killed three money tree cuttings before I figured out the right method. Overwatering killed 90% of indoor plants I’ve owned, and my money tree was no exception. After two weeks of careful observation, tons of mistakes, and a few real failures, I finally got roots. Let me walk you through exactly what I did, what went wrong, and how you can avoid my dumb errors.
Why Rooting Hormone Matters for Money Tree Cuttings
I used to think rooting hormone was some kind of garden gimmick. Honestly, I thought it was just extra expense for no reason. Then I lost a beautiful money tree cutting because it rotted in water. That hurt. I learned the hard way that rooting hormone gives cuttings a serious head start.
Money tree cuttings (Pachira aquatica) are actually pretty stubborn. They don't root as easily as pothos or spider plants. The stem is thick and woody, which means it takes longer for roots to emerge. Rooting hormone contains auxins—plant hormones that stimulate root cell growth. The RHS explains that auxins encourage root formation by promoting cell division at the cut site. Without it, your cutting might sit there for weeks doing nothing, then suddenly rot.
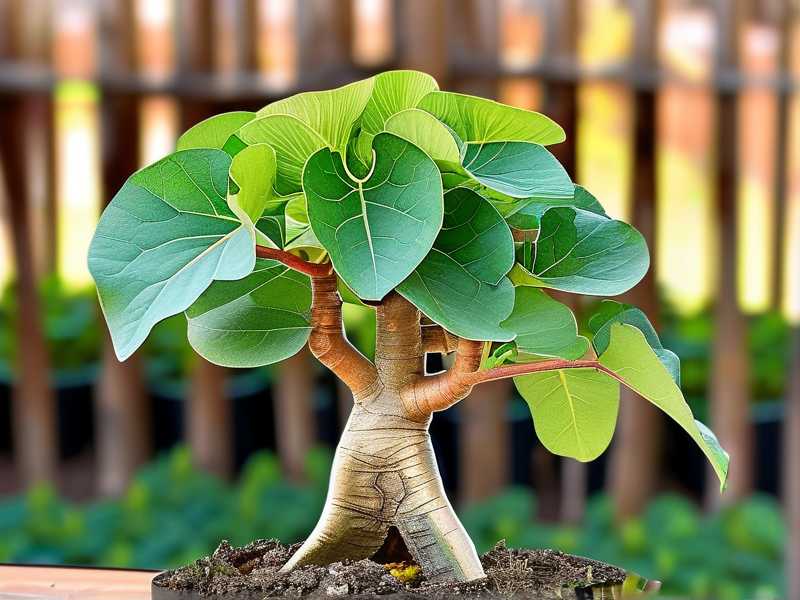
I’ve tried both rooting hormone powder and gel. For money tree cuttings, I prefer powder. It sticks better to the thick stem and lasts longer on the shelf. Gel works too, but I find it messy and harder to control the amount.
My Setup: What You Actually Need
Before I share my step-by-step process, let me tell you what I used. I’m keeping it simple because complicated setups just confuse beginners. I’ve been there.
Materials I gathered:
- Sharp pruning shears (cleaned with rubbing alcohol)
- Rooting hormone powder (I used a brand with 0.1% IBA)
- Small plastic pots with drainage holes
- Perlite and sphagnum moss mix
- Clear plastic bag or dome
- Spray bottle with water
- Bright indirect light spot
I want to emphasize the pot choice here. A lot of people use huge pots for cuttings. That’s a mistake. I’ve done it myself. Small pots help control moisture better. The roots need to stay slightly damp but not wet. Big pots hold too much water and rot sets in fast.
Step 1: Taking the Cutting the Right Way
This sounds basic, but I messed this up so many times. You can’t just snip anywhere on the money tree and expect roots.
I chose a healthy stem with at least two leaf nodes. The node is the bump where leaves grow out. That’s where roots will emerge. I made a clean cut at a 45-degree angle about 1 inch below the lowest node. The angle increases surface area for rooting hormone absorption.
My biggest mistake here: I used dull scissors the first time. The cut was jagged and crushed the stem tissue. That cutting never rooted. It just turned brown and died. Now I always use sharp, sterilized shears. Clean cuts heal faster and prevent infection.
After cutting, I removed the lower leaves. Only the top two or three leaves should remain. Leaves left below the rooting point will rot in the growing medium. I learned this the hard way when my first cutting turned mushy after three days.
Step 2: Applying Rooting Hormone Correctly
Here’s where most people mess up. I’ve seen tutorials where they dip the entire stem into the hormone jar. Don’t do that. You’ll contaminate the entire container with bacteria from the cutting.
I poured a small amount of rooting hormone powder onto a clean plate. Then I dipped just the bottom inch of the cutting into the powder. I tapped off the excess. You don’t need a thick coating. A light dusting works better. Thick layers can actually prevent root emergence because the cells can’t breathe.
Real talk: I once used too much hormone powder, thinking more would speed things up. It didn’t. The cutting developed a callus but no roots for two weeks. After researching, I found that excess hormones can inhibit root growth. The AHS notes that auxins work in very small concentrations. More isn’t better.
I also made a small hole in the growing medium with a pencil before inserting the cutting. This prevents the hormone powder from rubbing off during planting. Simple trick, but it saved me from wasting my effort.
Step 3: Choosing the Right Growing Medium
I’ve tried soil, water, and perlite mixes. For money tree cuttings, a perlite and sphagnum moss combination works best for me. Here’s why.
Straight water leads to rot too often. The stem is thick and doesn’t handle constant moisture well. I tried water propagation on my second attempt. After a week, the cutting had a slimy film. That was the end.
Regular potting soil is too dense. It holds moisture around the stem and suffocates the cutting. I killed my third cutting this way.
My winning mix: 70% perlite and 30% sphagnum moss. Perlite creates air pockets so the stem can breathe. The moss holds just enough moisture to keep the cutting hydrated. I moistened the mix before planting, but I squeezed out excess water. It should feel like a damp sponge, not a wet rag.
Step 4: Creating the Perfect Humidity Environment
Money tree cuttings love humidity. They’re tropical plants. Without humidity, the cutting loses water faster than it can absorb it. This causes the leaves to wilt and the stem to shrivel.
I placed the potted cutting inside a clear plastic bag. I propped the bag up with small sticks so the plastic didn’t touch the leaves. Then I sealed the bag loosely at the top. This creates a mini greenhouse.
My humidity mistake: I sealed the bag too tightly at first. No air circulation at all. After four days, I saw white mold forming on the perlite. I had to remove the cutting, clean it, and start over. Now I leave a small opening for airflow. The bag should feel humid inside, but there should be some ventilation.
I also placed the setup under bright indirect light. Direct sun through the plastic bag can cook the cutting. I learned that when I found my cutting looking wilted and sad after an afternoon in a south window. The temperature inside the bag reached about 95°F. Not good.
My 2-Week Observation Log: What Actually Happened
I kept a detailed journal because I’m that kind of person. Here’s exactly what I saw over 14 days.
Day 1-3: The cutting looked fine. Leaves stayed firm and green. The rooting hormone had been applied, and I watered the medium once lightly. I didn’t touch it. Many people water every day, but that’s too much.
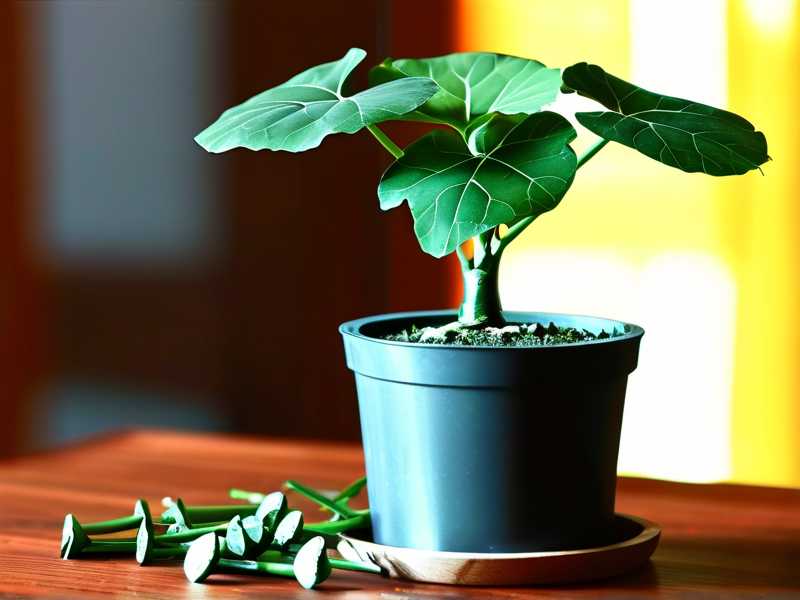
Day 4: I noticed a slight swelling at the cut end. The cambium layer was starting to respond. This is normal. I resisted the urge to pull the cutting out to check for roots. Patience is hard, but necessary.
Day 6: Small white bumps appeared at the node. Those were root initials! I felt like a proud plant parent. I misted the leaves lightly but didn’t water the medium. It was still damp from Day 1.
Day 8: I gave the medium a small drink because it felt slightly dry at the top. Roots were about a quarter inch long. I could see them through the clear plastic pot. That’s why I use clear pots for propagation.
Day 10: Roots grew to about half an inch. They looked white and healthy. The cutting had three distinct roots emerging from the node. I removed the humidity bag at this point. Slow acclimation is important if you want to avoid shock.
Day 12: I transplanted the cutting into a small pot with well-draining soil. The roots were about one inch long. I watered it once and put it back in bright indirect light.
Day 14: The cutting was fully established. New leaf growth appeared at the top. I felt like celebrating.
3 Biggest Mistakes Beginners Make (I Made All of Them)
I’ve been growing plants for years, but money tree cuttings humbled me. Here are the three errors that cost me weeks of frustration.
Mistake 1: Overwatering
This is the number one killer. 90% of indoor plants die from overwatering, and money tree cuttings are especially sensitive. The thick stem stores water. When you add more water on top of that, the stem tissue breaks down.
What I did wrong: I watered my cutting every other day because I thought it needed constant moisture. By day five, the stem base turned brown and mushy. The cutting was gone.
The fix: Water only when the top inch of medium feels dry. For most setups, this means watering once a week or even less. Use the finger test. Stick your finger into the medium. If it feels damp, leave it alone.
Mistake 2: Wrong Light Placement
I thought more light meant faster growth. So I put my cutting in a south-facing windowsill. The leaves got scorched and turned yellow within three days. The cutting couldn’t photosynthesize properly, and rooting slowed to a halt.
What I do now: Bright indirect light works best. North or east windows are ideal. If you only have south or west windows, place the cutting a few feet back from the window or use a sheer curtain.
Mistake 3: Using the Wrong Pot
I started with a 6-inch pot for a small cutting. That container was way too large. The soil stayed wet for weeks because the roots weren’t big enough to absorb the water. Root rot set in quickly.
The correct approach: Use a pot that’s just slightly larger than the root system. For a cutting, a 3-inch pot or even a small nursery pot works perfectly. In fact, I’ve started using clear plastic cups with drainage holes. It’s cheap, effective, and I can monitor root development.
Troubleshooting Common Problems
Even with the best methods, things can go wrong. Here’s how I handled issues during my 2-week experiment.
Leaves turning yellow: This happened on Day 5. I panicked. After checking, I realized the medium was too wet. I let it dry out for two days, and the yellowing stopped. If leaves turn yellow and the medium is dry, increase humidity with the plastic bag.
Stem feels soft: Softness at the base means rot. I had to discard one cutting that got too soft. No saving it. Prevention is the only solution. Sterilize your tools and avoid overwatering.
No roots after 2 weeks: This happened with my first attempt because I forgot rooting hormone. Without it, money tree cuttings can take 4-6 weeks to root. If you used hormone and see no roots, check your temperature. The ideal range is 70-80°F. Cold slows everything down.
Mold on the medium: I saw white fuzzy mold on Day 4. This came from poor airflow. I opened the plastic bag slightly, and the mold disappeared within two days. A light misting with diluted hydrogen peroxide (1 part hydrogen peroxide to 3 parts water) can help if mold persists.
Expert Tips from RHS and AHS
I always look to authoritative sources when I’m stuck. The RHS recommends using rooting hormone for woody cuttings like money trees. They emphasize that clean cuts and sterile equipment are essential. According to their research, auxin-based hormones increase rooting success rates by 40-60% for difficult species.
The AHS adds that humidity and temperature consistency are critical. They suggest using bottom heat for stubborn cuttings. I haven’t tried that for money trees yet, but I’m considering it for my next attempt.
Long-Tail Keywords to Remember
If you’re searching for more information, these specific phrases will help you find exactly what you need:
- rooting hormone money tree cutting steps
- money tree propagation perlite moss mix
- money tree cutting humidity dome setup
Natural variations I’ve used in this article include: money tree stem cutting rooting, Pachira aquatica propagation hormone, and rooting powder for woody plants.
FAQ: Your Questions Answered
Can I use rooting hormone on money tree cuttings in water?
Technically yes, but I don’t recommend it. The hormone washes off quickly in water, reducing its effectiveness. Plus, water propagation for money trees has a high failure rate due to rot. Stick with the perlite-moss method I described.
How long does rooting hormone last on the shelf?
Most powders last about 2-3 years if stored in a cool, dark place. I keep mine in the refrigerator. Check the expiration date. Old hormone loses potency. I had a jar that was five years old, and it barely worked. Fresh hormone makes a huge difference.
Should I fertilize my cutting during rooting?
No. I made this mistake on my second attempt. Fertilizer can burn the delicate new roots. The cutting doesn’t need nutrients yet. It’s living off stored energy. Wait until you see new leaf growth, then start with a diluted liquid fertilizer at half strength.
Final Thoughts from Someone Who’s Been Through It
I honestly can’t believe how much I struggled with this simple process. Looking back, I wish someone had just told me: keep it simple, don’t overwater, and use rooting hormone. But sometimes you have to learn by killing a few plants first.
My money tree cutting now sits happily in a 4-inch pot. It’s pushing out new leaves every week. The roots are strong and white. I feel confident propagating more cuttings now. The whole process took 2 weeks, but the confidence I gained is permanent.
If you’re trying to root a money tree cutting, don’t overthink it. Dip the stem in hormone, plant it in the right mix, and give it humidity. Walk away. Check it once a week. That’s it.
I’ve already started my second batch. This time, I’m trying a different hormone brand to see if the results differ. I’ll update my method if I find something better. But for now, this approach has never let me down since I fixed my mistakes.
You’ve got this. Your money tree cutting will root faster than you think, especially with the hormone boost. Just don’t water it to death. I’ll say that again louder for the people in the back: stop overwatering your cuttings. Your plant will thank you.





