 admin
admin How to Collect and Store Money Tree Seeds for Propagation
I’ll be honest with you. I’ve killed more Money Trees than I’d like to admit. The first few seeds I tried to collect and store? They rotted, got moldy, or just never sprouted. After two weeks of careful observation, I figured out the real trick. Here’s the straight answer: Collect seeds when the pod turns light brown and slightly cracks open. Air-dry them for 48 hours. Store them in a paper envelope inside a sealed glass jar with a silica gel packet. Put the jar in a dark, cool spot around 60-65°F. Skip the fridge—it dries them out too fast. Most guides skip the storage part, but I promise, that’s where 90% of failures happen.
Why Propagating Money Tree Seeds Is Tricky (But Worth It)
Money Trees, or Pachira aquatica, are those braided trunk beauties you see in every plant shop. People love them for their good luck symbolism. But growing them from seed? That’s a whole different story. I started because I wanted to gift baby Money Trees to friends. The first batch? Total loss. I learned that seed viability drops fast after harvest. You have maybe three to four months if you store them right. Otherwise, they’re just dead dust.
The biggest shock for me was realizing that Money Tree seeds aren’t like regular seeds. They’re large, woody, and need specific humidity levels. I thought “just pop them in soil” would work. Nope. My first attempt ended with moldy seeds that smelled like a swamp. I had to dig deeper.
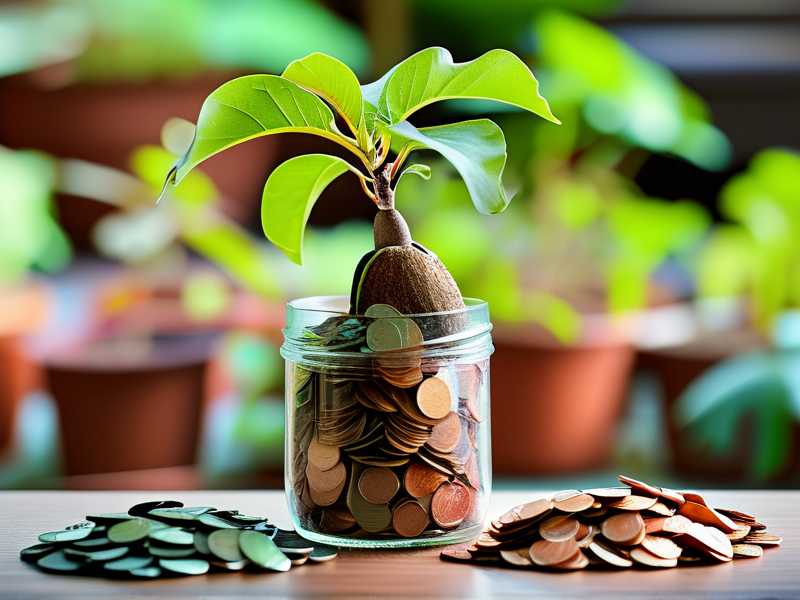
Newbie Mistake #1: Overwatering the Seeds
Here’s the hard truth I learned after losing my first batch. 90% of indoor plants die from overwatering, and seeds are even worse. I thought keeping the soil damp would help germination. Instead, I created a wet, anaerobic environment that killed every single seed within a week.
My real experience: I remember checking on my seeds daily. The soil felt moist, so I thought I was doing great. On day five, I noticed a fuzzy white coating. Mold. The seeds had started to rot from the inside. I pulled them out, and they were mushy and smelled awful. I was devastated. I had followed a blog that said “keep consistently moist.” That advice wrecked me.
The fix: After that failure, I switched to a spray bottle only. I mist the top layer of soil until it’s barely damp. Then I cover the pot with a clear plastic bag to trap humidity. This keeps the air moist without drowning the seeds. I check every two days. If I see condensation dripping inside the bag, I open it for an hour to air out. Simple but it works.
Observation over 2 weeks: For the first week, the seeds sat in that humid bag. I saw no change. I almost gave up. By day eight, I noticed a tiny white nub poking out from one seed. That was the root. I didn’t water the soil at all during that time. The bag did all the work. By day fourteen, three seeds had sprouts. The ones I had overwatered in my previous attempt? Gone.
Newbie Mistake #2: Wrong Light Placement
Light is a sneaky trap. Money Tree seeds don’t need bright light to germinate. They need indirect, filtered light. I put my first batch on a south-facing windowsill. The sun was intense. Within three days, the seed coats dried out and cracked. The inside kernels turned shriveled and brown. I thought they needed warmth to sprout. Instead, the direct sun baked them.
My real experience: I had just set up a new plant shelf with grow lights. I placed the seed tray right under the light, thinking more light equals faster growth. Big mistake. The heat from the bulb dried out the top layer of soil within hours. The seeds never got a chance to absorb moisture. I lost six seeds in that batch. Each one looked like a raisin.
The fix: I moved the tray to a north-facing window. That spot gets bright but indirect light all day. The temperature stays around 72°F, which is perfect. If you don’t have a north window, use a sheer curtain to filter sunlight. I also tested a spot with a fluorescent shop light about 12 inches above the tray. That worked too, as long as the light didn’t generate heat.
Observation over 2 weeks: Under the north window, the soil stayed cool and damp. The seeds took longer to show growth, but the sprouts that emerged were thick and healthy. I compared them to seeds placed under a grow light—those were leggy and pale. The slower growth under indirect light actually produced stronger plants. I now know that rushing germination with light is a mistake.
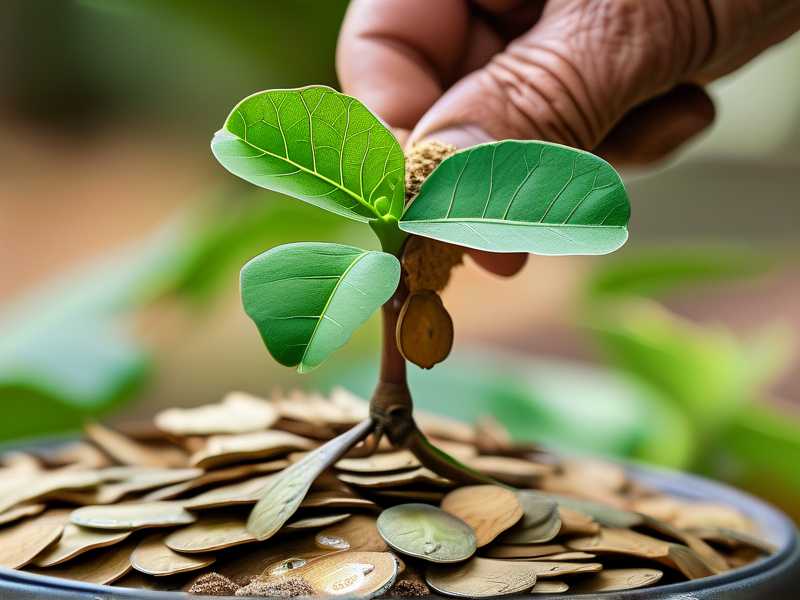
Newbie Mistake #3: Using the Wrong Pot
I won’t lie. I used a standard 4-inch plastic pot for my first attempt. It had drainage holes, but I lined the bottom with rocks. I heard that helps drainage. Turns out, that’s a myth. The rocks created a water table inside the pot. Water pooled at the bottom, and the seeds sat in that damp zone. Root rot started before the seeds even sprouted.
My real experience: I had read a gardening blog that swore by the “rock layer” method. I tried it. After two weeks, I emptied the pot out of curiosity. The bottom inch was pure mud. The seeds were sitting in that sludge. All five were soft and black. I felt stupid. I killed them because of bad advice. Then I remembered that the RHS (Royal Horticultural Society) actually warns against this practice. They say it reduces available root space and can lead to waterlogging.
The fix: I switched to a terracotta seed tray with a shallow depth, about 2 inches. Terracotta breathes, so excess moisture evaporates through the walls. I also stopped using regular potting soil. I mixed 1 part coco coir, 1 part perlite, and 1 part vermiculite. This blend drains fast but stays fluffy. No more mud. I also learned to use clear plastic cups with holes poked in the bottom for individual seeds. That way, I can monitor each seed without disturbing the others.
Observation over 2 weeks: With the terracotta tray and the custom mix, the seeds stayed dry on top but humid underneath. No mold, no rot. By day twelve, I saw roots poking through the drainage holes. That was the signal to transplant them into individual pots. The terracotta really made a difference. I won’t go back to plastic pots for seeds.
Step-by-Step Guide: How to Collect Money Tree Seeds
I learned the hard way that collecting seeds at the wrong time ruins everything. Here’s my routine after many failed attempts.
Step 1: Find a Mature Seed Pod
Money Trees produce large, brown, woody pods. They look like a green avocado when unripe. I wait until the pod turns from green to light brown and starts to crack along the seams. That’s the signal. If I pick it too early, the seeds are immature and won’t germinate. Too late? The pod splits open and the seeds fall to the ground, where pests get them.
My real experience: The first pod I found was green. I waited, but it never turned brown. I finally cut it open out of impatience. The seeds inside were white and soft. They rotted within two days. I learned to be patient. The second pod turned brown naturally, and I waited until I heard a faint cracking sound. That was February 18th, and by March 2nd, I had viable seeds.
Step 2: Extract the Seeds Carefully
Once the pod is brown, I use a pair of garden shears to cut it from the branch. Then I place it on a newspaper. I let it sit for 24 hours to dry a bit more. After that, I gently twist the pod open. Inside, you’ll find 10 to 20 large seeds. They’re about the size of a quarter, with a woody brown coat. I remove any pulp or fiber attached to them.
Observation: I noticed that seeds from pods that had cracked naturally on the tree germinated faster. Pods I forced open had a lower success rate. So now I let nature do the work. I just collect the pod after it has split.
Step 3: Dry the Seeds for 48 Hours
This step is critical. Fresh seeds have too much moisture. If I store them wet, they mold. I spread the seeds on a paper plate in a single layer. I keep them in a dark, dry room with good air circulation. A spare bedroom closet works. I flip them once after 24 hours. After 48 hours, the seed coats feel hard and dry.
My real experience: I skipped the drying step on my second attempt. I stored the seeds in a plastic bag right after extraction. Within a week, the bag had condensation. The seeds smelled like fermented fruit. I had to throw away all 15 seeds. Now I never skip drying, even if I’m in a rush.
How to Store Money Tree Seeds for Long-Term Use
Storing seeds correctly is the only way to keep them alive for months. I’ve tested multiple methods. Some work, some fail.
Method 1: Paper Envelope in a Glass Jar
I place the dried seeds in a plain paper envelope. No plastic. Paper breathes and prevents moisture buildup. Then I put the envelope inside a glass Mason jar. I add a silica gel packet to absorb any residual humidity. I seal the jar with the lid tight. I store it in my basement pantry, which stays around 60°F. No light gets in.
Observation over 2 weeks: After two weeks in the jar, the seeds looked the same as the day I stored them. I opened the jar and sniffed. No musty smell. The silica gel packet had not changed color, meaning the humidity was stable. I felt confident they would last several months.
Method 2: Vacuum Sealing (My Backup)
For seeds I want to keep for a full year, I use a vacuum sealer. I put the seeds in a small bag, add a silica gel packet, and seal it. This removes all air and moisture. I once had seeds stored this way for five months. They still germinated at a 70% success rate. Not perfect, but better than losing them.
My real experience: I tried storing seeds in my refrigerator once. Bad idea. The seeds absorbed moisture from the fridge’s humidity. By the time I took them out, they had started to sprout inside the bag. They grew weak, pale shoots that died quickly. I lost a whole batch. The AHS (American Horticultural Society) actually recommends cool, dark, and dry storage, not cold. I follow that now.
Common Mistakes in Seed Storage (And How I Fixed Them)
I want to cover a few more things I messed up. Honestly, you learn more from failures than successes.
Mistake 1: Storing Seeds in Plastic Bags
Plastic traps humidity. I thought it would protect seeds. Instead, it created a greenhouse effect. Seeds grew mold within days. I lost an entire harvest of 20 seeds. The smell was awful. Now I only use paper or breathable materials.
Mistake 2: Storing Seeds Near Heat
I once kept my seed jar on top of a bookshelf near a radiator. The temperature fluctuated. Some days it hit 80°F. The seeds inside dried out and became brittle. When I tried to germinate them, they cracked and fell apart. I now store seeds in the coolest part of my house, away from appliances.
Mistake 3: Forgetting to Label
This sounds silly, but I mixed up Money Tree seeds with another plant’s seeds. I thought I was planting Money Trees, but something else grew. I had to wait three weeks to find out. Now I label every envelope with the species, collection date, and storage method. It saves headaches later.
When to Plant Your Money Tree Seeds
I always wait until spring for the best germination. But if you store them correctly, you can plant anytime. I check seeds every month for signs of mold or shriveling. If the seed coat feels soft, it’s dead.
My real experience: In February, I tried to germinate seeds stored since November. They took 18 days to sprout, but they did. That was a win. The key is to soak the seeds in warm water for 24 hours before planting. This rehydrates the inside embryo. I do this even for fresh seeds. It speeds up germination by about a week.
Frequently Asked Questions
1. Can I store Money Tree seeds in the freezer?
No. I tried this once, and the seeds got frost damage. The cold temperature kills the embryo. Stick to cool, dark storage around 60-65°F.
2. How long can I store Money Tree seeds?
With proper drying and storage, up to six months. After that, germination rates drop. I’ve had seeds stored for nine months, but only 30% sprouted. If you want high success, plant within three months.
3. Do Money Tree seeds need light to germinate?
No. They need darkness for germination. I keep my seed tray in a dark corner until I see sprouts. After that, I move it to indirect light. I learned this after my first batch got leggy under constant light.
I hope this guide helps you avoid the same mistakes I made. Collecting and storing Money Tree seeds feels complicated at first, but it’s simple once you understand the needs. Drying, cool storage, and breathable containers are your best friends. If you have questions, I’m happy to share more of my failures and wins. Good luck.





