admin
admin How to Encourage Healthy Leaf Regrowth After Removing Diseased Foliage
I’ve killed more plants than I care to admit. And honestly, 90% of indoor plants die from overwatering. That’s not a statistic I read somewhere; that’s a lesson I learned the hard way, one soggy pot at a time. When you finally cut away those brown, mushy, or spotted leaves, the real challenge begins: getting the plant to push out fresh, healthy growth without repeating the same mistakes. The short answer is this: stop watering, fix the light, check the pot, and feed sparingly. But the details matter. Let me walk you through exactly what I do for two weeks after snipping off diseased foliage.
Why Your Plant Stalls After Pruning
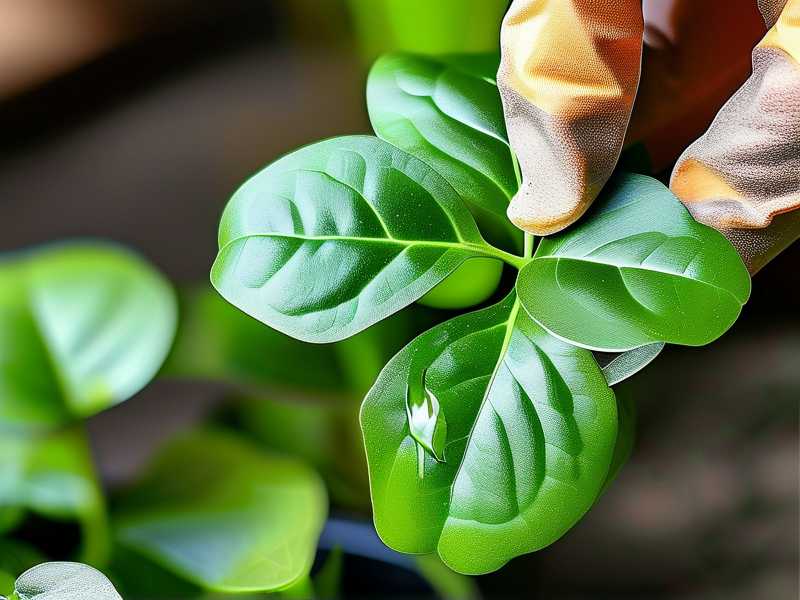
Many people think removing sick leaves is the finish line. It’s not. It’s the starting gun. Your plant just went through trauma. It’s redirecting energy to root repair and bud formation. If you mess up the environment now, it won’t regrow—it’ll just rot slowly. I see this happen all the time. People cut leaves, then panic and water more. That’s the fastest way to lose the whole plant. The plant needs stable conditions, not extra love. My rule is simple: after pruning, I treat the plant like a patient in recovery. No drastic changes. No fertilizer for at least ten days. No repotting unless the pot is literally cracked.
The 3 Biggest Mistakes Beginners Make (I Made All of Them)
Mistake #1: Overwatering After Pruning
This is the big one. I remember my first monstera. I cut off six yellowing leaves, then immediately gave it a "good drink" to help it recover. Within a week, the stem turned black and mushy. Root rot. Gone. The problem is emotional. You see a bare plant and want to nurture it. But cut roots and cut stems can’t absorb water like before. The plant’s demand drops sharply. If you keep the same watering schedule, you’re drowning it. I now wait until the top two inches of soil are bone dry. And I mean bone dry. If you use a moisture meter, aim for a reading of 2 or 3 before even thinking about water. Let the plant feel a little thirst. That thirst signals the roots to grow and search for moisture. New leaves come from new roots. Simple as that.
Mistake #2: Wrong Light Position
I put a recovering calathea in direct afternoon sun once. I figured "more light = faster growth." Wrong. The plant had just lost half its leaf mass. It couldn’t handle the transpiration load. The remaining leaves curled up like crumpled paper and the crown scorched. Light is about intensity and duration. After pruning, I keep the plant in bright, but indirect, light. Think a few feet away from a north or east window. Or behind a sheer curtain on a south side. You want the plant to see the sky but never see the sun’s direct rays hit the foliage. I’ve found that 12-14 hours of good indirect light beats 6 hours of brutal direct sun. Also, rotate the pot a quarter turn every three days. That encourages even growth and prevents the plant from leaning toward the window.
Mistake #3: Using the Wrong Pot
I once had a spider plant in a decorative ceramic pot with no drainage holes. I lost it to root suffocation. Diseased foliage often leaves behind dead roots. Those dead bits need oxygen to break down. If your pot is sealed, that’s not happening. The roots will sit in stagnant water and rot further. I now check every pot after pruning. If there’s no drainage hole, I repot immediately, even if the plant is stressed. A plastic nursery pot with holes, placed inside a decorative cover, is the safest setup. It lets you lift the inner pot out, check moisture levels, and flush out salts. Also, the pot size matters. If the pot is too big, the soil stays wet too long. I use a pot that’s only 1-2 inches larger in diameter than the root ball. That’s it. No "room to grow" nonsense. That extra space is just a water trap.
My Two-Week Recovery Protocol (Step by Step)
I’ve fine-tuned this routine over years of trial and error. It works for pothos, philodendrons, monsteras, ferns, and even fussy string of hearts. Follow it loosely, but respect the principles.
Day 1: Clean Cut and Dry Out
After removing all diseased foliage, I sterilize my scissors with rubbing alcohol. Then I check the surface of the soil. If it feels even slightly damp, I let it dry out completely. I don’t water. I place the plant in a spot with bright, indirect light and good airflow. I open a window nearby if weather allows. Stale air invites fungal spores. I also wipe down the remaining leaves with a damp cloth. This clears dust and any lingering spores. Then I walk away. Seriously. I don’t touch it for three days.
Day 3: Assess and Slim Down
I check the stem bases. If any look dark or feel squishy, I cut them back further until the tissue is firm and green. This sounds scary, but it’s necessary. That dead material only drains energy. I also prune away any overlapping leaves. I want good airflow around the crown. If the plant is balanced, I leave it alone. No watering. No feeding.
Day 5: First Light Watering
If the soil is bone dry, I water thoroughly with room-temperature water. I use a small watering can with a narrow spout. I pour slowly, evenly, around the edges of the pot. I avoid wetting the stem or the leaves. I let the excess drain out completely. Then I empty the saucer. I never let the pot sit in standing water. After this watering, I wait another five days. Many people water too soon, thinking the plant is thirsty. It’s not. It’s resting.
Day 6-8: Watch for New Color
I start looking at the nodes—those little bumps on the stems. Around day six, I see faint green swelling. That’s the first sign of life. I don’t celebrate yet. I just keep the environment stable. I also stop rotating the pot for a few days so it doesn’t get confused. I once rotated a peace lily every day and it grew lopsided. When the new growth appears, it often comes out pale or slightly reddish. That’s normal. Don’t panic and fertilize.
Day 10: Tiny Fertilizer Boost (Optional)
If I see new leaf tips emerging, I give a half-strength dose of a balanced liquid fertilizer. I use a 10-10-10 mix diluted to 50%. I add it to water and pour slowly. But if the plant looks dormant, I wait. Fertilizing a dormant plant is like giving coffee to a sleeping person. It does more harm than good. I learned this after burning the roots of a caladium. It had tiny green shoots, I got excited, fertilized full strength, and the shoots faded within a day. Never again.
Day 14: First Big Assessment
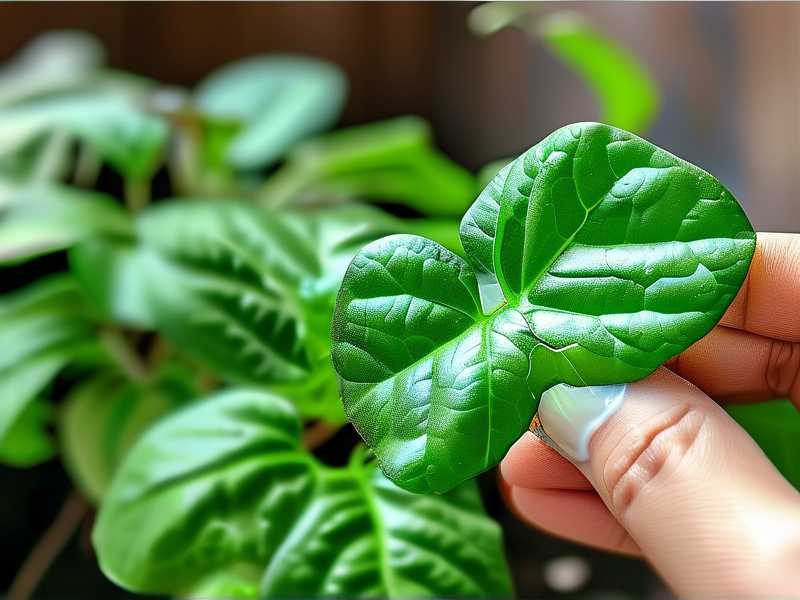
By the end of two weeks, I expect to see at least one new leaf unfurling. Sometimes two. If I see nothing, I check the roots. I slide the plant out of its pot and inspect. If the roots are white and firm, good. I put it back. I wait another week. Patience is a muscle. I remind myself that plants heal on their own schedule. The worst thing you can do is keep poking and watering.
What About the Cut Ends?
I get asked about sealing cut ends with wax or cinnamon. Honestly, I don’t bother. Most houseplants heal fine on their own if they’re kept dry. Cinnamon can help prevent fungal infection in some cases, but it can also trap moisture. I only use it on thick, fleshy stems like begonias. For thin stems, I leave them open. Just make sure the cut is clean and angled. A slanted cut sheds water better and exposes more cambium tissue for callusing.
The Role of Humidity
If your home is dry, especially in winter, new leaf regrowth might stall. I run a small humidifier near my recovering plants. I target 50-60% humidity. That’s especially helpful for tropical species like alocasia and calathea. But I don’t mist the leaves. Misting is temporary and can cause bacterial spots. Instead, I place the plant on a pebble tray with water beneath the pot. The evaporation creates a localized humid microclimate. Simple and effective.
Signs Your Regrowth Is Healthy vs. Problematic
Healthy new leaves are uniform in color, slightly glossy, and expand gradually. Problematic signs include curling tips, translucent patches, or black spots forming on new growth. Translucent leaves usually mean overwatering. Black spots mean fungal infection. If I see black spots, I remove the damaged leaf immediately and cut back on humidity. If I see curling tips, I reduce fertilizer and check the roots for rot.
When to Give Up on a Plant
I hate writing this, but sometimes the plant is too far gone. If the stem is mushy all the way to the base, there’s no saving it. If the roots are dark, smelly, and pull apart easily, it’s done. I’ve learned to let go. I’ve killed my fair share. But I also propagated healthy cuttings from those same plants before they faded. That’s the real lesson of plant care: it’s not about saving every leaf. It’s about knowing when to cut, when to water, and when to start over.
Support from Gardening Experts
The RHS recommends a simple approach: after pruning diseased growth, reduce watering intensity and keep the plant in a shaded position for a few days to aid recovery. Their guidance aligns with what I’ve found—good hygiene and patience matter more than any tonic. Similarly, the AHS emphasizes checking for leaf spot diseases before making cuts, and sterilizing tools between plants. That’s a habit I’ve adopted, especially when dealing with multiple pots.
Weekly Maintenance to Prevent Relapse
Once I see solid regrowth, I shift back to a normal care routine. But I stay vigilant. I check the undersides of leaves twice a week. I wipe the leaves with a neem oil solution once a month to keep pests away. I also make sure the plant doesn’t touch a cold windowpane. That’s a common trigger for leaf drop. I keep the pot on a small stool or a plant stand with a few inches of clearance from the floor. This ensures air circulation underneath, which prevents root rot.
My Final Advice for You
If you’re staring at a plant that just lost a bunch of leaves, take a breath. The worst thing you can do is fuss over it. I used to hover over my plants with a watering can like a helicopter parent. It didn’t help. It hurt. Now, I treat recovery as a test of my own patience. The plant knows what to do. I just need to stay out of the way. Set a reminder on your phone for day 5, day 10, and day 14. Stick to the schedule. Ignore the urge to poke the soil. In two weeks, you’ll see that tiny, vibrant green tip pushing out. And that moment—that’s why we do this.
FAQ
Q: Should I remove all the diseased leaves at once or a few at a time?
A: If more than 50% of the leaves are damaged, I remove them in two sessions spaced a week apart. This reduces shock. If it’s just a few yellow leaves, I take them all off at once. The plant can handle it.
Q: Can I use a grow light to speed up regrowth?
A: Yes, but keep it low. I use a 20W LED grow light placed about 12 inches away for 10 hours a day. More light doesn’t mean faster regrowth. It just stresses the plant if the intensity is too high.
Q: How do I know if the root system is still alive before I wait two weeks?
A: Gently tug the stem. If there’s slight resistance, the roots are holding on. If the plant lifts out of the soil with zero resistance, the roots are likely gone. Trust the tug test. It’s saved me weeks of false hope.