 admin
admin How to Choose the Right Drainage Holes for a Money Tree Pot: A Plant Lover’s 2-Week Experiment
I’ve killed my fair share of money trees. It’s a hard confession, but the truth is, most of those failures stemmed from one overlooked detail: the drainage holes in the pot. I’d focus on light, water, and fertilizer, treating the pot as a mere decorative afterthought. That was my biggest mistake. After another heartbreaking episode of yellowing leaves and root rot, I decided to get to the root of the problem—literally. I embarked on a focused, two-week experiment to understand exactly how to choose the right drainage holes for a money tree pot. What I learned transformed my approach to potting and saved my current thriving Pachira aquatica.
My journey wasn’t just about counting holes. It was about understanding the relationship between soil, water, oxygen, and the root system. The right drainage is the unsung hero of plant health, preventing the soggy conditions that lead to fatal root rot. Over the next sections, I’ll walk you through my process, the mistakes I made along the way, and the clear results I observed.
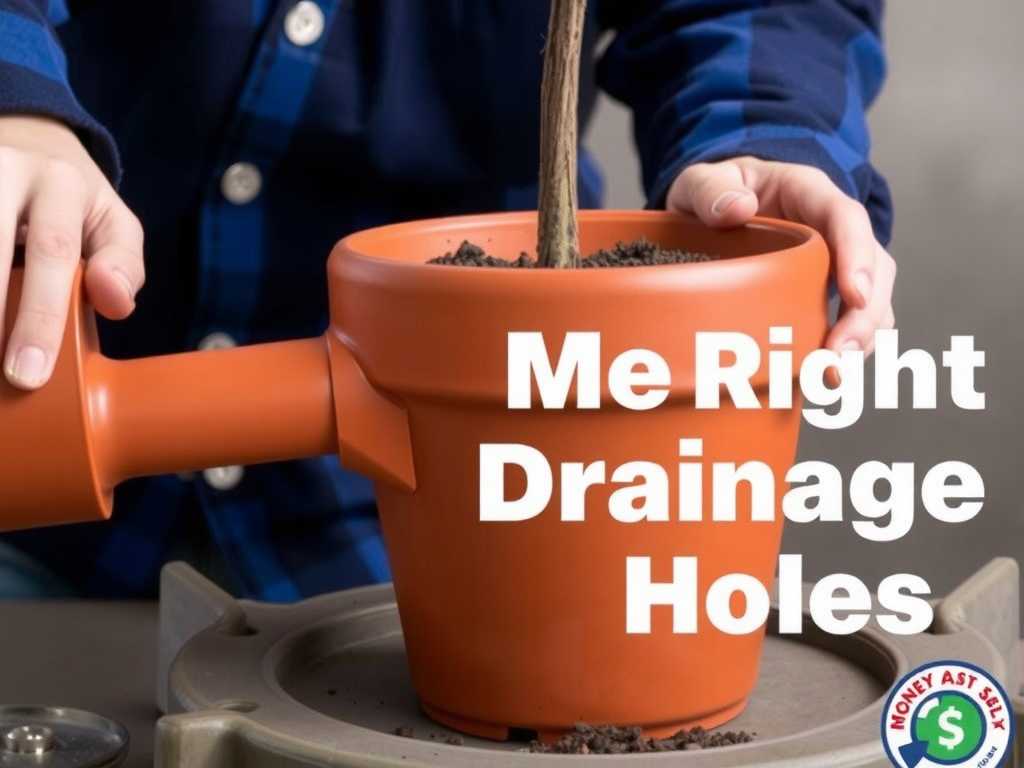
Understanding Why Drainage Is Non-Negotiable for Money Trees
Money trees, in their natural habitat, experience periods of rain followed by well-draining conditions. Their roots are not adapted to sit in constant moisture. According to principles often emphasized by the American Horticultural Society (AHS), good drainage is paramount for healthy root development. Roots need oxygen as much as they need water; waterlogged soil pushes out air, essentially suffocating the roots.
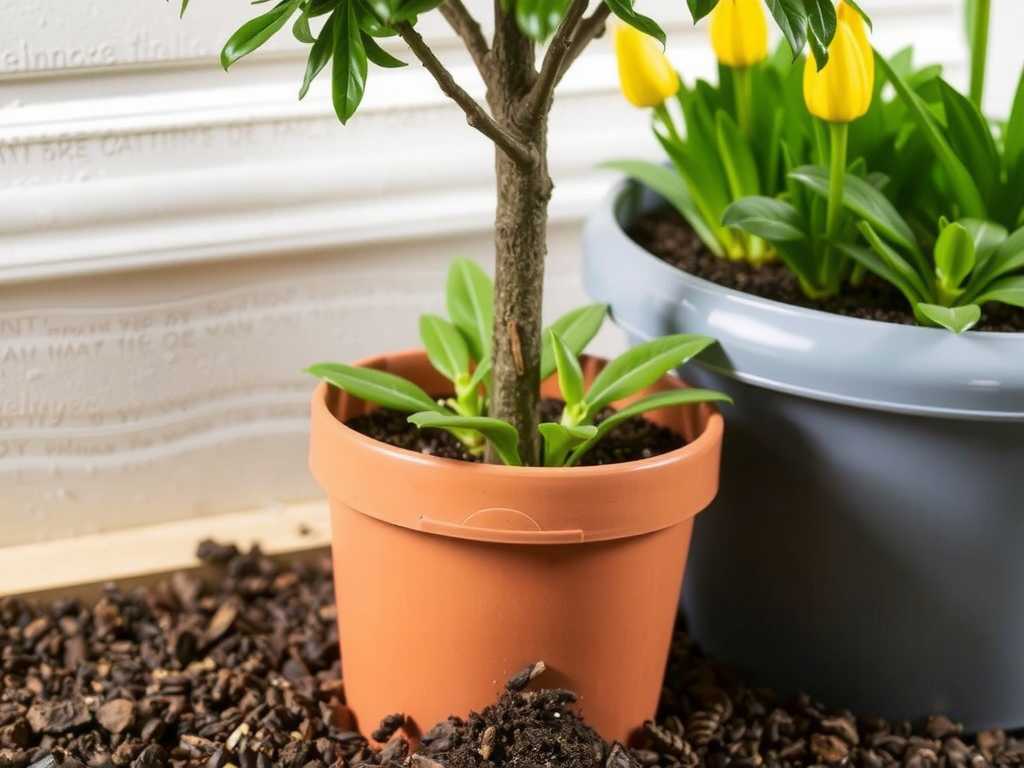
This creates an environment where harmful anaerobic bacteria and fungi thrive, leading to root rot. The first signs above soil—yellowing, drooping leaves—often appear when the damage below is already severe. Choosing a pot with adequate drainage holes is your first and most critical line of defense.
My Step-by-Step Experiment: Testing Different Pot Scenarios
I took four healthy, similarly-sized money tree cuttings and potted them in four different containers. I used the same well-draining, peat-based potting mix for all to isolate the variable: the drainage hole configuration.
Week 1: The Setup and Initial Watering
- Plant A (The Champion): A standard nursery pot with 5 substantial drainage holes at the bottom. This was my control.
- Plant B (The “Decorative” Pot): A beautiful ceramic pot with a single, small hole in the center. A common find in home decor stores.
- Plant C (The “Safer” Choice): A pot with 3 moderate-sized holes. Many gardeners might think this is sufficient.
- Plant D (The Disaster Waiting to Happen): A cachepot—a completely sealed, no-drainage-hole pot. I know, I know. But I wanted to see the extreme.
After potting, I gave each plant a thorough watering until water ran freely from the bottom… for those that could. For Plant D, I carefully measured the water amount to avoid creating a swamp.
The First Signs of Trouble
Within just 3 days, I noticed differences. The soil in Plant B’s (single hole) pot was still cool and damp to the touch on the surface, while Plant A’s (5 holes) soil was already approaching dryness an inch down. Plant C (3 holes) was somewhere in between. Plant D, of course, was a sealed environment.
By day 5, Plant B’s leaves lost a bit of their rigidity, feeling slightly limp. No yellowing yet, but a clear sign of stress. Plant D showed similar subtle drooping. This was my first “aha” moment: inadequate drainage impacts the plant long before visible rot sets in.
Week 2: Adjustments and Observations
At the one-week mark, I performed a “skewer test.” I inserted a wooden chopstick into each pot’s soil, leaving it for a minute. In Plant A, it came out almost clean. In Plant B, it came out with damp soil clinging to its lower half. For Plant D, it was wet and muddy.
This confirmed what I felt. I knew I had to intervene to save Plants B and D.
- The Fix for Plant B (Single Hole): I carefully tipped the pot on its side after watering, supporting the plant, to encourage as much excess water to escape as possible. I also placed it in a breezier spot to increase evaporation. This is a makeshift solution, not a long-term fix.
- The Fix for Plant D (No Holes): I had two choices: repot it immediately or attempt a risky drill surgery. I chose to repot it into a proper nursery pot, discovering that the very bottom of the soil mass was already sour-smelling and the tips of a few roots were dark. I trimmed these, treated with cinnamon (a natural fungicide), and repotted.
The Results After 14 Days
- Plant A (5 Holes): Thriving. New, bright green growth was emerging from the top. The soil dried evenly, and the plant felt sturdy and happy.
- Plant B (1 Hole): Surviving, but stressed. The drooping persisted, and one lower leaf began to yellow. My interventions helped avert disaster, but the plant was clearly struggling with the slow-draining environment.
- Plant C (3 Holes): Doing okay. It wasn’t declining, but growth seemed stagnant. It was in a state of “just getting by,” not actively thriving.
- Plant D (Repotted): Recovering. After its emergency repotting into a well-draining container, the leaf drooping stopped. It was using energy to repair its roots rather than push new growth.
The conclusion was undeniable: more and larger drainage holes directly correlated with healthier, faster-recovering growth.
How to Select the Perfect Pot: A Practical Guide
So, based on my experiment and subsequent successes, here’s my actionable guide.
1. Prioritize Hole Number, Size, and Placement Don’t just check for a hole. Look for multiple holes. For a pot 6-8 inches in diameter, aim for at least 4-5 holes. They should be large enough that they won’t easily clog with soil or roots. Also, check the placement. Holes around the perimeter of the pot base are often more effective than one central hole, as they prevent a waterlogged core.
2. The Material Matters Terracotta and unglazed ceramic are excellent choices. They are porous, allowing water to evaporate through the pot walls themselves, complementing the bottom drainage. Plastic and glazed ceramic retain more moisture. If you choose these, ensuring adequate drainage holes becomes even more critical. My problematic Plant B was glazed ceramic, which exacerbated the poor drainage from its single hole.
3. The Saucer Situation Always use a saucer to protect your surfaces, but never let the pot sit in standing water. After watering, I always empty the saucer within 15-30 minutes. This is a simple habit that makes a huge difference.
4. When You Fall in Love with a Pot Without Holes You have two ethical choices. First, use it as a cachepot. Keep your money tree in its functional, hole-y nursery pot and simply place it inside the decorative pot. Remove the inner pot for watering, let it drain completely, and then return it. This is my preferred method. Second, if you must plant directly, drill your own holes. Use a diamond-tip drill bit for ceramic or glass, go slow with water for lubrication, and create at least 3-4 sizeable holes.
What About Layer of Pebbles at the Bottom? This is a common myth I once believed. I tried it early in my plant journey. Adding rocks or pebbles at the bottom of a pot without holes does not improve drainage; it simply raises the water table, creating a perched water table effect where soggy soil sits closer to the roots. It can make things worse. The Royal Horticultural Society (RHS) advises against this practice, stating that for effective drainage, “holes in the base of the container are essential.”
My Money Tree’s Home Today My current money tree lives in a sturdy, plastic nursery pot with 8 generous drainage holes. That pot is nestled inside a beautiful, larger basket. It gets watered thoroughly, drains freely, and sits on a pebble-filled tray for humidity (with the pot base above the water line). It’s the happiest it’s ever been, pushing out multiple new stems every month.
Frequently Asked Questions
Can I use a pot with just one drainage hole if I’m very careful with watering? You can try, but it’s a high-risk strategy. My Plant B proved that even with careful observation, a single hole often can’t evacuate water quickly enough. It requires perfect watering precision every time, which is hard to maintain. For long-term health, opt for more holes.
How often should I water after repotting into a pot with good drainage? Good drainage means you’ll likely need to water more frequently than in a poor-draining pot, but always check the soil first. Stick your finger about 2 inches into the soil. If it’s dry, water thoroughly. If it’s still moist, wait. The goal is to mimic natural wet-dry cycles, not keep the soil constantly wet.
My pot has holes, but the soil still seems soggy days later. What’s wrong? The issue could be the soil mix itself. A dense, moisture-retentive potting soil can negate good holes. Repot using a mix specifically formulated for good drainage—look for ingredients like perlite, orchid bark, or coarse sand. Also, ensure the holes aren’t blocked by compacted soil or a tight saucer.
Choosing the right pot for your money tree isn’t about aesthetics first; it’s about function. The drainage hole is its lifeline. By prioritizing multiple, large drainage holes, you’re giving your plant the foundation it needs to access both water and oxygen, building a resilient root system that supports lush, green growth above. Learn from my two-week experiment: invest in the right pot from the start, and you’ll spend less time troubleshooting and more time enjoying your thriving, prosperous money tree.





