 admin
admin How to Add Drainage to a Pot Without Holes for a Money Tree: My 2-Week Experiment
I love my Money Tree, but I made a classic beginner’s mistake. I planted it in a beautiful, decorative pot that had one fatal flaw: no drainage holes. For weeks, I battled the constant fear of overwatering. Every time I watered, I’d watch helplessly as excess moisture pooled at the bottom, creating a perfect environment for root rot. I knew I had to find a solution, not just for my plant’s survival, but to enjoy its beauty without constant anxiety. If you’re in the same boat, worrying about your Money Tree in a no-hole pot, this guide is for you. I spent two weeks testing a reliable method to add drainage to a pot without holes, and I’m sharing every step, observation, and lesson learned.
The core principle is simple: we must create a false bottom or a drainage layer within the pot itself to separate the plant’s roots from standing water. This mimics the function of a hole, allowing excess water a place to go where it won’t harm the roots. My method of choice involves using a layer of porous materials.
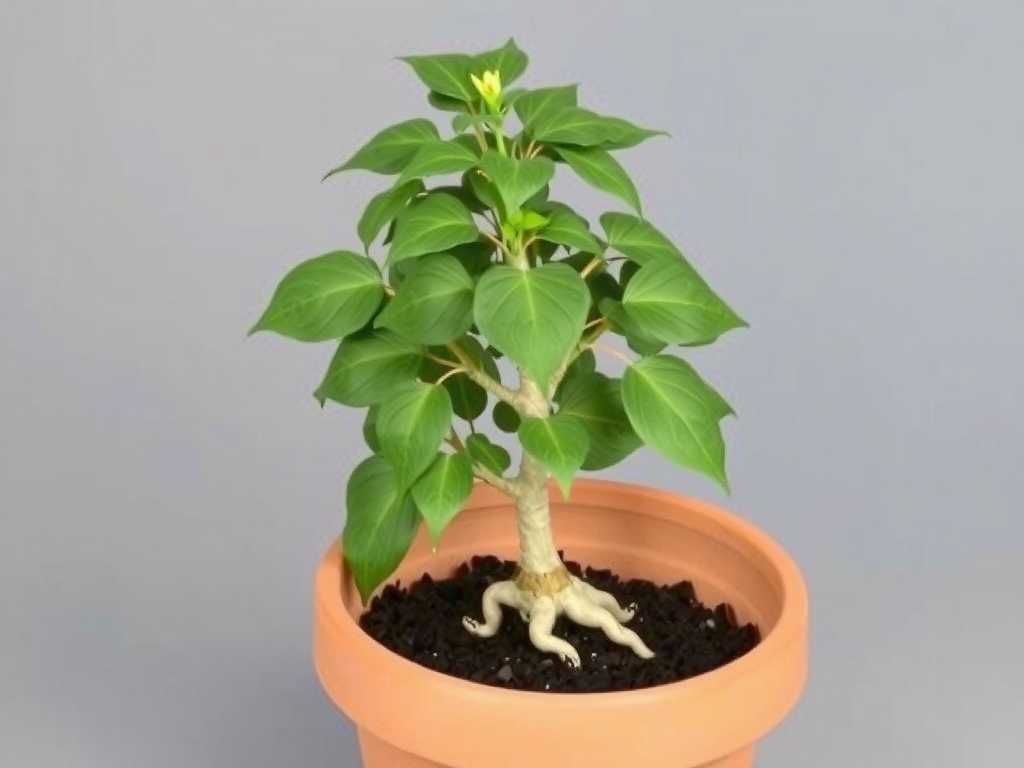
My Step-by-Step Process for Creating Internal Drainage
First, I gathered my materials. I chose a clean, no-drainage pot, a bag of large-sized horticultural charcoal, a bag of medium-sized pumice or lava rocks (you can use pebbles, but I prefer lighter, more porous materials), fresh well-draining potting mix formulated for succulents or cacti, and of course, my Money Tree that needed rescuing.
Step 1: Preparing the Base Layer I started by adding a substantial layer of pumice rocks to the bottom of the pot. The depth of this layer is critical. For my pot, which was about 10 inches tall, I created a layer roughly 2 inches deep. This isn’t just a sprinkle; it’s a dedicated reservoir zone. According to the American Horticultural Society’s guidelines on container gardening, a drainage layer should constitute at least 15-20% of the pot’s total volume to be effective. This space will hold the excess water away from the root ball.
Step 2: Adding a Filter and Nutrient Boost Here’s a tip I learned the hard way: soil can slowly wash down and clog your beautiful drainage layer over time. To prevent this, I added a thin layer of horticultural charcoal on top of the pumice. Charcoal acts as a fantastic filter, helps absorb impurities, and can mildly inhibit fungal growth. It’s a simple step that adds a layer of protection for your Money Tree’s root health in a non-draining container.
Step 3: The Critical Soil Separation Next, I placed a piece of permeable landscape fabric or a simple coffee filter over the charcoal layer. This barrier is essential. It allows water to pass through freely but keeps the potting soil from sifting down into the rocks and charcoal, which would eventually negate the drainage effect. This was a game-changer in my setup.
Step 4: Repotting with Care I gently removed my Money Tree from its old, soggy soil, carefully teasing out the roots and checking for rot (fortunately, I caught it in time). I then placed the plant in the center of the new pot and began backfilling with my fresh, airy potting mix. I made sure the root ball sat comfortably above the false drainage layer, not buried within it. After firming the soil gently, I gave it a thorough initial watering and let it drain… well, internally.
The 2-Week Observation Diary: What Actually Happened
My goal was to monitor moisture levels and plant health closely. I used a simple wooden chopstick as a moisture meter, inserting it deep into the pot to check the bottom layers.
- Day 1-3: After the initial watering, the chopstick came out very wet from the bottom when pushed through the soil into the rock layer. The topsoil, however, began to dry out nicely. The plant showed no signs of stress.
- Day 7: I performed my first check before considering a second water. The top 2 inches of soil were completely dry. The chopstick, when inserted to the bottom of the soil layer, was slightly moist—perfect. When I pushed it all the way into the rock layer, it was damp. This confirmed the system was working: water had moved from the soil into the reservoir below.
- Day 10: I noticed the Money Tree pushed out a new, bright green leaf. This was a great sign that it wasn’t under root stress. The weight of the pot was noticeably lighter, indicating water was being used or evaporating from the reservoir.
- Day 14: Time for the second watering. I watered slowly until I saw a slight glistening of moisture at the very top of the rock layer when I peeked carefully at the edge (the soil had settled slightly). I then stopped immediately. The pot never felt waterlogged or heavy in a dangerous way.
The Pitfalls I Encountered and How I Fixed Them
My experiment wasn’t flawless. I made one significant error in a test run on a smaller plant.
The Pitfall: The “Thin Layer” Mistake. Initially, I used only a shallow, half-inch layer of pebbles. Within a week, the soil had compacted and started to bridge into the pebble layer. The water had nowhere to go, and the pot felt swampy again. I had essentially created a perched water table inside the root zone, which is worse than no drainage at all.
The Solution: Go Big or Don’t Bother. I repotted immediately with a much deeper drainage layer, following the 20% volume rule. The difference was night and day. The deeper layer provided a genuine buffer zone. The Royal Horticultural Society (RHS) advises that for effective drainage in non-perforated containers, the inert layer must be sufficiently deep to act as a true sump. This experience cemented that advice as non-negotiable.
Optimizing for Long-Term Success
Creating the drainage layer is just the start. Maintaining a Money Tree in a pot without holes requires a shift in watering behavior.
- Watering Technique: You must water less frequently and with more precision. Always check the soil moisture 2-3 inches down. Water slowly and sparingly—just enough to moisten the root ball without flooding the reservoir below. Think of it as topping up a tank, not drenching a garden.
- The Power of Materials: My choice of pumice and charcoal over plain gravel was intentional. These materials are porous and can hold some moisture and air within themselves, creating a healthier micro-environment than solid pebbles. They also keep the pot lighter.
- Seasonal Adjustments: During winter or in low-light conditions, my Money Tree’s water needs plummeted. I stretched watering to once every 4-5 weeks, always verifying with the chopstick test. Overwatering in a dormant period is the fastest way to undo all your good drainage work.
How often should I water a Money Tree with this setup? There’s no fixed schedule. The frequency depends on light, temperature, and pot size. Always use the finger test or a moisture meter. Water only when the top 2-3 inches of soil are completely dry. In my home, this translated to roughly every 10-14 days in summer and every 3-4 weeks in winter.
Can I use other materials for the drainage layer? Absolutely. Leca (clay pebbles) is an excellent alternative to pumice. Even crushed terracotta pot pieces work well. The key is using a coarse, chunky material that won’t compact. Avoid sand or fine gravel, as they can trap water and defeat the purpose.
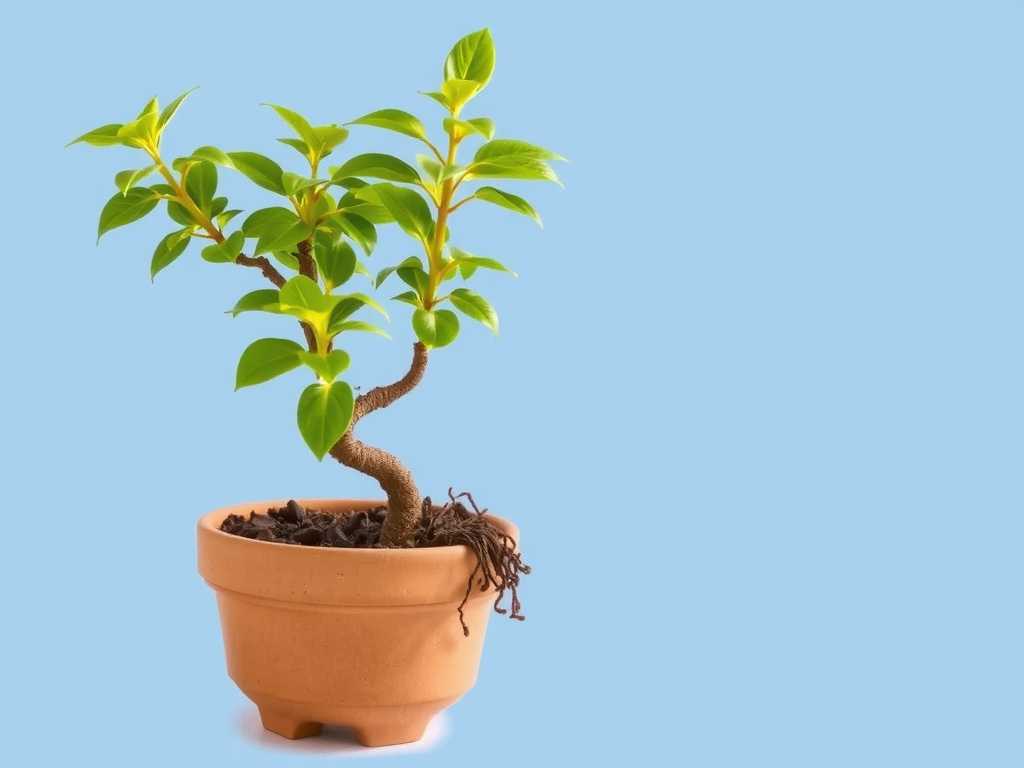
Is this method a permanent solution? It’s a very effective long-term management strategy, but it requires more vigilance than a pot with holes. Eventually, minerals from water and fertilizer can build up in the reservoir layer. Every 1-2 years, I recommend a complete repotting with fresh materials to refresh the system and check root health. It’s a small price to pay for using the pot you love.
Transforming a pot without holes into a safe home for your Money Tree is entirely possible with the right internal engineering. By dedicating a significant portion of the pot to a porous drainage layer, separating it properly from the soil, and adopting a careful watering routine, you can eliminate the fear of root rot. My two-week experiment proved that with a little extra setup and attention, your plant can thrive. The peace of mind that comes from knowing exactly what’s happening at the root level is worth far more than the cost of a bag of pumice.





