 admin
admin How to Set Up a Self-Watering System for a Money Tree: A Gardener's 2-Week Trial
I love my Money Tree (Pachira aquatica), but as someone who travels occasionally and, frankly, sometimes just forgets, keeping its soil perfectly moist was a constant worry. Overwatering leads to root rot, while underwatering causes those beautiful braided trunks to suffer. If you've ever wondered how to set up a self-watering system for a Money Tree to achieve that "set it and forget it" peace of mind, you're in the right place. I recently took on this project myself, documented every step, and observed the results over two full weeks. Here’s my honest, hands-on account of what worked, what didn’t, and how you can do it successfully.
Understanding Your Money Tree's Watering Needs First
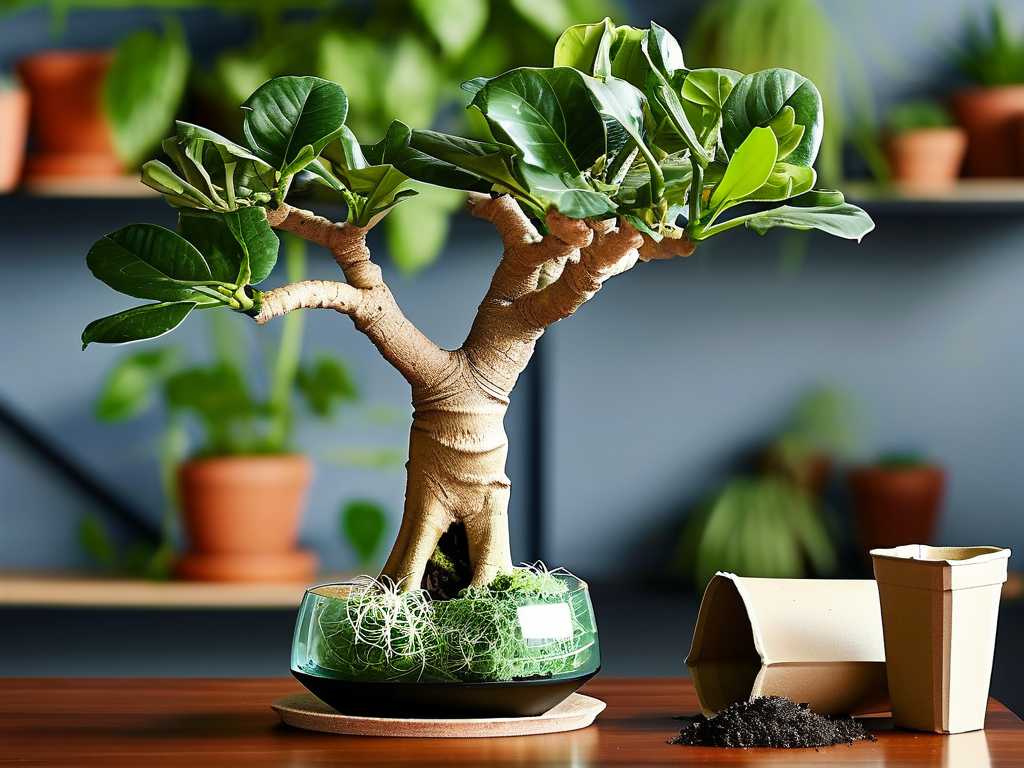
Before automating anything, you must know what you're automating for. Money Trees are tropical plants that prefer consistently lightly moist soil, but they are highly susceptible to sitting in water. According to the Royal Horticultural Society (RHS), the key is to "allow the top inch of soil to dry out between waterings." This balance is the holy grail we're trying to maintain with a self-watering setup.
I also consulted guidance from the American Horticultural Society (AHS), which emphasizes good drainage as non-negotiable for preventing root diseases. My goal was to create a system that provided gentle, consistent moisture from the bottom up, mimicking the natural capillary action of soil without waterlogging the root zone.
Gathering Your Materials: Simple and Affordable
You don't need complex gadgets. I used items mostly found around my home or at any local garden center:
- A water reservoir: I chose a clean, medium-sized ceramic bowl that was wider and slightly shorter than my Money Tree's nursery pot.
- A wicking material: This is the heart of the system. I tested two options: specialized nylon wicking cords and simple cotton clothesline rope. More on this critical choice later.
- My Money Tree, already in a plastic nursery pot with ample drainage holes.
- A moisture meter (optional but highly recommended for monitoring).
- Fresh, well-draining potting mix. I used a blend of regular potting soil, perlite, and orchid bark for extra aeration.
My Step-by-Step Setup Process
Step 1: Preparing the Plant and Pot I carefully took my Money Tree out of its decorative pot. It was living in a standard plastic nursery pot, which was perfect because it had multiple drainage holes at the bottom. I checked the roots—they were healthy, white, and firm. If your plant is in a pot without holes, you must repot it into one that does. This is non-negotiable for a self-watering system to work safely.
Step 2: Installing the Wick This is where I hit my first snag. I initially cut a piece of nylon wick, threaded it up through a drainage hole, and laid it along the bottom of the pot before adding soil. After planting the Money Tree back in, I fed the other end of the wick into the water reservoir. However, over the first few days, I noticed the soil moisture wasn't increasing much. The nylon cord just wasn't pulling water effectively enough.
My solution: I switched to a thick, 100% cotton rope. Cotton is a superior natural wick. I soaked the rope in water first, then threaded about 4-5 inches of it into the pot through the bottom hole, coiling it slightly among the lower roots before covering with soil. The remaining length sat in the water reservoir. The difference was noticeable within a day.
Step 3: Assembling the System I placed the prepared nursery pot inside the empty ceramic bowl. The pot should not sit directly in water; it should be elevated. I used two small jar lids as "feet" to create a gap between the pot bottom and the bowl's base. Then, I filled the reservoir bowl with water, ensuring the end of the cotton wick was fully submerged but the pot itself was not. The water level should always stay below the bottom of the plant pot.
The 2-Week Observation: Successes and Adjustments
Week 1: The Calibration Phase The initial setup required close watching. For the first three days, I used my moisture meter daily. The goal was for the meter to read consistently in the "moist" range, not "wet." With the cotton wick, the soil moisture rose steadily but gently. By day 3, it had reached an ideal level. I learned that the wick's thickness and material directly control the watering speed. A thicker cotton rope delivers water faster than a thinner nylon one.
I also had to play with the water level in the reservoir. Starting with a full bowl led to slightly faster absorption than I wanted. I found that maintaining the water at about one-third of the bowl's height provided the perfect steady pull of moisture.
Week 2: Achieving "Set and Forget" By the second week, the system stabilized. The Money Tree looked fantastic. The leaves were perky and showed no signs of yellowing or drooping—common indicators of watering issues. I refilled the reservoir only once during this week, confirming this system could easily support my plant for 7-10 days, depending on temperature and humidity.
The most significant victory was during a weekend trip. I left on Friday with a full reservoir and returned Sunday to a plant that was just as happy as when I left, with the reservoir about half empty. The peace of mind was incredible.
Critical Lessons and Troubleshooting
My main "aha!" moment was about the wick. Don't underestimate its importance. The right wicking material is the difference between a functioning system and a failed one. Always pre-soak natural fiber wicks and ensure they make good contact with both the soil and the water.
Another potential pitfall is salt and mineral buildup. Because the system uses capillary action, minerals from tap water can accumulate in the soil over time. To counter this, I plan to flush the soil from the top with distilled water every 4-6 weeks, allowing it to drain through completely, which mimics a good, thorough rain.
Finally, this system doesn't mean total neglect. You must still check the reservoir weekly and refill it with room-temperature water. It's a watering aid, not a robot butler.
Common Questions Answered
Can I use a commercial self-watering pot instead? Absolutely. Many excellent self-watering planters with built-in wicking reservoirs are available. The principles are identical. Ensure it has a clear water level indicator and that you use a well-draining soil mix. The advantage of the DIY method is customization for your specific pot size and plant needs.
How do I know if I'm overwatering with this system? Even with a wick, overwatering is possible if the reservoir is too high or the wick is too efficient. Watch for yellowing lower leaves, a musty smell from the soil, or consistently soggy soil on your moisture meter. If this happens, remove the pot from the reservoir, let the soil dry out significantly, and restart with a thinner wick or a lower water level.
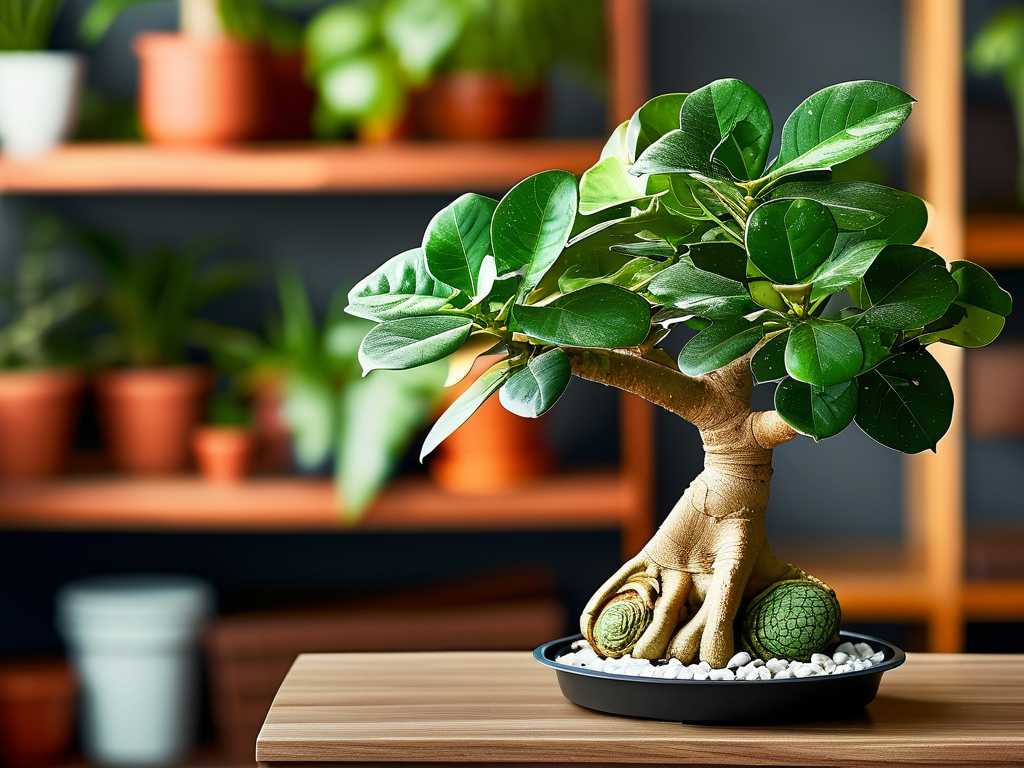
Does this work for other plants? This bottom-watering wick method is excellent for many moisture-loving plants like Peace Lilies or Ferns. However, it is not suitable for succulents, cacti, or any plants that require the soil to dry out completely. Always tailor the system to the specific plant's needs.
Setting up a self-watering system for my Money Tree has been a rewarding project that solved my core problem of inconsistent watering. It took a little trial and error, primarily in selecting the right wick, but the result—a thriving plant and reduced maintenance anxiety—was well worth the effort. By understanding the principle of capillary action, choosing simple materials, and monitoring the system closely for the first week, you can create a reliable hydration solution that keeps your Money Tree healthy and lush, even when life gets busy. Give it a try; your plant (and your future traveling self) will thank you.





