 admin
admin How to Care for a Single-Trunk Money Tree: My 2-Week Journey from Struggle to Success
I’ll be honest—I used to think my single-trunk Money Tree was just being dramatic. A few yellow leaves here, a drooping posture there. I’d water it when I remembered, give it whatever light my apartment offered, and hope for the best. The result? A plant that was merely surviving, not thriving. If you’re here, you might share that same frustration of wanting a lush, vibrant symbol of prosperity but ending up with a lackluster one. The unique care needs of a single-trunk specimen, as opposed to the common braided variety, can be surprisingly specific. After my last scare, I committed to a focused, two-week rescue mission to understand exactly how to care for a single-trunk Money Tree. What I learned transformed not just my plant, but my entire approach to indoor gardening.
Understanding Your Single-Trunk Money Tree’s Unique Needs
First, let’s clarify what we’re dealing with. Most Money Trees (Pachira aquatica) are sold with multiple trunks braided together. This isn’t just for looks; it provides mutual support. A single-trunk Money Tree stands alone, literally. It’s more susceptible to leaning, has different moisture needs since it’s not competing with neighboring roots in the same pot, and its growth pattern is more straightforward. According to the Royal Horticultural Society (RHS), Pachira aquatica is inherently a strong, single-stemmed tree in its natural habitat. Our potted singles are closer to its true form, requiring us to mimic those tropical conditions as best we can.
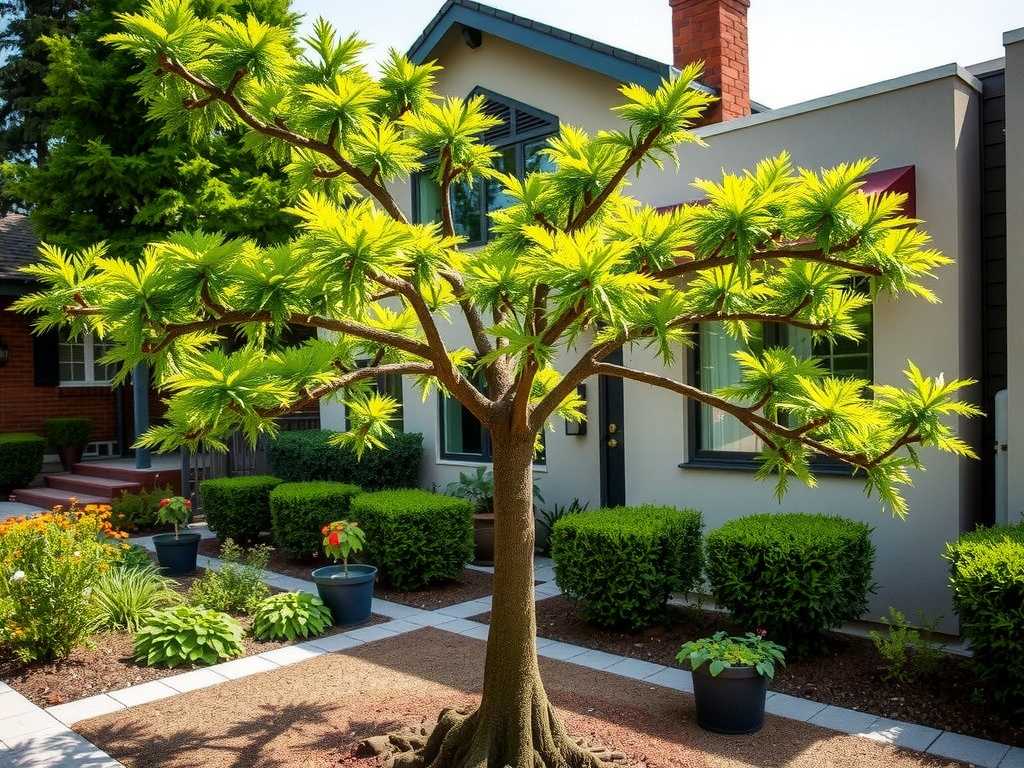
The Foundation: Perfecting Soil and Pot Selection
My first mistake was using dense, moisture-retentive potting soil. It held water like a sponge, a death sentence for these plants.
- The Right Mix: I repotted mine using a well-draining, peat-based cactus or palm potting mix. I boosted aeration further by amending it with 30% perlite and a handful of orchid bark. This creates an airy, chunky environment that allows water to flow through quickly while retaining slight humidity around the roots—exactly what they crave.
- The Perfect Pot: Drainage holes are non-negotiable. I switched from a deep, decorative ceramic pot to a slightly wider, shallower terracotta pot. Terracotta is porous, allowing the soil to breathe and dry out more evenly, which significantly reduces the risk of root rot. The width gives the shallow root system room to expand.
The Art of Watering: My Biggest Lesson
This was my downfall and where my two-week observation diary became crucial. The American Horticultural Society (AHA) stresses that overwatering is the leading cause of houseplant failure, especially for trees like the Money Tree.

- My New Ritual: I abandoned the calendar. Instead, I learned the “finger test.” I insert my finger about 2-3 inches into the soil. If it’s dry, I water thoroughly. If it’s even slightly damp, I wait.
- The Two-Week Transformation: Day 1: After repotting, I gave it a deep soak until water ran freely from the drainage holes, ensuring the new soil was evenly moist. Day 4: Soil still felt cool and slightly moist an inch down. No watering. Day 7: The top two inches were dry. I watered thoroughly, placing the pot in the sink to drain completely. Day 10: Checked again—still moist. Day 14: Dry to my second knuckle. Another deep watering. By the end of the two weeks, the plant’s posture was noticeably improved. The slight wilt it used to get between waterings was gone, replaced by firm, turgid stems and leaves.
Finding the Sweet Spot for Light and Temperature
I had mine in a north-facing window, thinking “low light” was safe. It wasn’t getting enough energy.
- The Ideal Setup: I moved it to a spot with bright, indirect light from an east-facing window. This meant it received several hours of gentle morning sun, followed by bright ambient light for the rest of the day. No harsh, direct afternoon rays that can scorch the leaves.
- Temperature & Humidity: These are tropical understory plants. I kept my room between 65-80°F (18-27°C), away from drafts and vents. For humidity, I placed a shallow pebble tray filled with water beneath the pot. As the water evaporates, it creates a localized humid microclimate. I noticed new, tiny leaf buds forming by the end of week two—a direct response to the improved light and humidity.
Feeding and Ongoing Maintenance for Healthy Growth
You don’t need to overcomplicate feeding.
- Fertilizer Strategy: During the active growing season (spring and summer), I now use a balanced, water-soluble fertilizer (like a 10-10-10 formula) diluted to half-strength. I apply it only once a month, right after a regular watering to avoid burning the roots. In fall and winter, I stop feeding entirely.
- Pruning and Cleaning: To encourage a bushier appearance on my single trunk, I practiced tip-pruning. I carefully snipped off the very top set of leaves on a few stems. This signals the plant to grow outward. I also gently wiped the large leaves with a damp cloth every weekend during my observation period. This removes dust, allows for better photosynthesis, and lets me inspect for pests closely.
Troubleshooting: The Pitfalls I Encountered and Fixed
- Yellowing Leaves: Early in week one, a lower leaf turned yellow. I panicked! But upon checking, the soil was moist. I realized this was likely an old leaf being shed naturally as the plant directed energy to new growth after repotting. I removed it and monitored. No other leaves followed suit. Had multiple leaves yellowed, I would have suspected overwatering.
- Leaf Drop: A few days after moving it to the brighter spot, it dropped two leaves. This was likely due to the sudden change in environment—a bit of transplant and location shock. I ensured my care was consistent (no overwatering to compensate!), and the leaf drop stopped within 4-5 days. The plant was simply adjusting.
- Pest Patrol: I didn’t have an infestation, but my weekly leaf-wiping ritual is my first line of defense. I was on the lookout for signs of spider mites (fine webbing) or mealybugs (cottony masses), which can be treated with insecticidal soap or neem oil if caught early.
How often should I water my single-trunk Money Tree? There is no single schedule. It depends on your home’s light, temperature, and humidity. Always use the finger test—water only when the top 2-3 inches of soil are completely dry, then water deeply until it drains from the bottom.
Can I propagate my single-trunk Money Tree to create more plants? Absolutely! The best method is stem cuttings. Using a clean, sharp knife, take a 4-6 inch cutting with a few leaf nodes. Remove the bottom leaves, let the cut end callous over for a day, then place it in water or moist potting mix. Roots should develop in a few weeks. This is a great way to share your plant or create a fuller pot.
Why are the leaves on my Money Tree turning brown and crispy? Crispy brown tips or edges are typically a sign of low humidity or inconsistent watering (letting the plant get too dry for too long). Try using a pebble tray, grouping it with other plants, or using a humidifier. Ensure you’re watering thoroughly when you do, not just giving it a superficial splash.
Caring for a single-trunk Money Tree is a lesson in attentive, responsive plant parenting. It’s not about rigid rules, but about understanding the signals your plant is sending. By focusing on a well-draining home, mastering the soak-and-dry watering method, and providing bright, gentle light, you build a resilient plant. My two-week experiment turned a struggling specimen into a confident, perky centerpiece. The key is patience and observation. Start with the fundamentals, watch how your plant responds, and adjust your care to fit its life in your space. The reward—a thriving, green emblem of growth—is well worth the mindful effort.





