 admin
admin How to Care for a Money Tree Near Heaters: A Plant Lover’s Survival Guide
I love my money tree. Its braided trunk and lush, green leaves bring a sense of calm and prosperity to my living room. But when winter arrived, I faced a common dilemma: my favorite spot for the plant was right near a radiator. I knew heaters could spell disaster for indoor plants, but I was determined to find a solution. Over two weeks, I turned my space into a living laboratory, learning through trial, error, and careful observation how to help a money tree not just survive, but thrive, near a heat source. If you’re worrying about your own plant in a similar spot, I’ve documented every step, every mistake, and every success for you.
Understanding the Challenge: Heaters vs. Humidity
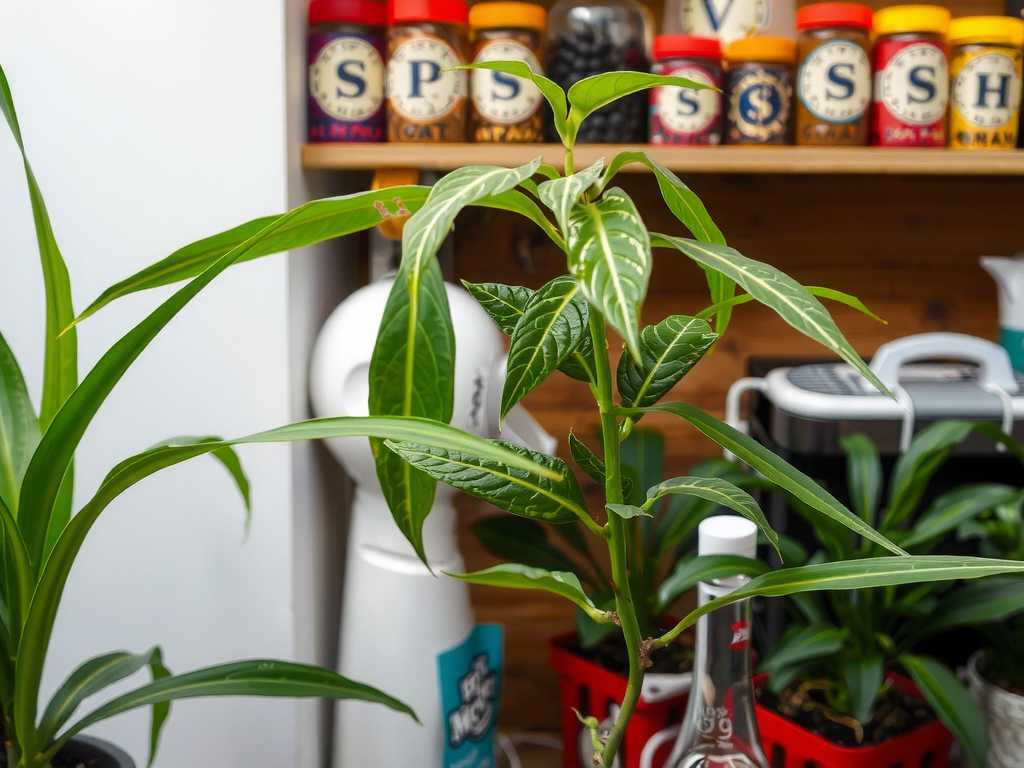
The core issue isn’t just the warmth. Money trees (Pachira aquatica) are tropical plants that enjoy consistent, moderate temperatures and, crucially, high humidity. Heaters create a triple threat: they raise the air temperature unevenly, drastically reduce relative humidity, and can cause rapid soil drying. This environment leads to stressed plants, manifesting as brown, crispy leaf tips, drooping leaves, and increased susceptibility to pests like spider mites.
According to the Royal Horticultural Society (RHS), most indoor plants, including tropical varieties, prefer humidity levels between 40-60%. Winter heating can drop indoor humidity to a parched 10-20%, creating a hostile environment. My first mission was to bridge this gap.
My Two-Week Care Protocol and Observation Diary
I established a routine focused on mitigating dryness and stabilizing the plant’s microclimate. Here’s exactly what I did.
Week 1: The Foundation and Initial Adjustments
My plant was about three feet from an active radiator. On Day 1, I noted slightly dry topsoil and one leaf with a brown tip—early warning signs.
Strategic Placement is Everything The first and most critical step was repositioning. I moved the money tree to a sturdy side table, placing it a full six feet away from the radiator. This distance reduced the direct blast of hot, dry air while still keeping the plant in a bright, indirect light zone—a key requirement. I also made sure it wasn’t in the path of cold drafts from windows, as temperature fluctuations are another stressor.
Creating a Humidity Oasis I rejected the idea of frequent misting, as the American Horticultural Society (AHS) notes it offers only a temporary humidity boost and can promote fungal issues if leaves stay wet. Instead, I employed two proven methods:
- The Pebble Tray: I placed a wide, shallow tray filled with water and pebbles beneath the plant’s pot. The pot sits on the pebbles, not in the water. As the water evaporates, it creates a localized pocket of moist air around the foliage. I refill it every other day.
- The Grouping Technique: I clustered my money tree with a few other humidity-loving plants, like a peace lily and a fern. Plants naturally release water vapor through transpiration, and grouping them creates a beneficial microclimate where they share humidity.
Revising the Watering Routine My usual “weekly watering” schedule was obsolete. I adopted the finger-test method: inserting my finger two inches into the soil. Near the heater, the top layer dried out much faster. I found myself watering with room-temperature water not every 7 days, but every 5-6 days, ensuring water flowed freely from the drainage holes and was never left sitting in the saucer.
By the end of Week 1, the plant had stopped developing new brown tips. The existing blemish remained, but the leaves felt less brittle. However, I noticed the soil was drying unevenly.
Week 2: Refinement and Problem-Solving
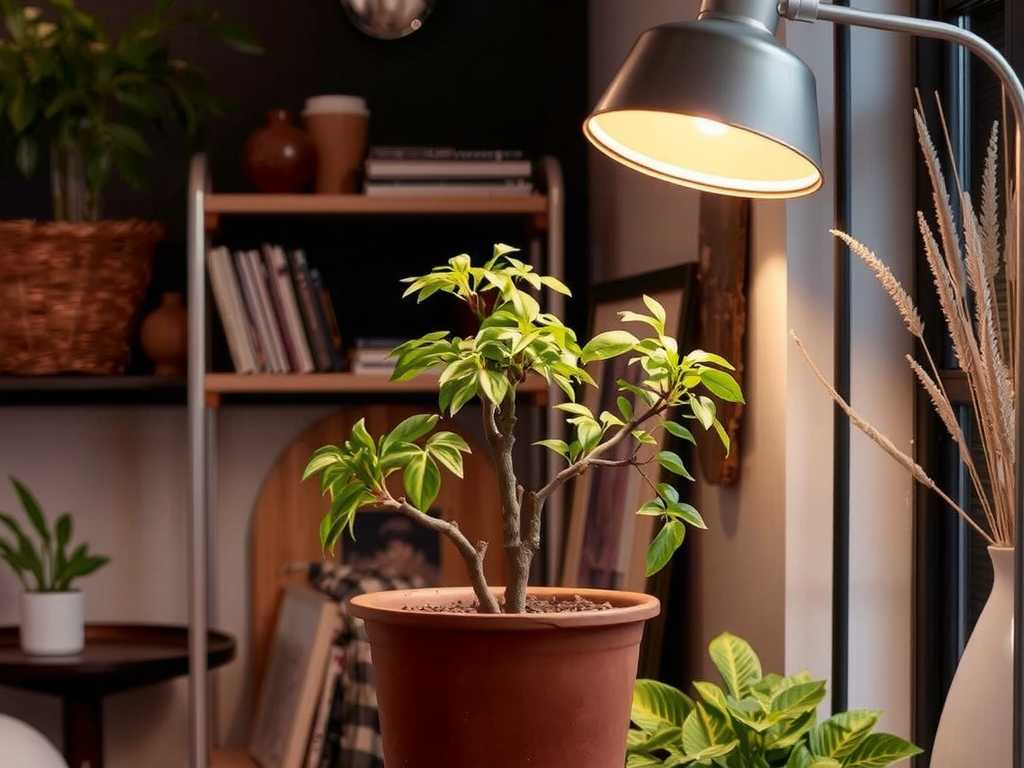
This week was about fine-tuning and fixing the new problems I encountered.
The Soil and Pot Check During my mid-week check, I realized the root ball was drying out too quickly on one side—the side facing the heater. My terra cotta pot, while breathable, was accelerating moisture loss. I didn’t repot mid-stress (a big no-no), but I planned to switch to a glazed ceramic pot in the spring for better moisture retention. I also gently aerated the topsoil with a chopstick to prevent compaction and ensure water penetrated evenly.
Dealing with a Pest Scare On Day 10, I spotted faint webbing between a leaf stem and the trunk—a classic sign of spider mites, pests that thrive in dry conditions. This was my biggest “pitfall.” Instead of panicking, I acted immediately:
- I isolated the plant from others.
- I gave it a thorough shower in my bathtub, using a gentle stream of lukewarm water to wash away mites and webbing, carefully shielding the soil from becoming waterlogged.
- After it dried, I wiped every leaf, top and bottom, with a soft cloth dipped in a solution of mild dish soap and water (1 tsp per gallon).
- I significantly boosted humidity around the plant by temporarily placing a small humidifier nearby for a few hours each day.
This combination of physical removal and environmental correction worked. After 4 days of vigilant inspection, there were no signs of returning mites.
Leaf Care and Monitoring I continued to dust the leaves weekly to ensure they could breathe and photosynthesize efficiently. I resisted the urge to prune the one browned leaf immediately, as it was still partly green and contributing energy. I decided to let the plant shed it naturally.
By the end of Week 2, the results were clear and positive. The money tree showed resilient growth near a heat source. No new brown edges appeared. The foliage was perky, and a tiny new bud of growth was even visible at the top. The plant had clearly adapted to the dry indoor heating, thanks to the consistent humid microclimate I’d built.
Long-Term Maintenance for a Healthy Plant
My two-week experiment evolved into a sustainable long-term care plan:
- Watering: I water only when the top 1-2 inches of soil are dry. In my heater-adjacent setup, this is typically every 5-7 days in winter.
- Humidity: The pebble tray is a permanent fixture. I run the room humidifier during the driest days.
- Feeding: I withhold fertilizer entirely in winter, as the plant’s growth slows and it cannot use the nutrients, which can lead to salt buildup in the dry soil.
- Rotation: I rotate the pot a quarter turn weekly to ensure all sides receive equal light and are not perpetually facing the heat.
Addressing Your Top Concerns
Can I just mist my money tree instead of using a pebble tray or humidifier? While misting provides momentary relief, its effects dissipate within minutes. The RHS emphasizes that for meaningful humidity increase, methods like pebble trays or humidifiers that provide continuous evaporation are far more effective and prevent issues associated with constantly wet foliage.
How close is too close to a heater? There’s no universal distance, as heater types vary. The key is to ensure the plant’s leaves do not feel warm to the touch and it is not in the direct path of hot air flow. Start with a minimum of 4-6 feet away and observe. If leaves are warm, move it further.
Should I move my money tree away from the heater only in winter? The heater is the primary issue, so its operation dictates the need. In summer, when the heater is off, you can be more flexible with placement, but always prioritize bright, indirect light and avoid air conditioning vents, which can also create dry, drafty conditions.
Caring for a money tree near a heater is entirely possible, but it requires a shift from passive to active plant parenting. It’s not about fighting the dry air in your entire home, but about consistently creating a small, protective bubble of humidity and stability right around your plant. By monitoring the soil moisture closely, employing steady humidity solutions, and keeping a watchful eye for pests, your money tree can continue to be a vibrant, thriving symbol of growth all year round. My two-week journey proved that with the right adjustments, even a challenging spot can become a safe haven.





