 admin
admin How to Use Mist Spray to Hydrate Money Tree Leaves: My 2-Week Journey to Lush, Healthy Growth
I used to watch the leaves of my beloved Money Tree, a Pachira aquatica, develop those dreaded crispy brown edges with a sense of helplessness. No matter how consistently I watered, the humidity in my dry apartment just wasn't enough. The plant survived, but it didn't truly thrive. Then, I decided to get serious about misting. I'd heard it was the secret to replicating the tropical humidity these plants crave, but I also heard warnings about fungal issues and ineffective methods. This is my hands-on, two-week experiment on how to use a mist spray to hydrate Money Tree leaves correctly, documenting every step, mistake, and triumphant result.
Understanding Why Your Money Tree Craves Moisture in the Air
Before I even picked up a spray bottle, I needed to understand the "why." The Money Tree is native to Central and South American wetlands. Its natural environment is consistently humid. Indoor heating and air conditioning strip moisture from the air, often dropping relative humidity to a desert-like 30% or lower. When the air is too dry, the plant loses water through its leaves (transpiration) faster than its roots can absorb it, leading to those tell-tale dry, brown leaf tips and margins.
Simply watering more isn't the solution; it can lead to root rot. This is where foliar misting comes in. It creates a microclimate of higher humidity directly around the foliage, slowing transpiration and allowing the leaves to hydrate through their stomata. As noted by the Royal Horticultural Society (RHS), increasing local humidity is a key strategy for nurturing tropical houseplants, especially during winter months.
My Toolkit: Choosing the Right Equipment
My first attempt failed because I used the wrong tools. I grabbed a household cleaner spray bottle I thought I'd rinsed thoroughly. Big mistake.
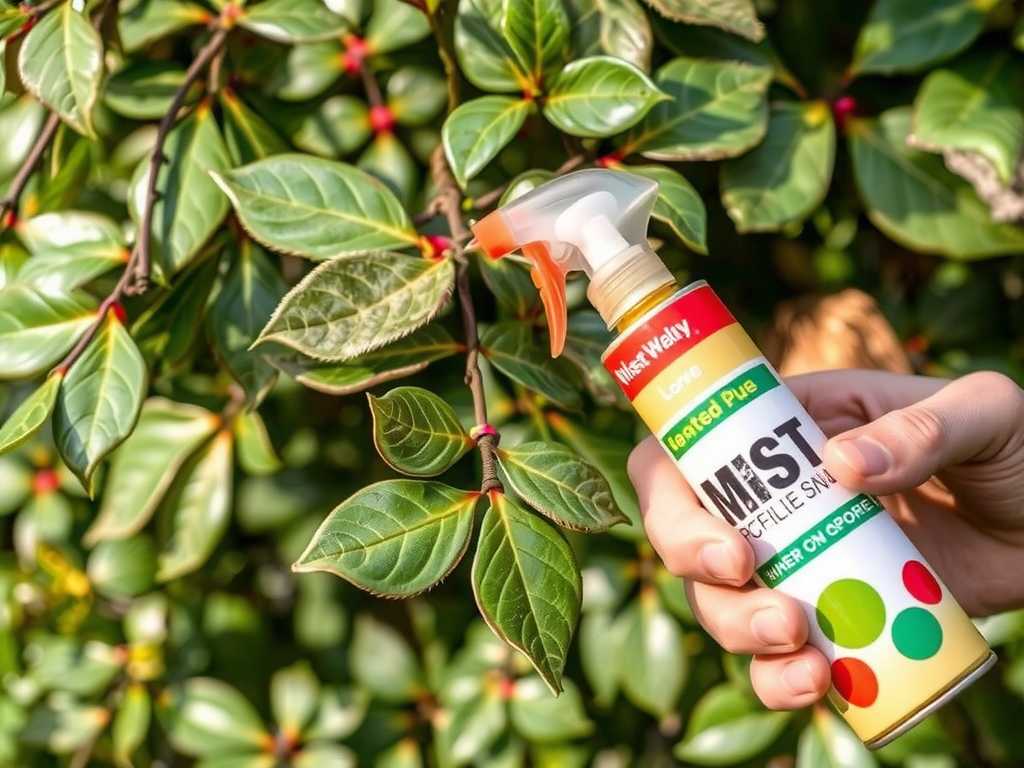
- The Spray Bottle: I invested in a dedicated, high-quality misting bottle with an adjustable, ultra-fine nozzle. The goal is to produce a gentle fog of tiny water droplets, not a soaking spray. Large droplets can roll off the leaves and into the soil, or sit on the foliage for too long, inviting problems.
- The Water: Tap water was my second mistake. The minerals, chlorine, and fluoride in my tap water left unsightly white spots on the leaves. For the experiment, I switched to filtered water at room temperature. Distilled or rainwater are also excellent choices. The American Horticultural Society (AHA) emphasizes that using pure water prevents chemical buildup on both leaves and in the soil over time.
- A Hygrometer: To move from guesswork to science, I bought a small digital hygrometer to measure the humidity near my plant. My goal was to raise the immediate humidity from 35% to between 50-60%.
My Step-by-Step Misting Protocol for Optimal Hydration
Here is the exact routine I followed for two weeks, fine-tuning it as I learned.
1. The Golden Timing Rule I misted only in the early morning, between 7 and 8 AM. This gives the water droplets ample time to evaporate from the leaves before temperatures drop in the evening. Evening or night misting is a cardinal sin—it leaves leaves wet and cold overnight, creating a perfect environment for fungal and bacterial diseases.
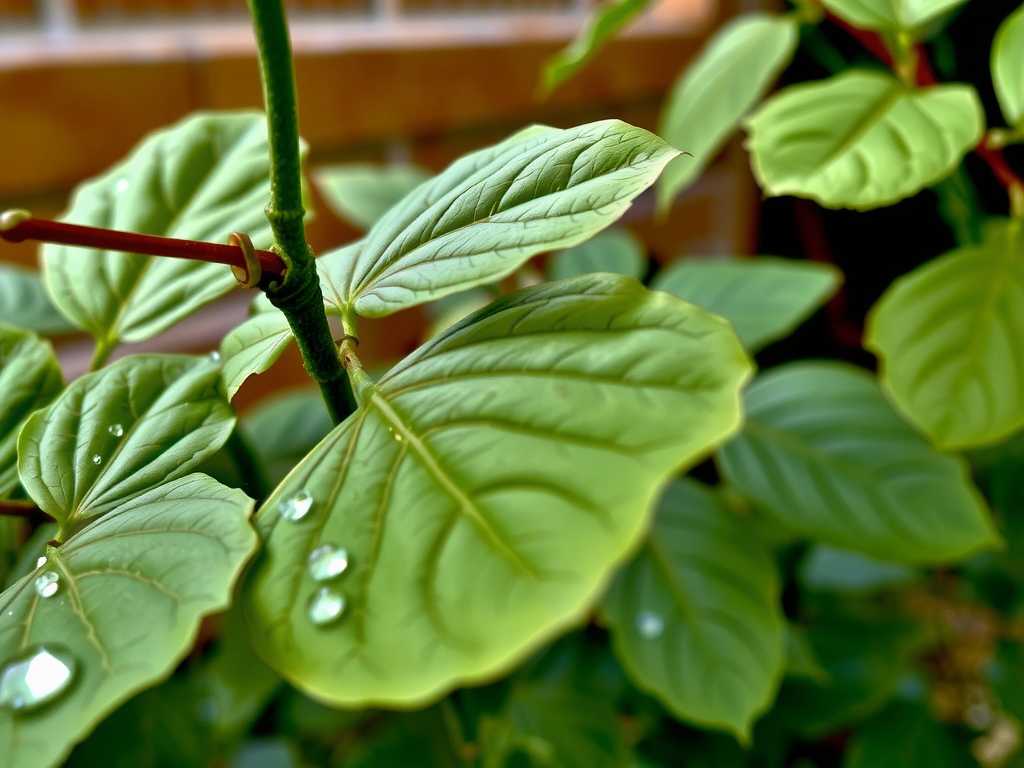
2. The Technique: Distance and Coverage I held the bottle about 10-12 inches away from the plant. I misted in a gentle, sweeping motion, targeting the undersides of the leaves as much as the tops. This is crucial because the stomata (pores) are primarily located on the leaf undersides. I focused on creating a light, dewy glaze, not a dripping-wet plant.
3. The Complementary Care Misting isn't a standalone cure. I paired it with my existing care routine:
- Watering: I continued to water only when the top 1-2 inches of soil were dry, ensuring I never compounded moisture issues.
- Cleaning: Once a week, I gently wiped the top surfaces of the leaves with a damp, soft cloth to remove dust, which can block light and clog pores.
- Grouping: I placed my Money Tree near a few other humidity-loving plants. Together, they create a more sustained humid microclimate through collective transpiration.
The 2-Week Observation Diary: Transformations and Troubleshooting
Days 1-3: The immediate effect was visual. The leaves looked perkier, with a subtle, healthy sheen. The dry, brown edges on a few leaves stopped progressing.
Day 5 – The First "Pitfall": I noticed a small, pale yellow spot on one lower leaf where a large droplet had consistently pooled. I had been over-enthusiastic in one spot. Solution: I immediately adjusted my technique to a lighter, more even mist from a greater distance. I carefully trimmed off the affected spot with sterilized scissors to monitor it.
Days 7-10: This was where the magic became undeniable. Two new, tight burgundy buds emerged from the stem—new growth! The existing leaves felt thicker and more supple to the touch. My hygrometer now consistently read 55-58% humidity in the plant's zone.
Day 12 – The Second "Pitfall": A slight whitish film appeared on the dark surface of my ceramic pot. This was mineral residue from the fine mist settling, even though I was using filtered water. Solution: I started using a light, absorbent cloth to shield the pot's surface during misting. I also made it part of my weekly wipe-down to clean the pot.
Day 14: The results were transformative. The plant had a vibrant, lush appearance. The new leaves were unfurling beautifully, without a hint of crispiness. All signs of progressive browning had completely halted. The soil also seemed to maintain a more consistent moisture level between waterings.
Beyond Basic Misting: Advanced Tips for Leaf Hydration
For those wanting to go further, here are two methods I tested briefly after my core experiment:
- Pebble Tray Method: I placed the pot on a wide tray filled with pebbles and a shallow layer of water. As the water evaporates, it boosts humidity around the plant continuously. This is a fantastic, low-maintenance supplement to morning misting.
- Humidifier: For a collection of tropical plants, a small cool-mist humidifier is the ultimate solution, providing consistent, controlled humidity without daily effort.
How often should I mist my Money Tree? During my two-week experiment in dry conditions, I misted every morning. However, frequency depends entirely on your home's humidity. In a naturally humid climate or during rainy seasons, you may only need to mist 2-3 times a week. Always let the plant's leaves and your hygrometer guide you—if the air feels dry to you, it's dry for your Money Tree.
Can misting cause root rot? Not if done correctly. Misting hydrates the leaves, not the soil. The key is using a fine mist and doing it in the morning so leaves dry quickly. Root rot is caused by overwatering the soil itself. Keep your watering and misting routines separate.
My Money Tree leaves are turning yellow after misting. What did I do wrong? Yellowing leaves, especially if soft or mushy, often signal overwatering or poor drainage. Re-evaluate your soil watering schedule first. If you're misting in the evening or with a spray that soaks the soil, you might be contributing to excess moisture. Ensure you're only misting foliage in the morning with a fine spray and that your plant's pot has excellent drainage.
Witnessing the direct impact of proper misting on my Money Tree was deeply rewarding. It moved from a static decorative piece to a visibly growing, thriving organism. The combination of the right tools, morning timing, and consistent observation unlocked its potential. Remember, it's about providing a gentle, humid breeze, not a rainstorm. By listening to your plant and adapting these steps, you can turn those dry, crispy leaves into a canopy of lush, hydrated vitality.





