 admin
admin How to Care for a Money Tree After Overfertilization: A Step-by-Step Recovery Guide
I’ll admit it. In my early days as a plant enthusiast, I believed that if a little fertilizer was good, a bit more must be better. My quest for a lush, thriving Money Tree (Pachira aquatica) led me down a path of overzealous care, culminating in a classic case of overfertilization. The signs were heartbreaking: yellowing leaves with crispy brown tips, a whitish crust of salt buildup on the soil surface, and an overall look of distress. If you’re reading this, you might be seeing similar symptoms in your own plant. Don’t panic. I successfully nursed my Money Tree back to vibrant health over a focused two-week period, and I’ll guide you through every step I took, including the mistakes I made along the way.
Understanding the problem is the first step. Overfertilization, often called fertilizer burn, occurs when excess salts from the fertilizer accumulate in the soil. This creates a hostile environment that damages the roots, making it difficult for the plant to absorb water and nutrients effectively. It’s a form of chemical stress that requires immediate and specific action, not just more water or less light.
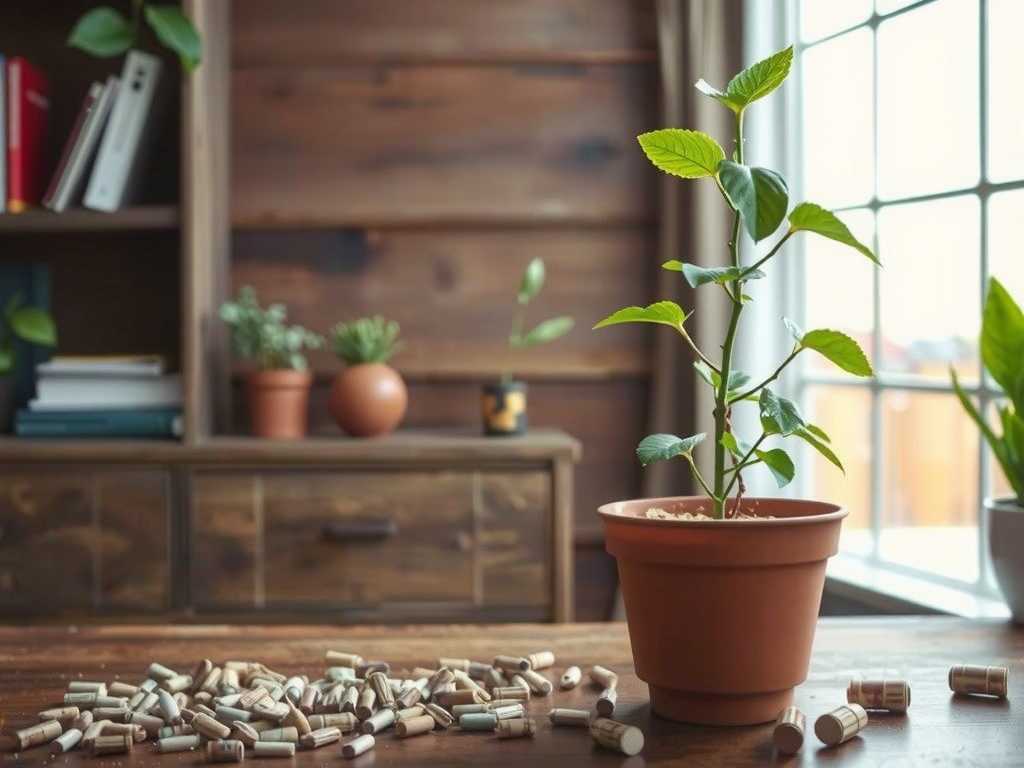
Immediate Emergency Steps: The First 48 Hours
When I confirmed the issue, I knew I had to act fast to prevent further root damage. Here is the exact sequence I followed.
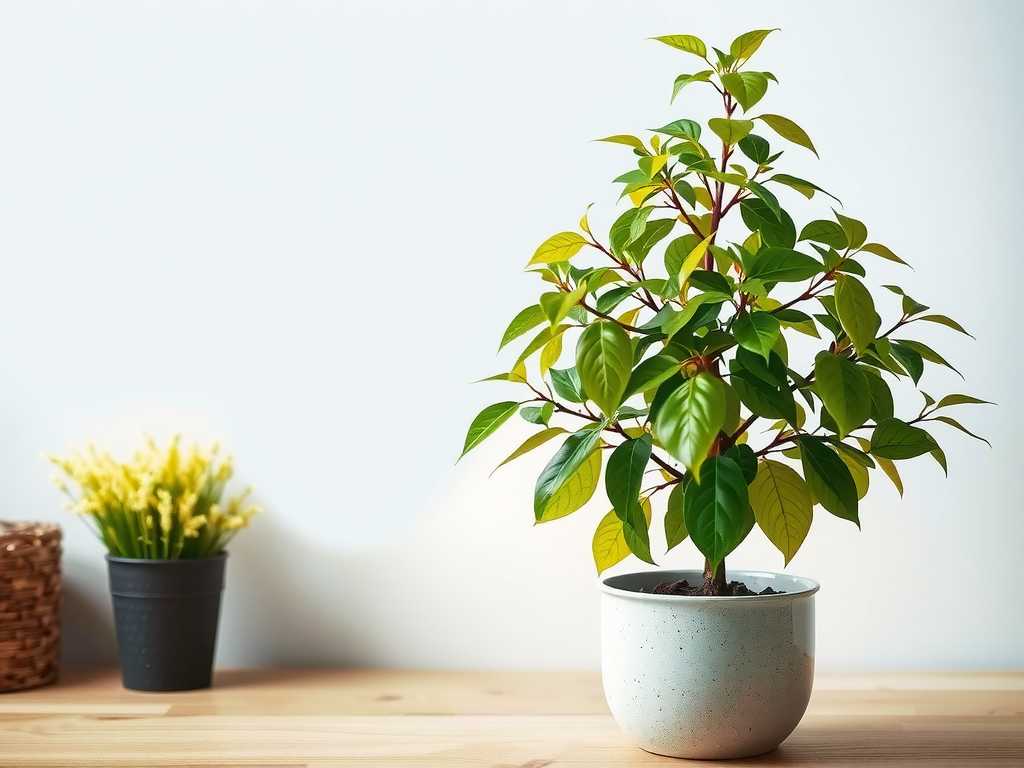
1. Flushing the Soil: The Most Critical Action This is non-negotiable. Flushing involves running a large volume of water through the soil to dissolve and wash away the excess mineral salts. I took my Money Tree to the sink or bathtub. Using room-temperature, distilled or filtered water (to avoid adding more chemicals from tap water), I slowly poured water onto the soil, allowing it to drain freely from the bottom holes. The key is volume. I repeated this process—watering thoroughly until it drained, waiting a few minutes, then doing it again—at least four to five times over the course of an hour. According to the Royal Horticultural Society (RHS), this leaching process is the most effective first response to fertilizer salt buildup. My initial mistake was only flushing once or twice; it wasn’t enough. A proper flush requires patience and a lot of water.
2. Assessing Root Health After flushing, I let the pot drain completely. A day later, once the soil was slightly less soggy, I gently removed the plant from its pot to inspect the roots. Healthy Money Tree roots are firm and light-colored. I was looking for signs of damage: roots that were soft, mushy, dark brown, or black indicated rot, often a secondary effect of the burn. Using sterilized pruning shears, I carefully trimmed away any severely damaged roots. This felt scary, but it’s crucial for redirecting the plant’s energy to healthy growth.
3. The Great Repotting Debate (And My Choice) Many guides will immediately recommend repotting into fresh soil. I considered this. Fresh, well-draining potting mix instantly removes the contaminated environment. However, repotting is an additional stressor. For my plant, which had significant leaf damage but only minor root tip burn, I decided against immediate repotting after the flush. I wanted to minimize shock. Instead, I chose to monitor it closely in its cleansed pot. This was a judgment call. If the salt crust was extreme or root rot was advanced, repotting is the safer option. Use a high-quality, well-aerated potting mix with plenty of perlite or orchid bark.
The Recovery Protocol: A Two-Week Observation Journal
The real work began after the emergency flush. Recovery is not instantaneous; it’s a process of supportive care.
Week 1: The Stabilization Phase The first week was about providing a stable, low-stress environment. I placed my Money Tree in a spot with bright, indirect light—away from direct sun, which can further stress dehydrated tissues. I resisted all temptation to fertilize. The plant’s focus needed to be on root repair, not new growth. I held off on watering again until the top 2-3 inches of soil were completely dry, as overwatering now could lead to rot in compromised roots. I also increased ambient humidity by placing the pot on a pebble tray with water, as suggested by many houseplant authorities to ease leaf stress. During this week, the existing damaged leaves continued to yellow, but I noticed no new damage appearing—a positive early sign.
Week 2: Signs of Life and a Common Pitfall By the start of the second week, the plant had stabilized. The soil surface looked clean, and the pot felt appropriately light when dry. Here, I made another mistake: I assumed it was thirsty and watered on a schedule. This led to the soil staying damp for too long. I corrected this by strictly using the “finger test” for moisture. Mid-week, I saw the most encouraging sight: a tiny, bright green bud forming at a stem node. This was the clear signal that the plant was redirecting energy and beginning to recover. I continued to provide consistent bright, indirect light and good airflow around the plant.
Long-Term Care Adjustments to Prevent Relapse
Successfully treating overfertilization means changing the habits that caused it. My approach to feeding my Money Tree changed completely.
1. The Fertilizer Philosophy: Less is More I switched to a balanced, liquid houseplant fertilizer (like a 10-10-10 or 20-20-20) and now dilute it to half or even quarter strength. The American Horticultural Society (AHS) emphasizes that container plants, especially slow-growers like Money Trees, require far less fertilizer than we think. I only fertilize during the active growing season (spring and summer) and apply it to moist soil to prevent root shock—never to dry soil.
2. The Flushing Schedule To prevent future salt accumulation, I now incorporate a “maintenance flush” into my routine. Every 3-4 months, I take the plant to the sink and water it thoroughly until water runs freely from the drainage holes, repeating once. This mimics a heavy rainfall and washes away any residual salts before they can build up to harmful levels.
3. Observing Over Applying I learned to let the plant tell me what it needs. Vigorous new growth in season is my cue that it’s happy. Pale leaves or dramatically slowed growth might indicate a need for nutrients, but I always rule out water, light, and root issues first before even considering fertilizer.
Addressing Your Concerns: Common Questions Answered
Can the burnt leaves recover? No, the damaged, brown, or yellowed portions of the leaves will not turn green again. The plant will eventually shed these leaves as it pushes out new growth. You can snip off the browned tips for aesthetics, but leave the healthy green portion of the leaf so it can continue to contribute energy to the recovery.
How long until I see new growth? This depends on the severity of the burn and the season. In my case, with moderate damage during the growing season, I saw a new bud within two weeks. Full recovery, with several new leaves unfurled, took about 6-8 weeks. Be patient; the plant is healing its root system first, which happens unseen in the soil.
Should I use any “remedies” like vitamin B1 or sugar water? I strongly advise against unproven home remedies. There is no scientific evidence, from institutions like the RHS or university extensions, that additives like sugar, aspirin, or vitamin solutions aid in fertilizer burn recovery. They can sometimes feed harmful soil microbes or create further imbalance. The best remedy is pure water, fresh soil if needed, proper light, and time.
Watching a beloved plant suffer from a mistake you made is a tough lesson for any plant lover. My journey with my overfertilized Money Tree taught me more about plant physiology and patience than any success story could. The key takeaways are immediate and thorough soil flushing, a period of rest with no fertilizer, and a long-term commitment to feeding weakly and infrequently. By following these steps, you’re not just fixing a problem; you’re learning to listen to your plant and building a foundation for its health for years to come. Your Money Tree has a remarkable will to live, and with your informed care, it will reward you with resilient new growth.





