 admin
admin How to Transplant a Money Tree from Leca to Soil: My Step-by-Step Guide for a Stress-Free Move
You’ve nurtured your Money Tree (Pachira aquatica) in LECA, enjoying the benefits of semi-hydroponics—fewer pests, clearer root monitoring, and simplified watering routines. But now, you’re considering a change. Perhaps you desire a more traditional look, find the constant pH and nutrient monitoring tedious, or are planning a long trip and need a more forgiving medium. The thought of transitioning your thriving plant from water-friendly clay balls to dense, moisture-retaining soil is daunting. Will it shock the roots? Can the delicate, water-adapted roots handle the change? I was in your exact position, hesitant and worried about harming my beloved plant. After thorough research and a successful, hands-on experiment, I’m here to guide you through the entire process, sharing not just the steps but my real-world results from a two-week observation period, the mistakes I made, and how I fixed them.
Understanding the “Why” and the “When”
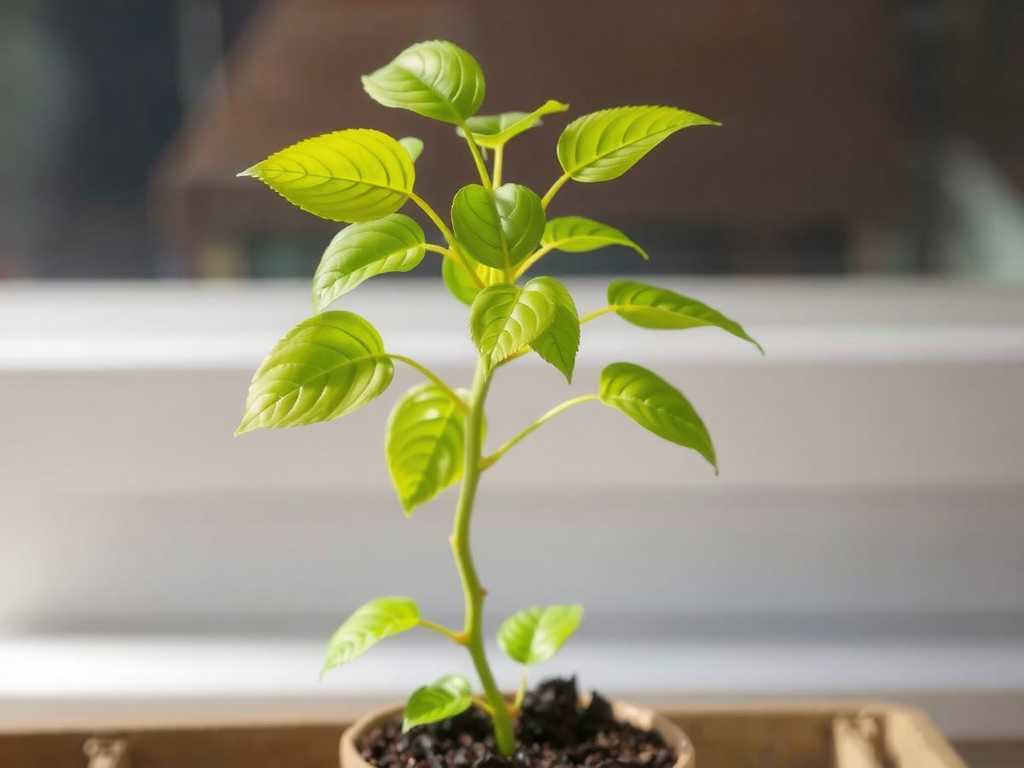
Before we dive into the how, let’s clarify the why. Moving a plant from an inorganic, airy medium like LECA to an organic, compact one like soil is a significant physiological shift for the roots. According to principles often cited by horticultural authorities like the American Horticultural Society (AHS), roots developed in water or air-pruning conditions are structurally different—often more brittle and adapted to high oxygen availability. The core challenge is avoiding rot when these roots are suddenly surrounded by moisture-retaining soil particles.
The best time to attempt this transplant is during your plant’s active growing season, typically late spring through early summer. This gives your Money Tree the maximum metabolic energy to push out new soil-adapted roots and recover from any stress. My transplant was done in early June, providing ideal conditions for recovery.
My Pre-Transplant Preparation Checklist
Success starts with having everything ready. Rushing leads to mistakes—I learned this the hard way.
- The Right Pot: Choose a pot only 1-2 inches larger in diameter than the root mass. A pot too large holds excess soil that stays wet, inviting root rot. Ensure it has excellent drainage holes.
- The Ideal Soil Mix: A well-draining, airy mix is non-negotiable. I used a blend of:
- 50% high-quality indoor potting mix
- 30% orchid bark (for chunkiness and aeration)
- 20% perlite (for drainage and oxygen) This mimics the airiness of LECA while providing structure and nutrients.
- Root Support: I kept a bottle of rooting hormone (with IBA) handy. While not mandatory, it can encourage new root growth and provide some anti-fungal protection.
- Sterilized Tools: Clean, sharp scissors or pruning shears are a must.
The Step-by-Step Transplantation Process
Here is the exact process I followed, documented in real-time.
Step 1: The Gentle Extraction I carefully removed the Money Tree from its LECA pot. This required patience. I tilted the pot and gently shook and rolled it to loosen the clay balls, rather than pulling on the stem. Once free, I placed the root ball in a bowl of lukewarm water to gently rinse away the remaining LECA. The key here is gentleness; the roots are fragile.
My First Mistake and Fix: I was too vigorous with the initial shaking and heard a slight snap. I had broken a small feeder root. Immediately, I cleaned my shears with alcohol and made a clean cut on the damaged root. I then applied a tiny amount of rooting hormone to the cut to protect it and stimulate regrowth.
Step 2: The Critical Root Inspection and Pruning With the roots clean and visible in water, I conducted a thorough inspection. Healthy roots from LECA are often white, tan, or light green and should be firm. I looked for any that were mushy, slimy, or black—signs of rot. I pruned these away completely. I also took this opportunity to lightly trim some of the very longest, thinnest water roots. This may seem counterintuitive, but it encourages the plant to produce new roots better suited for soil. I dipped the cut ends in rooting hormone after pruning.
Step 3: Potting Up in the New Soil Home I placed a layer of my pre-moistened soil mix in the bottom of the new pot. The soil should be damp like a wrung-out sponge, not soggy. I positioned the Money Tree’s root ball so the base of the stem would sit at the same level it did in the LECA. Holding the plant steady, I gently backfilled around the roots with the soil mix, tapping the pot occasionally to settle it. I did not pack the soil down firmly; air pockets are beneficial at this stage. The goal is loose contact, not compaction.
Step 4: The Initial “Settling-In” Water I gave the plant a thorough but careful initial watering until water just began to drain from the bottom. This helps the soil make contact with the roots and eliminates large air pockets. Crucially, I then placed the pot in a bright location with indirect light, avoiding any direct sun which would add to the plant’s stress.
The Crucial Two-Week Observation Period: What I Witnessed
This is where the real learning happened. I monitored my Money Tree daily.
- Days 1-3: The plant looked perfectly normal, which was encouraging. I resisted the urge to water or move it.
- Days 4-7: I noticed the very tips of two older leaves began to yellow slightly. This was my first panic moment. However, recalling advice from resources like the Royal Horticultural Society (RHS) on transplant shock, I understood this was likely the plant reallocating energy from older foliage to root establishment. I held steady.
- Days 8-10: The yellowing stabilized. More importantly, I observed the soil surface drying out more slowly than my other potted plants—a sign the water-adapted roots weren’t actively drawing up moisture yet. This confirmed I needed to adjust my watering mindset completely.
- Days 11-14: A key milestone: I saw the slightest hint of new growth at the top bud. This was the signal I was waiting for—the plant had stabilized and was initiating new growth, indicating successful root adaptation.
My Biggest Ongoing Challenge: Watering Discipline
This was my most significant hurdle. Coming from LECA, where I watered frequently, I had to relearn everything. My instinct was to water when the topsoil felt dry. This was wrong. For a newly transplanted Money Tree from LECA, the roots in the center are still adapting. Watering on a “topsoil dry” schedule kept the lower root zone too wet.
The Solution I Implemented: I began using a simple wooden chopstick as a moisture probe. I inserted it deep into the pot, near the root ball, and left it for a minute. Upon removing it, I could see exactly how damp the soil was at the core. I only watered when this probe came out almost completely dry. This method, often recommended for orchids and fussy plants, prevented overwatering and gave my Money Tree the dry period it needed to trigger new root growth.
Caring for Your Money Tree After the Transition
Once you see new growth, the hardest part is over, but care remains specific.
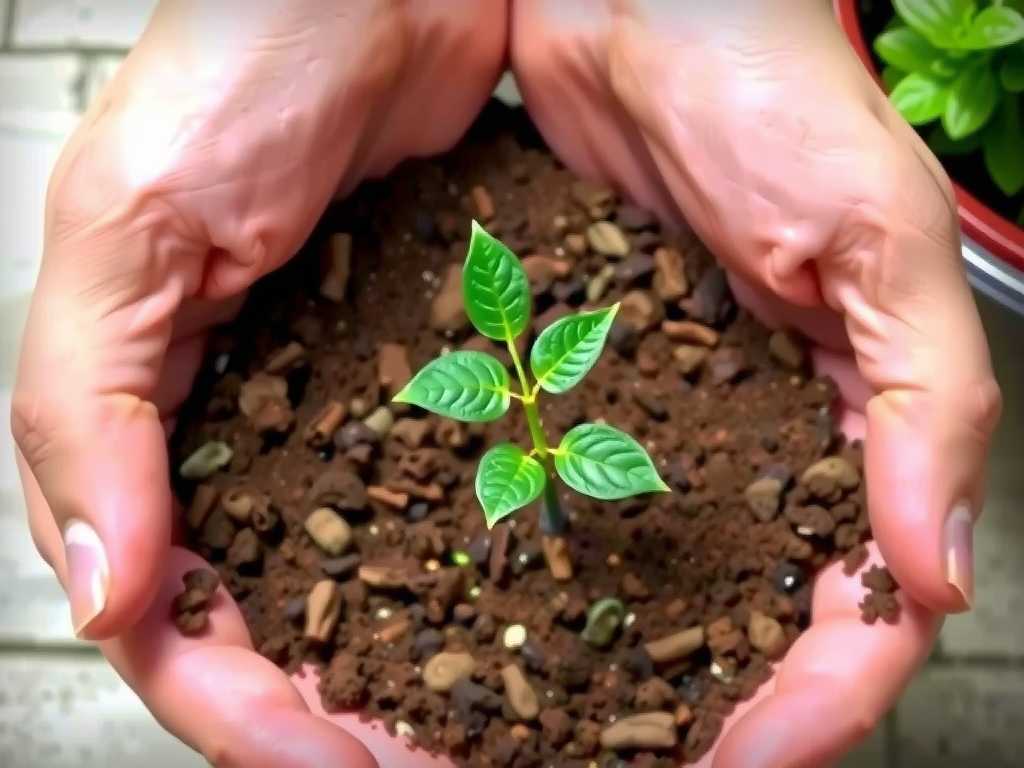
- Light: Maintain bright, indirect light. Direct sun can scorch the leaves while the plant is still establishing.
- Watering: Continue the “deep probe” method for at least the first 2-3 months. Err on the side of underwatering.
- Fertilizing: Do not fertilize for at least 6-8 weeks post-transplant. The fresh potting mix contains nutrients, and the sensitive roots cannot handle fertilizer salts yet.
Common Questions from Fellow Plant Lovers
Will all the leaves drop after the move? Not necessarily. Some minor leaf loss or yellowing of older leaves is normal as the plant focuses energy below the soil. Significant leaf drop usually points to overwatering or severe root disturbance during the process. Patience is key.
How long until I can resume normal care? “Normal” care changes. Your watering routine will be permanently different from your LECA routine. You can consider the plant fully transitioned and on a stable care schedule once it has put out several new, healthy leaves and you observe consistent soil drying patterns, typically around the 2-3 month mark.
Can I put it back into LECA if it seems unhappy? You can, but it’s stressful. If you must, do it quickly within the first 1-2 weeks. Clean the roots again, prune any new rot, and re-pot in fresh LECA. However, it’s often better to troubleshoot the soil environment (usually a watering or light issue) than to subject the plant to another major transition.
Transplanting a Money Tree from LECA to soil is a test of patience and observation, not just a mechanical task. By preparing the right soil environment, handling the roots with care, and most importantly, radically adjusting your watering habits based on the plant’s signals, you can guide your plant through this change successfully. The reward is a resilient Money Tree that thrives in its new home, giving you the flexibility of soil cultivation while carrying forward the healthy foundation you built in semi-hydroponics. My plant today is pushing out larger, darker leaves than ever before—a clear sign it has fully embraced its soil roots.





