 admin
admin How to Acclimate a Greenhouse Money Tree to Indoors: A 2-Week Survival Guide
I’ve killed my share of plants. There, I said it. But one of the most heartbreaking failures was bringing home a lush, gorgeous greenhouse-grown Money Tree (Pachira aquatica), only to watch it shed leaves, develop brown spots, and look generally miserable within a week. I thought I was giving it a great home, but I was actually shocking its system. If you’ve ever brought a nursery plant indoors and watched it struggle, you know the exact pain point. The vibrant, perfect plant you fell in love with is accustomed to a controlled, humid, brightly lit greenhouse. Our dry, dimmer, and drafty homes are a completely alien environment. The key isn’t just placing it in a pretty pot; it’s a careful, deliberate transition called acclimation.
This guide is the result of my own trial, error, and a successful two-week acclimation process I documented. I’ll walk you through exactly how to acclimate a greenhouse Money Tree to indoors, sharing the steps that worked, the mistakes I made along the way, and what you can expect to see during this critical period.
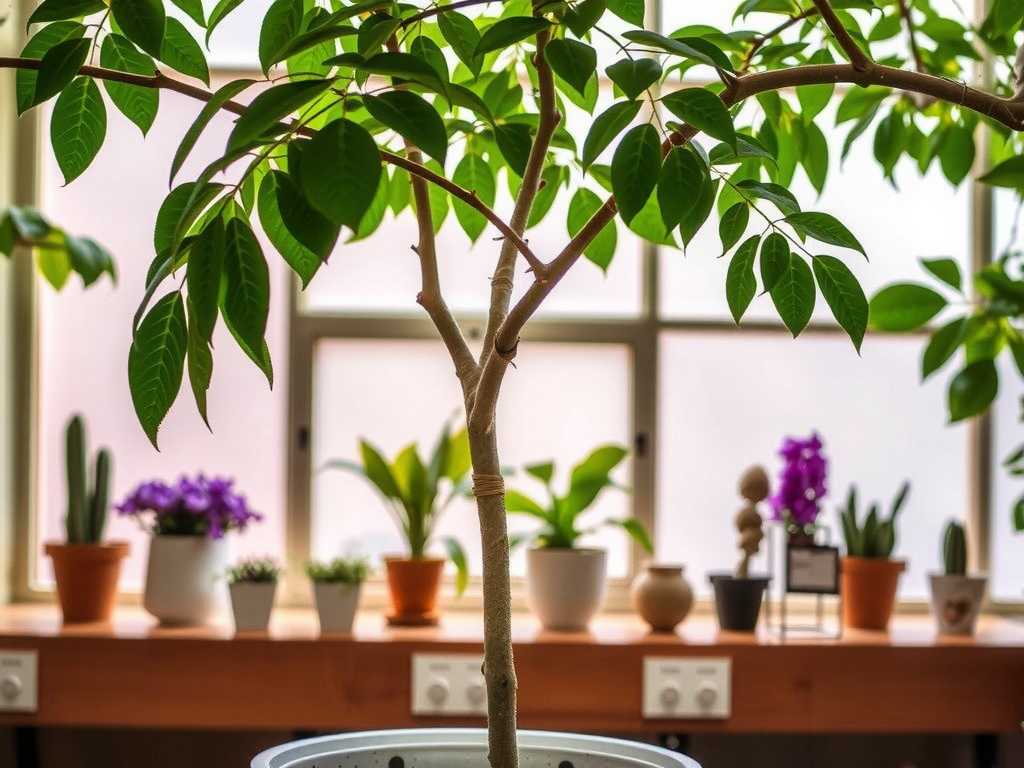
Understanding the "Greenhouse Shock" Phenomenon
Before we dive into the steps, it’s crucial to understand what your Money Tree is going through. Greenhouses provide ideal, consistent conditions: high humidity (often 70-90%), bright, diffused light for 12+ hours a day, optimal warmth, and perfect soil moisture. According to insights from the Royal Horticultural Society (RHS), a sudden move to a typical indoor environment subjects the plant to multiple simultaneous stresses: light intensity can drop by 80% or more, humidity plummets, and air circulation changes dramatically.
This shock forces the plant into survival mode. It may drop leaves that were adapted to high-light conditions to conserve resources. Low humidity can lead to crispy leaf tips and edges. The goal of acclimation is to minimize this shock by gradually introducing the plant to its new, less-than-ideal conditions, giving it time to adapt.
My Step-by-Step, 2-Week Acclimation Protocol
I dedicated a full two weeks to this process, observing my plant daily. Here is the exact protocol I followed.
Week 1: The High-Vigilance Introduction
The first seven days are the most critical. Your job is to be a buffer between the greenhouse paradise and your living room.
Day 1-3: The Quarantine and Initial Placement Immediately after bringing the plant home, I placed it in my brightest room, but not in direct sunlight. A spot about 4-5 feet back from a large east-facing window was perfect. Crucially, I kept it isolated from my other houseplants for at least two weeks. This quarantine period, recommended by resources like the American Horticultural Society (AHS), helps prevent the potential spread of any pests that might have hitched a ride from the greenhouse.
I did not water it on day one. Greenhouse soil is often kept consistently moist, and I needed to let the top inch dry out to check its true moisture needs. I did, however, gently clean the leaves with a damp cloth to remove dust and improve photosynthesis.
Day 4-7: Humidity is Your Best Friend This is where I made my first big mistake in previous attempts: ignoring humidity. The leaf tips on my Money Tree started to show the faintest hint of browning by day 4. I sprang into action.
Instead of misting (which is temporary and can promote fungal issues), I employed two tactics. First, I placed the pot on a wide pebble tray filled with water. As the water evaporates, it creates a localized humid microclimate. Second, I grouped it with a few other humidity-loving plants (like a peace lily). Plant transpiration collectively raises the humidity around them. By day 7, the browning had stopped progressing.
Week 2: Encouraging Adaptation and Establishing Routine
By the second week, the plant should have stopped any dramatic decline. Now, it’s about reinforcing good habits and watching for new growth.
Day 8-10: The First Watering and Fertilizer Hold I checked the soil moisture by sticking my finger two inches deep. It was dry, so I gave it a thorough watering until water ran freely from the drainage holes. I used room-temperature water and made sure to empty the outer cache pot after 30 minutes to prevent root rot. A key point: I did not fertilize. The plant is under stress and fresh potting mix (or greenhouse soil) has enough nutrients. Fertilizing now can burn tender roots.
Day 11-14: Monitoring and the First Sign of Success I maintained the pebble tray and grouping. I also began to very slightly rotate the plant every other day to ensure even light exposure. The most exciting moment came on day 12: I noticed a tiny, bright green bump emerging from one of the stems—a new leaf bud! This was the clear signal my Money Tree had accepted its new home and was investing energy in growth, not just survival.
Common Pitfalls I Encountered (And How to Fix Them)
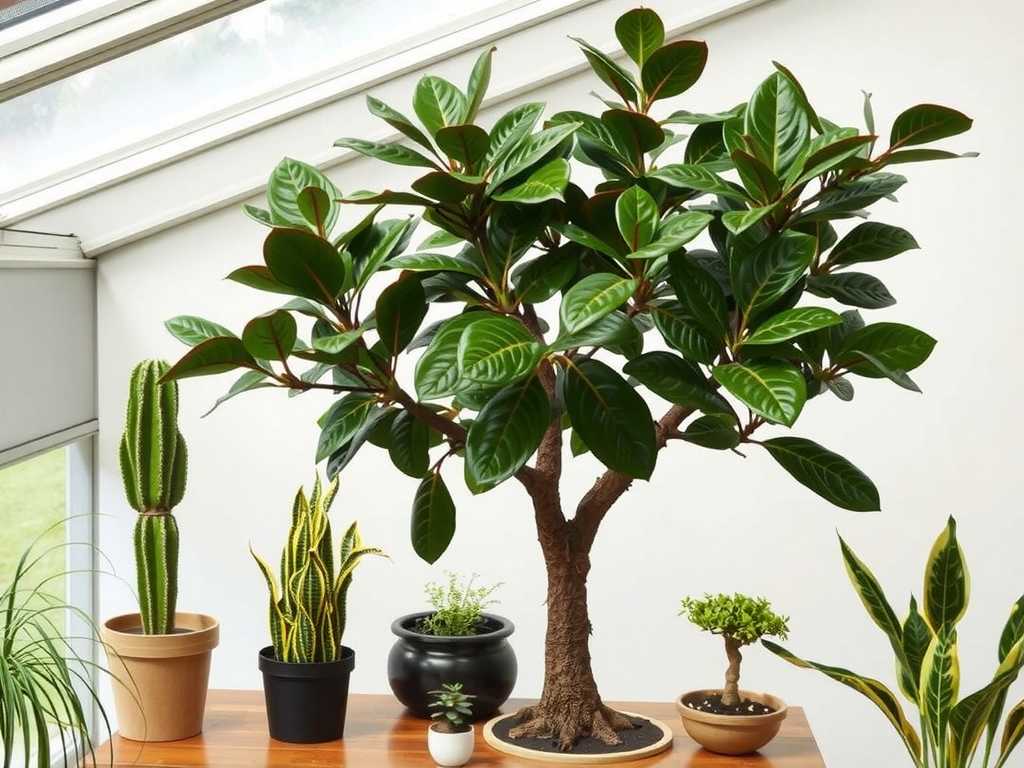
My process wasn’t flawless. Here’s where I stumbled and what I learned.
Pitfall 1: The "Perfect Spot" Fallacy I initially placed my Money Tree in a south-facing windowsill, thinking "more light is better." Wrong. The intense, direct sun through the window scorched several leaves, causing pale, bleached spots within 48 hours. Fix: I moved it immediately to the bright, indirect light location. The scorched leaves won’t recover, but I trimmed them once the plant was stable to redirect energy.
Pitfall 2: Overwatering from Panic Seeing a few yellow leaves, I assumed it was thirsty and watered it again too soon. This compounded the stress, risking root rot. Fix: I learned to trust the finger test, not the calendar or my anxiety. I also made sure my pot had excellent drainage.
Pitfall 3: Neglecting Drafts My chosen spot was near a frequently opened front door. I noticed leaves near that side looked drier. Fix: I moved the plant to a location away from heating vents, air conditioners, and drafty doors. Consistent temperature is as important as light.
Long-Term Care After Successful Acclimation
Once your Money Tree has pushed out a couple of new leaves, it’s considered acclimated. Now, shift to standard, long-term care:
- Light: Bright, indirect light remains ideal. It can tolerate medium light but will grow slower.
- Watering: Water deeply only when the top 1-2 inches of soil are dry. This is the single most important rule for ongoing health.
- Humidity: Continue with the pebble tray or a nearby humidifier, especially in winter. Your plant will thank you with lush, green leaves.
- Feeding: Begin a diluted, balanced liquid fertilizer monthly during the spring and summer only.
Will my Money Tree lose all its leaves during acclimation? Some leaf drop is completely normal, especially of the older, lower leaves. The plant is shedding foliage it can’t support in the new light conditions. Don’t panic if you lose 10-20% of the leaves. As long as the stems are firm and you see new buds, it’s on the right track. My plant lost about 8 leaves total over the two weeks.
Can I repot it as soon as I bring it home? Absolutely not. Repotting is another major stressor, involving root disturbance and a change of soil. You must tackle one stress at a time. Always acclimate first. Wait at least a month, or until the plant is actively growing, before even considering a repot.
My home is very dark. Can I still acclimate a Money Tree? You can, but your margin for error is smaller. The acclimation process will be about getting it to the brightest spot you have. Consider supplementing with a grow light to provide the necessary energy for the plant to adapt and thrive. Without sufficient light, it will become leggy, drop more leaves, and struggle long-term.
Bringing a greenhouse Money Tree into your home is a rewarding project that sets the stage for years of growth. The secret isn’t a green thumb; it’s patience and a gradual transition. By slowly introducing it to lower light and humidity over a focused two-week period, you give this resilient plant the time it needs to adapt. Watch for those new green buds—they’re your reward and the sure sign you’ve successfully guided your Money Tree from greenhouse glory to a thriving indoor life.





