 admin
admin How to Use Perlite to Improve Drainage for Money Trees
I’ve always loved the lush, vibrant look of a healthy Money Tree (Pachira aquatica) in my home. It’s more than just a plant; it’s a symbol of good fortune and a centerpiece of my indoor jungle. But for the longest time, I struggled with one persistent, frustrating issue: poor drainage. No matter how careful I was with watering, my Money Tree would often develop yellowing leaves, and the soil would stay soggy for days. I knew this was a fast track to root rot, the silent killer of so many houseplants. That’s when I decided to get serious about fixing the foundation—the potting mix—and my journey led me to rediscover perlite. This simple, lightweight amendment became the game-changer in my quest for the perfect, well-draining soil for my Money Tree.
Understanding the problem was the first step. Money Trees, despite their hardy reputation, have a critical weakness: they despise “wet feet.” Their roots need access to both water and oxygen. In dense, moisture-retentive soil, water fills all the air pockets, suffocating the roots and creating a perfect environment for fungal diseases. I learned from resources like the Royal Horticultural Society (RHS) that good drainage is non-negotiable for healthy root development. It wasn’t just about watering less; it was about creating a soil structure that allowed excess water to escape freely while still holding enough moisture for the plant to use.
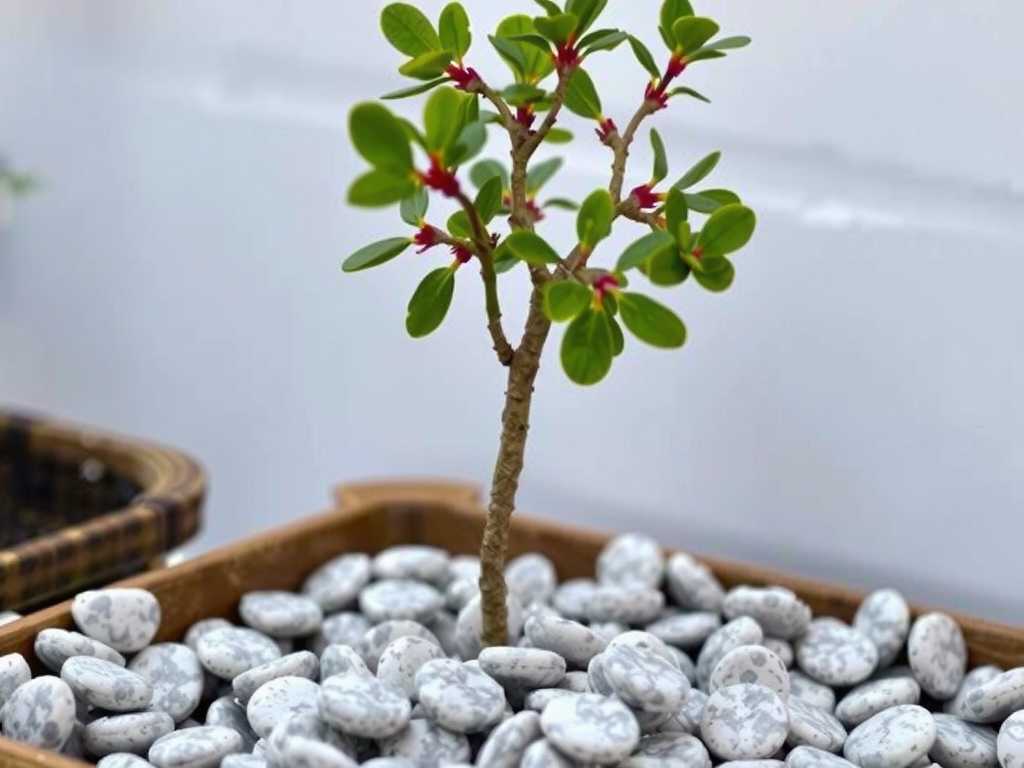
This is where perlite enters the story. Perlite is that white, popcorn-like material you see in many bagged potting mixes. It’s essentially superheated volcanic glass that expands, becoming incredibly porous. Each tiny granule is full of microscopic pores that hold some water and air on its surface, but more importantly, it creates permanent air channels throughout the soil. The American Horticultural Society (AHS) notes that inorganic amendments like perlite are invaluable for improving aeration and preventing compaction, which is exactly what a Money Tree’s root system craves. It doesn’t decompose, so it provides lasting benefits to the soil structure.
My Step-by-Step Process for Repotting with Perlite
Armed with this knowledge, I gathered my supplies for the repotting project: a new pot with ample drainage holes (only slightly larger than the old one), a bag of high-quality potting mix, a bag of horticultural perlite, a trowel, and my slightly unhappy Money Tree.
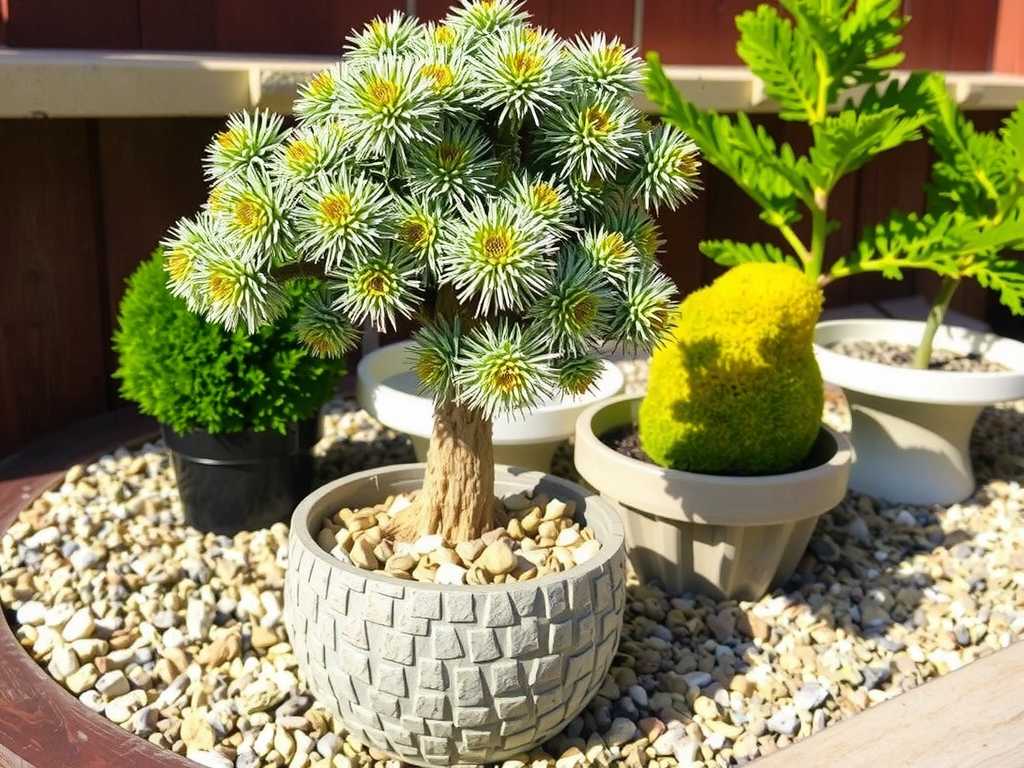
Creating the Perfect DIY Mix I didn’t want to trust a generic pre-mixed bag. I needed control. I settled on a simple yet effective recipe. In a large tub, I combined two parts of a standard, peat-based potting mix with one part perlite. For my plant’s size, this meant roughly 4 cups of potting soil to 2 cups of perlite. I mixed them thoroughly until the white perlite was evenly distributed, creating a uniform, fluffy blend. The goal was to significantly increase the porosity of the mix. This specific ratio for Money Tree soil is crucial—too little perlite and you won’t see a difference; too much and the soil may dry out too quickly or become unstable.
The Repotting Procedure Gently, I removed my Money Tree from its old pot. As I suspected, the roots were slightly damp and the old soil was clumpy. I carefully loosened the root ball, shaking off about a third of the old, compacted soil. I placed a layer of my new perlite-enhanced mix at the bottom of the clean pot. Then, I set the plant in, ensuring it was at the same depth as before, and began filling in around the sides with more mix, tapping the pot to settle the soil without packing it down. I finished with a thorough, gentle watering until it flowed freely from the drainage holes. This helped the soil settle further and eliminated large air pockets.
The Two-Week Observation: A Transformation Unfolds
The real test began after repotting. I placed the plant back in its bright, indirect light spot and committed to a strict observation routine.
Week One: Recovery and Adjustment The first few days were about recovery. The plant looked a little tired, which is normal after the stress of repotting. However, I noticed something remarkable after the first watering with the new mix. When I poured water in, it didn’t pool on the surface. Instead, it was absorbed immediately and drained out the bottom within seconds. The surface felt moist but not soggy. By day three, the top inch of soil was already drying out, a sign that the perlite drainage was working as intended. There was no foul smell from the soil, a welcome change from the sometimes musty odor of the old, waterlogged pot.
Week Two: Signs of New Vigor Entering the second week, the positive changes became undeniable. The existing leaves looked perkier and had a deeper green hue. But the most exciting moment was when I spotted a small, shiny green bud peeking out from a stem—new growth! This was the clearest signal my plant was not just surviving but thriving. The soil’s wet-dry cycle was now perfect: I would water thoroughly when the top 2-3 inches felt dry, and the pot would become noticeably lighter, indicating the mix was draining and drying efficiently. The fear of overwatering, which had haunted me for months, began to fade.
The Pitfalls I Encountered and How I Solved Them
My journey wasn’t without its hiccups. Sharing these is just as important as sharing the success.
The Dust Dilemma When I first opened the bag of perlite, a cloud of fine dust puffed out. I didn’t think much of it and started mixing. Later, I read that perlite dust can be an irritant to lungs and eyes. My solution: Now, I always dampen the perlite slightly with water in a separate container before mixing it with the soil. This completely suppresses the dust, making the process safer and cleaner.
The Floating Perlite Problem During my first few waterings, I was alarmed to see some perlite particles floating to the surface and even washing out of the drainage holes. I worried my perfect mix was being ruined. My solution: After some research and a bit of trial and error, I realized this was normal with the initial waterings. The lighter particles do rise until the soil settles completely. To minimize this, I now water more slowly, using a watering can with a fine rose, and I avoid a strong, direct stream. After 3-4 watering cycles, the mix stabilized, and the floating became minimal.
Getting the Watering Rhythm Right With the new, faster-draining mix, my old watering schedule was suddenly obsolete. I underwatered slightly in the first week, causing some leaf tips to crisp. My solution: I shifted from watering on a calendar schedule (e.g., every Sunday) to watering strictly on the plant’s needs. I use the finger test—inserting my finger into the soil up to the second knuckle—and I also lift the pot to feel its weight. A light pot means it’s time to water. This tactile feedback is the best guide for improving Money Tree health with a well-draining medium.
Why This Method Works: The Science of Air and Water
The transformation I witnessed wasn’t magic; it was soil science in action. Perlite’s primary role is aeration. By creating spaces in the soil that don’t collapse, it ensures roots have constant access to oxygen, which is essential for respiration and nutrient uptake. Healthy roots mean a healthy plant. Furthermore, by preventing waterlogging, it discourages the growth of anaerobic bacteria and fungi that cause root rot. My experience aligned perfectly with the principle of providing a well-draining soil for Pachira aquatica. It’s about creating an environment where roots can breathe easily, absorb water efficiently, and grow without the constant threat of decay.
How often should I water my Money Tree after adding perlite? You will likely need to water more frequently than before, but with less risk each time. The key is to check the soil moisture. Water deeply only when the top 2-3 inches of soil are completely dry. The pot will also feel significantly lighter. This might mean watering every 7-10 days instead of every 14, but it’s a safer, healthier routine for the plant.
Can I use too much perlite in my Money Tree soil? Yes, you can. While perlite improves drainage, a mix with excessive perlite (more than a 1:1 ratio with soil) can dry out too quickly, making it difficult to keep the roots consistently moist and potentially destabilizing the plant. A ratio between 1:3 and 1:2 (perlite to potting mix) is a safe and effective range for most indoor conditions.
Is perlite better than other amendments like sand or gravel for drainage? For container plants like Money Trees, perlite is generally superior. Sand can be heavy and may actually compact over time, reducing aeration. Gravel at the bottom of a pot can create a perched water table, worsening drainage. Perlite is lightweight, sterile, and its porous structure is designed to create ideal air and water balance throughout the entire soil column, not just at the bottom.
Seeing that new bud unfurl after two weeks was all the confirmation I needed. The journey from worry to confidence with my Money Tree came down to one simple change: giving its roots the environment they needed. By incorporating perlite, I stopped fighting against my watering habits and started working with the plant’s natural requirements. The soil now drains with confidence, dries with predictability, and supports a level of growth I hadn’t seen in years. If your Money Tree is suffering from slow growth or yellow leaves, look down. The solution might just be in mixing a handful of those white, porous stones into its home. It transformed my plant from a stagnant decoration into a thriving, growing symbol of prosperity.





