 admin
admin How to Care for a Money Tree in a Clay Pot: A Plant Lover’s 2-Week Journey
I’ve killed my share of houseplants. Overwatering, wrong light, you name it. But the struggle felt personal with my Money Tree. It’s supposed to bring good fortune, yet mine in its plastic nursery pot just looked… unlucky. Droopy leaves, slow growth, and my constant worry about root rot were my reality. I knew repotting into a clay pot was the classic advice for better drainage and health, but I was terrified of getting it wrong. So, I decided to document my own hands-on experiment: a complete, step-by-step guide on how to care for a money tree in a clay pot, tracking every detail over two full weeks. This is my journey from anxious plant parent to confident caretaker.
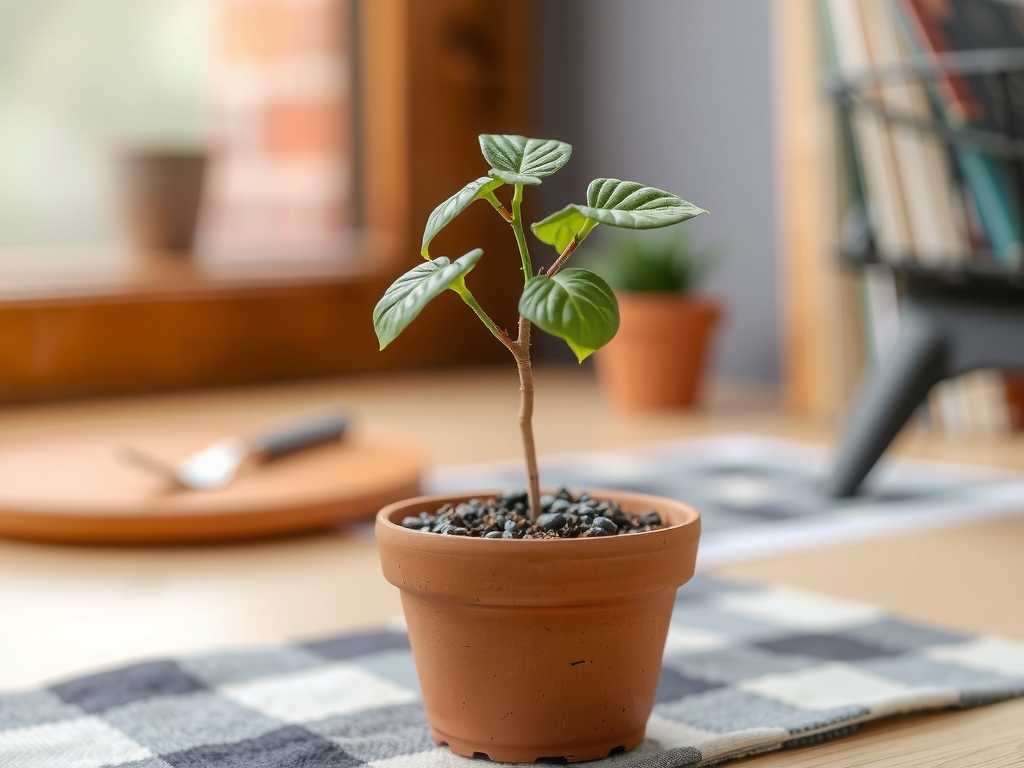
Why a Clay Pot is a Game-Changer for Your Money Tree
Let’s start with the “why.” For years, I used decorative ceramic or standard plastic pots. They looked nice but held moisture for days. Money Trees (Pachira aquatica) despise “wet feet.” Their roots are prone to rot in consistently soggy soil. This is where the humble clay pot shines.
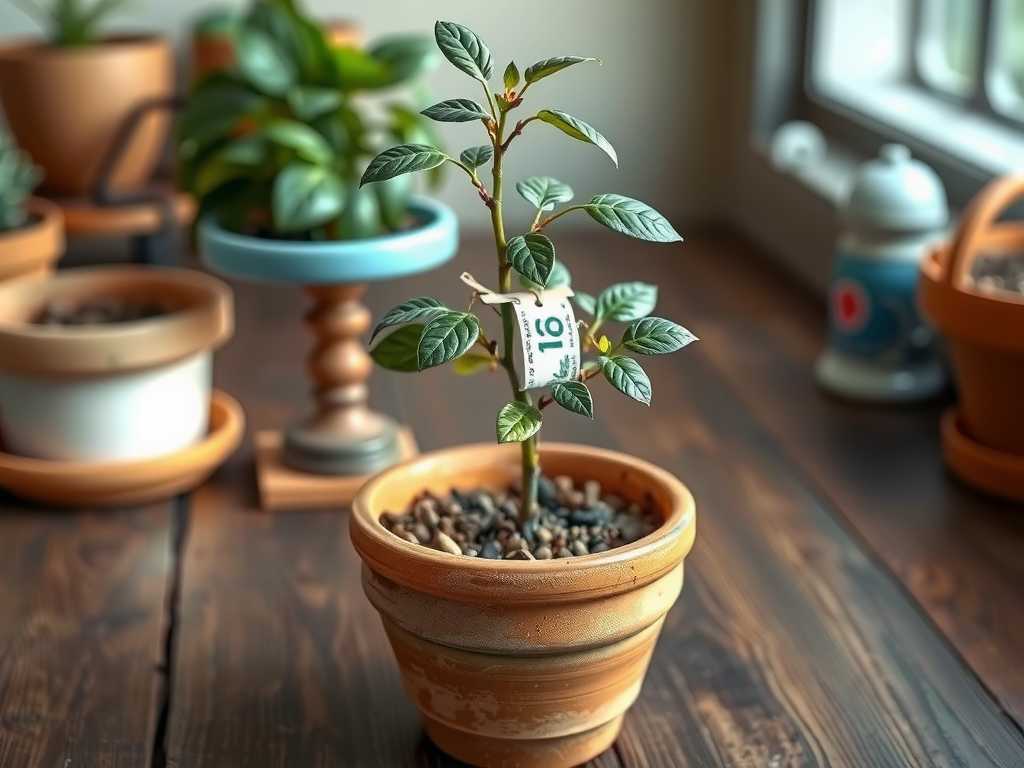
Terracotta clay is porous. It breathes. It allows excess moisture to evaporate through its walls, significantly reducing the risk of overwatering—the number one killer of houseplants. The Royal Horticultural Society (RHS) notes that terracotta pots are excellent for plants that require good drainage and are susceptible to root rot, making them an ideal match for the Money Tree’s needs. The pot actively works with you to create a healthier root environment.
Gathering Your Supplies: Don’t Skip the Essentials
Before the transplant, I gathered everything. Rushing leads to mistakes. Here’s my checklist:
- A Terracotta Clay Pot: I chose one only 1-2 inches larger in diameter than the original nursery pot. Too big, and the excess soil stays wet too long.
- Well-Draining Potting Mix: I avoided standard garden soil. Instead, I used a cactus/succulent mix and amended it with extra perlite for even better drainage. The American Horticultural Society (AHA) emphasizes that a fast-draining medium is critical for tropical plants grown in containers.
- A Hand Trowel & Gloves: For handling soil.
- A Saucer: To catch any drainage water.
- Pruning Shears (sterilized): Just in case I found any rotten roots.
- My Money Tree: Slightly thirsty, making the root ball easier to work with.
The Repotting Process: A Gentle Transition
This was the moment of truth. I was nervous but followed my own planned steps meticulously.
Step 1: Preparing the New Home I placed a small piece of broken pottery (a coffee filter works too) over the drainage hole to prevent soil washout. Then, I added a 1-2 inch layer of my fresh potting mix to the bottom of the dry clay pot.
Step 2: The Careful Extraction I tipped the old pot sideways, supporting the plant’s base, and gently coaxed it out. The root ball was moist and intact. I carefully loosened the outer roots with my fingers, but I didn’t aggressively tear them apart. The goal is to encourage them to grow into the new medium, not to shock them.
Step 3: Positioning and Filling I placed the Money Tree in the center of the new pot, ensuring the top of the root ball sat about an inch below the rim. Holding it steady, I began filling in the gaps around the sides with fresh soil, tapping the pot to settle it without compacting it too tightly.
Step 4: The First Watering After repotting, I gave it a thorough, deep watering until water ran freely from the drainage hole into the saucer. This settled the soil around the roots. Crucially, I emptied the saucer after 15 minutes. Letting the pot sit in water defeats the purpose of using clay.
My 2-Week Observation Log: The Real Results
This is where the real learning happened. I kept a daily journal.
Days 1-3: The Adjustment Period The plant looked a bit shocked—a few leaves seemed less perky. This is normal transplant stress. I placed it in its original spot with bright, indirect light (a north-east facing window) and resisted the urge to water again. The clay pot felt cool and slightly damp to the touch.
Days 4-7: Signs of Recovery By day five, the leaves firmed up. The most noticeable change? The surface of the soil dried out much faster than in the plastic pot. I checked moisture by sticking my finger two inches into the soil. It was barely moist. This confirmed the clay was working—pulling moisture from the soil.
Days 8-14: New Growth and a New Routine In the second week, I spotted a small, bright green bud of new growth at the top! This was the ultimate sign of success. The care for money tree in clay pot routine became clear: water only when the top 1-2 inches of soil are completely dry. For my environment, this meant watering about every 10-12 days, a much longer interval than before.
The Pitfalls I Encountered (And How I Fixed Them)
It wasn’t all smooth sailing. I hit two snags that taught me valuable lessons.
Pitfall 1: The Salt Buildup Surprise Around Day 10, I noticed a white, crusty film on the outside of the clay pot, particularly near the rim. I panicked, thinking it was mold. After some research, I learned it was mineral salt buildup from fertilizers and tap water, drawn out through the porous clay. It’s harmless to the plant but can be unsightly. Solution: I simply scrubbed it off with a stiff brush and water. To prevent it, I now use distilled or filtered water for watering and flush the soil thoroughly with plain water every few months.
Pitfall 2: Misjudging the Weight A dry clay pot is significantly heavier than plastic. After watering, it’s very heavy. I initially placed it on a delicate shelf. Solution: I moved it to a sturdier plant stand. Always consider the final weight when choosing a location for your money tree in terracotta pot.
Ongoing Care: Light, Water, and Happiness
Repotting is just the start. Here’s how I care for it now:
- Light: Bright, indirect light is key. Mine thrives about 3 feet from a window. Direct afternoon sun can scorch the leaves.
- Watering: This is the biggest change. The “clay pot watering schedule for money tree” is not calendar-based. It’s finger-based. Dry knuckles? Time to water. I give it a deep soak and let it drain completely.
- Humidity: Money Trees enjoy moderate humidity. I group it with other plants and occasionally mist it, but the clay pot doesn’t significantly affect this aspect.
- Feeding: During the growing season (spring/summer), I use a balanced, water-soluble fertilizer at half-strength, but only when the soil is already damp to avoid root burn.
What’s the biggest benefit of a clay pot for a Money Tree? The primary benefit is dramatically reduced risk of overwatering and root rot. The porous clay walls allow excess soil moisture to evaporate, creating a healthier, more oxygenated environment for the roots. It essentially provides a safety net for those of us who tend to love our plants a little too much with the watering can.
How often should I really water my Money Tree in clay? Throw away the weekly schedule. The frequency depends entirely on your home’s light, temperature, and humidity. The only reliable method is the finger test. Insert your finger into the soil up to the second knuckle. If it feels dry at that depth, it’s time for a thorough watering. In my home, this translates to about every 10-14 days.
Do I need to do anything special to prepare the clay pot before use? It’s a good practice to soak a new terracotta pot in water for 15-20 minutes before planting. Dry clay is extremely porous and can wick moisture away from the new soil too quickly initially. Soaking it saturates the pot walls, allowing the soil to stay evenly moist after you first water your newly potted plant.
Seeing that new green bud after two weeks was more rewarding than I expected. The transition to a clay pot wasn’t just a change of container; it was a shift in my entire approach. It taught me to observe, to trust the “dry touch” test, and to understand that the best care often means doing less. My Money Tree now stands sturdier, its leaves are glossier, and the fear of root rot has faded. It turns out, the fortune this plant brings might just be the confidence of becoming a more attentive and knowledgeable plant parent.





