 admin
admin How to Care for a Money Tree in a Plastic Pot: A Plant Lover's 2-Week Journey
You’ve brought home a beautiful Money Tree, its braided trunk and lush green leaves promising prosperity and a touch of nature. But it’s sitting in that shiny, mass-produced plastic pot it came with, and suddenly, doubts creep in. Is this pot a death sentence? Will it cause root rot? Can a Money Tree even thrive in plastic? I’ve been there, staring at that same pot, overwhelmed by conflicting advice online. As a hands-on plant enthusiast, I decided to ditch the guesswork and document a real, two-week experiment to master the art of caring for a Money Tree in a plastic pot. What I learned transformed my plant’s health and simplified my routine.
Let me walk you through the exact steps I took, the surprising results I observed over 14 days, the mistakes I made (and how I fixed them), so you can confidently help your Money Tree flourish, plastic pot and all.
Understanding the Plastic Pot: Pros, Cons, and the Drainage Non-Negotiable
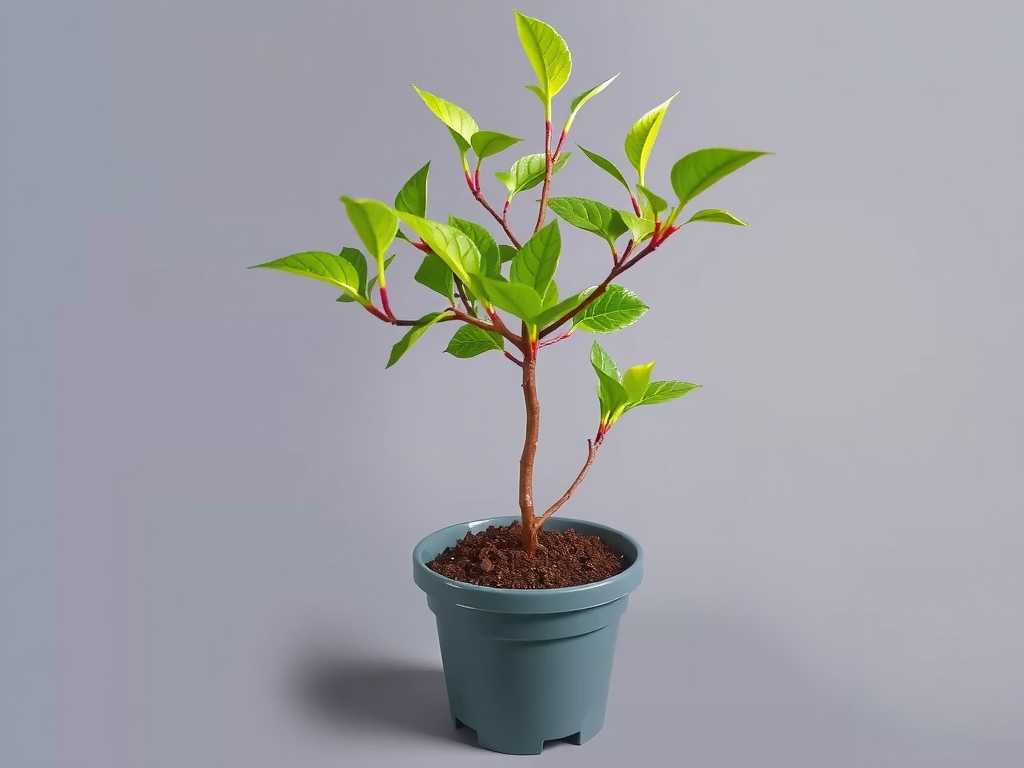
First, let’s talk about the pot itself. Plastic pots are lightweight, affordable, and retain moisture longer than terracotta. This can be a benefit or a curse, depending on your watering habits. The Royal Horticultural Society (RHS) notes that plastic containers are excellent for moisture-loving plants, but they emphasize that proper drainage is the single most critical factor for preventing waterlogged soil, regardless of pot material.
The biggest pitfall with plastic is the illusion of “just one more splash” of water. Without an escape route, that water sits at the bottom, creating a soggy environment where roots suffocate and rot. My first Money Tree years ago fell victim to this. I learned the hard way: a plastic pot must have drainage holes. If yours doesn’t, your initial care step is to drill some or repot immediately into one that does.
My Step-by-Step Care Protocol for a Plastic-Potted Money Tree
I started with a moderately healthy Money Tree in a standard 6-inch plastic pot with drainage holes. Here was my game plan, focusing on the unique needs imposed by the plastic environment.
The Perfect Soil Mix: Creating a Well-Draining Foundation
You cannot use dense, moisture-retentive soil in a plastic pot. It’s a recipe for disaster. I needed a mix that would counterbalance the plastic’s water-holding tendency.
My recipe was:
- 60% high-quality potting mix (for structure and nutrients)
- 30% perlite (to dramatically increase aeration and drainage)
- 10% orchid bark chunks (to create air pockets and prevent compaction)
This chunky, airy mix ensures water flows through quickly, reaching the roots but not lingering. The American Horticultural Society (AHA) supports this approach, stating that amending standard potting soil with inorganic materials like perlite is key for plants prone to root rot in non-porous containers.
The Art of Watering in Plastic: A Tactile Guide
This is where I had to unlearn everything. Instead of watering on a schedule, I adopted the “finger test.” Every other day, I would insert my finger about 2 inches into the soil. If it felt dry, it was time to water. If it felt cool or damp, I waited.
My watering technique became crucial:
- I would take the plastic pot to the sink.
- Water slowly and evenly until I saw a steady stream run out of the drainage holes in the plastic pot. This ensures the entire root ball is saturated.
- The critical step: I let the pot sit in the sink for 15-20 minutes to let all excess water drain completely. Never let it sit in a saucer full of water.
Ideal Placement: Light and Humidity
Money Trees prefer bright, indirect light. I placed mine about 3 feet back from a large east-facing window. The plastic pot, being lightweight, made it easy to rotate the plant a quarter turn each watering to ensure even growth.
I also monitored humidity. While tolerant of average homes, a boost helps. I placed a small humidifier nearby, grouping it with other plants. I avoided misting directly onto the leaves too frequently, as this can sometimes promote fungal issues without significantly raising humidity.
The 2-Week Observation Diary: What Actually Happened
Here’s a log of my plant’s response to the new, precise care routine.
- Days 1-3: After the initial repot into the new airy mix and a thorough watering, the plant looked stable. No shock, just perky leaves.
- Days 4-7: This is where I made my mistake. The top inch of soil looked dry, and I almost watered. But the finger test at 2 inches revealed cool, moist soil. I held off. This was the plastic pot effect—the surface dries fast, but moisture is retained deeper down. By waiting, I avoided overwatering.
- Day 8: The soil passed the dry test at 2 inches. I performed my sink watering ritual. The water flowed through freely, and the pot drained beautifully.
- Days 9-12: I noticed a change. New, tiny bud-like growth points emerged at the top of the stems—a sign of happiness! The existing leaves looked glossier and felt firmer.
- Day 14: The new growth buds had visibly elongated. The plant had a noticeably fuller, more vibrant appearance. The soil was drying on a consistent 8-9 day cycle in my environment, giving me a reliable benchmark.
Troubleshooting Common Problems in a Plastic Container
Even with care, issues can arise. Here’s what to watch for.
Yellowing Leaves and the Overwatering Trap
Midway through week one, a single lower leaf started to yellow. Panic! But I investigated. The stem was firm, and the rest of the plant was healthy. I realized this was natural senescence—an old leaf dying off. I snipped it cleanly at the stem.
Had multiple leaves yellowed, especially with soft stems, I would have suspected overwatering. The fix? Immediately stop watering, check if the plastic plant pot is draining, and let the soil dry out completely. In severe cases, repot into fresh, dry mix after removing rotten roots.
Dealing with Pests and Fungus Gnats
Plastic pots don’t cause pests, but overwatered soil in any pot attracts fungus gnats. I saw one or two tiny flies. My solution was to let the soil surface dry out more between waterings (gnats need moist topsoil to breed) and placed yellow sticky traps in the pot. Within days, they were gone.
When to Consider Repotting: Reading the Roots
A key advantage of flexible plastic is checking for root growth. Gently squeeze the pot and tip the plant out (supporting the stem). If you see a dense circle of roots (root-bound), it’s time to size up. Move to a plastic pot only 1-2 inches larger in diameter to avoid excess wet soil.
FAQ: Your Top Money Tree in Plastic Pot Questions Answered
Can I keep my Money Tree in the plastic pot it came in from the store? Yes, but only if it has adequate drainage holes. Often, decorative pots lack these. The first thing I do is check the bottom. If there are holes, you can keep it. If not, treat it as a decorative cache pot and remove the inner plastic nursery pot for watering, or repot entirely.
How often should I water my Money Tree in a plastic pot? There is no universal schedule. It depends on light, temperature, and your soil mix. My plant settled into an 8-9 day cycle. Your mission is to use the finger test. Let the top 1-2 inches of soil dry out completely between waterings. In plastic, when in doubt, wait another day.
Why are the leaves on my Money Tree turning brown and crispy? This is usually a sign of low humidity or underwatering. While plastic pots retain soil moisture, they don’t affect air humidity. If the soil is drying out too fast or the air is very dry (common in winter), increase humidity with a pebble tray or humidifier and ensure you’re watering thoroughly until it runs out the bottom.
Caring for a Money Tree in a plastic pot is entirely about partnership—pairing the pot’s moisture-retaining quality with an exceptionally well-draining soil mix and a disciplined, touch-based watering approach. My two-week experiment proved that plastic isn’t inferior; it just requires a specific strategy. By focusing on drainage, resisting the urge to over-love with water, and providing bright, indirect light, your Money Tree will reward you with resilient, thriving growth. It’s not about the pot material; it’s about the care you adapt to it. Now, go check those drainage holes and give your green friend the tailored care it deserves.





