 admin
admin How to Treat Money Tree Leaf Spots Mixing Insect Damage and Fungus
If your money tree leaves are showing brown or black spots, yellow halos, and tiny sticky residue or webbing at the same time, you are likely dealing with money tree leaf spots mixing insect damage and fungus. This is extremely common. One problem weakens the leaf, then the other moves in. In the next 100 words, here is the short answer: isolate the plant, wipe every leaf, treat insects first with insecticidal soap or neem, then apply a fungicide labeled for houseplants, and fix watering and light. I have done this exact routine more than once. It took about 14 days to see real improvement. Below I share my step-by-step process, the three mistakes that almost killed my trees, and what actually worked long term.
Why Money Tree Leaves Get Spots From Both Pests and Fungus
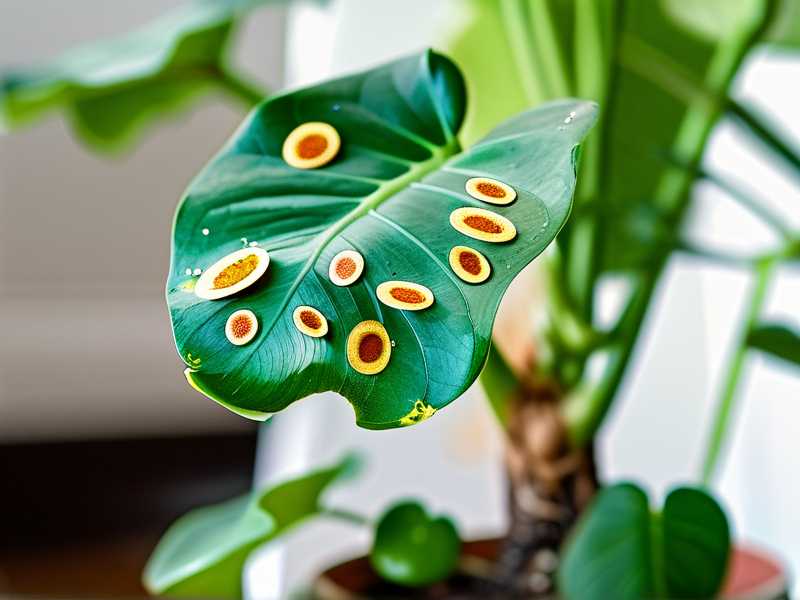
Money trees (Pachira aquatica) are tough, but they are not bulletproof. The trouble usually starts small. A few pests like spider mites, mealybugs, or scale settle on the undersides of leaves. They pierce the leaf and suck sap. That creates tiny wounds.
Then fungus walks in. Spores land on those wounds, and if the leaf stays wet or the air is humid and still, you get fungal leaf spot. It is a one-two punch.
The RHS notes that stressed indoor plants are far more vulnerable to both pests and fungal disease. That matches what I see at home. A healthy money tree rarely gets hit hard.
I also want to say this clearly: 90% of indoor plants die from overwatering. Not pests. Not fungus. Overwatering. And overwatering is often what invites the fungus in the first place.
My 14-Day Treatment Plan That Actually Worked
I have tried a lot of things. Some failed. This is the version that finally worked for me.
Day 1: Isolate and inspect I moved the plant to a separate room. I checked every leaf, top and bottom. I used a flashlight because mites are tiny. I found fine webbing and sticky spots on three lower leaves.
Day 2: Prune the worst leaves I cut off leaves that were more than half damaged. I used clean scissors and wiped them with alcohol between cuts. Do not compost these leaves. Bag them and throw them out.
Day 3: Shower the plant I put the pot in the shower and rinsed the leaves with room-temperature water. This physically removes mites, honeydew, and some spores. I covered the soil with a plastic bag so it did not get soaked.
Day 4: Treat insects first I sprayed the whole plant with insecticidal soap. I focused on leaf undersides and stem joints. I repeated this every 5 to 7 days for two weeks. Neem oil also works, but I prefer soap for a first pass because it is gentler on leaves.
Day 5 to 7: Let it dry, then treat fungus Once leaves were dry, I applied a copper-based fungicide. I used it only on affected areas and followed the label exactly. I did not mix it with the soap. Never mix treatments unless the label says it is safe.
Day 8 to 14: Watch and adjust By day 10, new spots had stopped appearing. By day 14, the remaining leaves looked firmer. The yellow halos did not disappear, but they stopped spreading. That is the realistic outcome. Existing damage will not heal perfectly.
I kept the plant isolated for a full month. That was annoying, but it prevented the pests from spreading to my other plants.
The 3 Deadly Mistakes New Growers Make With Money Trees
I made all three of these. I am not proud of it. But you can learn from my mistakes.
Mistake 1: Overwatering This is the big one. People water on a schedule. Do not do that. I used to water every Sunday no matter what. That is how I killed my second money tree. The soil stayed wet, roots suffocated, and fungus had a field day.
Simple rule: stick your finger 2 inches into the soil. If it feels moist, wait. Water only when the top 2 to 3 inches are dry. In winter, that might mean every 10 to 14 days.
Mistake 2: Wrong light Money trees want bright, indirect light. I once put one in a dark corner because I thought "low light" meant no light. The plant stretched, leaves weakened, and pests moved in fast. Then I moved it to a south-facing window with a sheer curtain. That helped a lot.
Direct midday sun can scorch leaves. Too little light makes the plant weak. Aim for a spot that is bright but not harsh.
Mistake 3: Wrong pot This one surprised me. I used a decorative pot with no drainage holes. Big mistake. Water pooled at the bottom, roots rotted, and fungal spots appeared within weeks. I switched to a pot with drainage holes and a saucer. I also sized up only 1 to 2 inches. A too-large pot holds too much wet soil.
How to Tell Insect Damage Apart From Fungus
This part confused me for a long time. Here is what I look for now.
Insect damage signs:
- Sticky residue on leaves or nearby surfaces
- Fine webbing, especially where leaf meets stem
- Tiny moving specks or cotton-like clumps
- Leaves look speckled or silvery in patches
Fungus signs:
- Round or irregular brown spots with yellow halos
- Spots that start small and grow over days
- Dark edges or concentric rings inside the spot
- Spots appear more after misting or in humid rooms
When both are present, you often see sticky spots that later turn brown and fuzzy. That is the mix.
What I Use and What I Avoid
I keep my treatment kit simple.
What I use:
- Insecticidal soap for mites, aphids, and mealybugs
- Neem oil as a backup
- Copper fungicide for fungal spots
- Clean pruners and paper towels
What I avoid:
- Harsh chemical sprays indoors
- Mixing products without reading labels
- Misting money tree leaves regularly (this can encourage fungus)
- Watering on a fixed schedule
The AHS suggests that good air circulation and proper watering are the foundation of disease prevention. I agree. Spraying alone will not fix a plant that sits in soggy soil.
A note on RHS guidance: they emphasize starting with cultural controls first. That means sanitation, watering, light, and airflow. Chemicals are a last step, not a first step. I learned that the hard way.
How I Adjusted Watering and Light After Treatment
Treatment kills the problem. Care prevents it from coming back.
Watering changes I made:
- I switched to a moisture meter for the first month. It cost me about $12 and removed the guesswork.
- I water in the morning so leaves dry during the day.
- I empty the saucer 30 minutes after watering.
Light changes I made:
- I moved the plant 3 feet back from a south window.
- I added a sheer curtain to soften the light.
- I rotate the pot a quarter turn every week.
Humidity changes:
- I stopped misting.
- I use a small fan on low for 2 hours a day to keep air moving.
- I keep humidity around 40 to 50 percent, not higher.
After two weeks, the plant was stable. After a month, it pushed out two new leaves. That was my sign that the roots were healthy again.
When to Repot and When to Wait
Do not repot a sick plant right away. I made that mistake once. The stress made things worse.
Wait until the plant stops losing leaves and shows new growth. Then check the roots. If they are brown and mushy, repot into fresh, well-draining soil. If they are firm and white, leave it alone.
I use a mix of potting soil, perlite, and orchid bark. Equal parts works well for me. It drains fast and does not stay soggy.
If you repot too early, you risk shock. If you wait too long with root rot, you lose the plant. Use new growth as your signal.
How Long Until You See Results
Here is my honest timeline.
- Days 1 to 3: You stop the spread. No new spots should appear if you treated correctly.
- Days 4 to 7: Existing spots stop growing. Pests start to die off.
- Days 8 to 14: Leaves look less stressed. You may see a little new growth.
- Weeks 3 to 4: Real recovery. New leaves unfurl. Old damaged leaves may drop.
If you see new spots after two weeks, you missed something. Check for pests again. Check your watering. Check airflow.
I have had cases where it took three rounds of soap before mites were gone. That is normal. Do not give up after one spray.
Preventing the Mix From Coming Back
Prevention is boring, but it works.
- Quarantine new plants for 2 weeks.
- Wipe leaves with a damp cloth every 2 weeks.
- Inspect undersides weekly.
- Water only when dry.
- Keep the plant out of drafty spots and away from heating vents.
- Do not overfertilize. Too much nitrogen makes soft growth that pests love.
I also stopped bringing outdoor plants near my indoor collection. That was how I got spider mites the first time. I am still a little bitter about it.
Frequently Asked Questions
Can a money tree recover from mixed pest and fungal damage? Yes. I have brought back trees that looked terrible. Cut the worst leaves, treat pests first, then fungus, and fix care. New growth is the real sign of recovery.
Should I use fungicide and insecticide at the same time? Not usually. Treat insects first. Let the plant rest for a few days. Then apply fungicide if spots are still spreading. Always read labels. Mixing products can burn leaves.
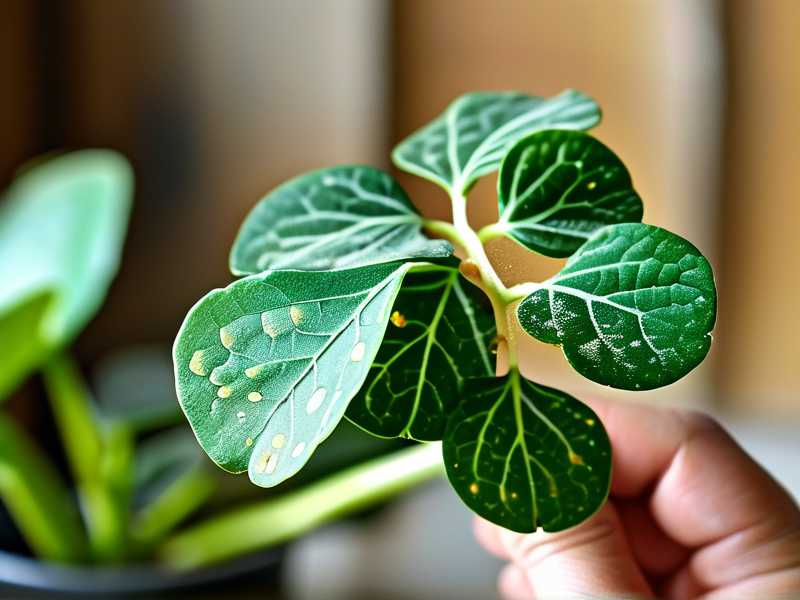
How do I know if the spots are from pests or fungus? Look for sticky residue, webbing, or tiny bugs. That points to pests. Look for brown spots with yellow halos that grow slowly. That points to fungus. If you see both, treat both, but do it in stages.
Final Thoughts
Money tree leaf spots mixing insect damage and fungus are frustrating, but they are fixable. The key is order. Isolate, prune, treat pests, then treat fungus. Fix watering, light, and drainage. Give it two weeks. Then give it two more.
I killed my first money tree with love. Too much water. Too little light. A pretty pot with no holes. I have learned since then. You will too.
Take it slow. Check the soil before you water. Keep the leaves dry. And if you see spots, act early. Your money tree is tougher than it looks, but it needs you to stop guessing and start watching.





