 admin
admin How to Care for a Money Tree in a Dorm Room: A Student’s Complete Guide
You’ve just gotten your first money tree, drawn in by its braided trunk and lush green leaves promising good fortune and a touch of nature in your small space. But now, sitting in your dorm room under the harsh glow of LED lights, you’re hit with a wave of anxiety. How do you keep this living thing alive between classes, midterms, and weekend trips? I’ve been there. I killed my first dorm plant—a sad, overwatered succulent—and I was determined not to let my money tree suffer the same fate. This guide is the result of my own journey, a two-week intensive care experiment where I learned exactly what a money tree needs to not just survive, but thrive, in the unique environment of a dorm room.
My goal was simple: transform from a nervous plant parent into a confident one. Over 14 days, I tracked every change, noted every drooping leaf, and celebrated every new sprout. I’ll share my real, step-by-step process, the mistakes I made (and how I fixed them), and the proven routine that led to a visibly happier, healthier plant. Let’s turn that dorm-room corner into a vibrant, green sanctuary.
Understanding Your Dorm Room Environment
Before you even water your plant, you need to become a detective. Your dorm room is a world apart from a greenhouse or even a typical living room. Recognizing these factors is 90% of the battle.
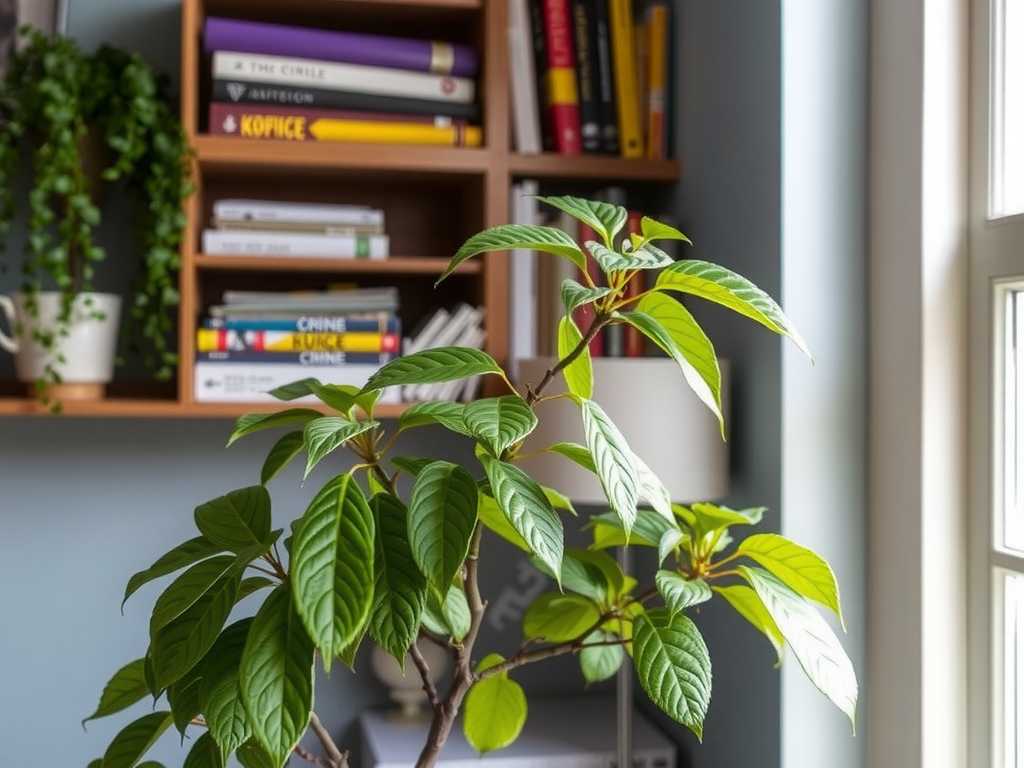
The Light Dilemma: North-Facing Windows and Artificial Gloom Dorm rooms are notorious for terrible lighting. You might have one small window, and it’s often shaded by another building or facing the wrong direction. My room had a north-facing window, which provides steady but very low light. The Royal Horticultural Society (RHS) categorizes money trees as suitable for “moderate, indirect light.” My window sill was too dark, and the spot right under my desk lamp was too harsh.
The Solution: I purchased a simple, affordable grow light bulb and screwed it into my desk lamp. For 12 hours a day (I used a smart plug timer), it bathed my money tree in a gentle, full-spectrum glow. Within a week, I noticed the leaves became a deeper green and stopped leaning desperately toward the window. This one change was the most significant factor in my success.
Humidity (Or Lack Thereof) Central heating and air conditioning create a desert-like atmosphere, sucking moisture right out of the air—and your plant’s leaves. The American Horticultural Society (AHS) notes that many tropical plants, including money trees, prefer humidity levels above 50%. My dorm’s humidity hovered around 30%.
My Simple Fix: I didn’t buy a humidifier. Instead, I placed my money tree’s pot on a wide, shallow tray filled with pebbles and water. As the water evaporates, it creates a perfect microclimate of moisture around the leaves. I also grouped it with my other small plant, which collectively raises humidity through transpiration.
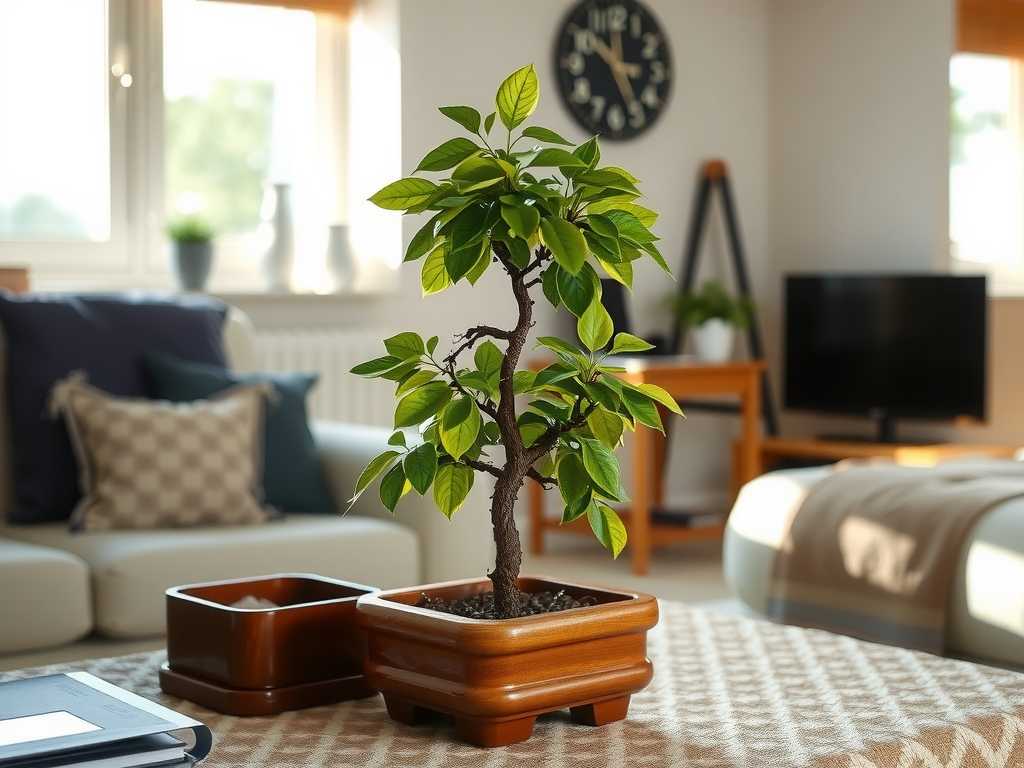
Space and Temperature Swings Dorm rooms are small, so placement is critical. Avoid drafts from frequently opened doors or direct blasts from heating/cooling vents. I made the mistake of placing mine right next to my radiator during a cold snap. The leaves started to brown at the tips almost overnight. I moved it to a stable spot about 6 feet away, where the temperature remained a consistent 68-72°F (20-22°C), and the browning stopped.
Your Step-by-Step Money Tree Care Routine
Here is the exact routine I followed and refined over my two-week observation period. Consistency is easier when it’s simple.
Week 1: The Foundation Phase Day 1: The Assessment and Repotting (If Needed) My money tree came in a cheap plastic pot with poor drainage. Following RHS guidance on well-draining soil, I repotted it into a container only 1-2 inches larger in diameter with a drainage hole. I used a standard potting mix blended with about 30% perlite for aeration. This prevents the “wet feet” that cause root rot. I watered it thoroughly until water ran out the bottom and let it drain completely in the sink before placing it on its pebble tray.
Days 2-7: Observation and Light Setup I resisted the urge to water again. My job was to observe. I set up the grow light on a 12-hour timer. I checked the soil moisture daily by sticking my finger about 2 inches deep. It stayed moist for almost the entire first week. I gently wiped the leaves with a damp cloth to remove dust, allowing them to breathe and absorb more light.
Week 2: Refinement and Growth Days 8-10: The First “Real” Watering On day 8, the top two inches of soil were completely dry. This is the golden rule: water deeply, but only when the soil is dry to the touch. I took the pot to the sink, watered it slowly until it drained freely, and let it sit for 30 minutes before returning it to its spot. The difference was remarkable. Leaves that had been slightly soft perked up and felt firm within hours.
Days 11-14: Fertilizing and Spotting New Growth In the second week, I introduced a very diluted dose of balanced, liquid houseplant fertilizer (half the recommended strength). Money trees are not heavy feeders, especially in lower light, but a mild boost during active growth helps. By day 14, I spotted two tiny, bright green buds emerging from the stem! This was the ultimate sign of success—my plant was not just surviving, it was preparing to grow.
The Pitfalls I Encountered (And How You Can Avoid Them)
My journey wasn’t flawless. Here’s where I went wrong and how I corrected course.
Pitfall 1: Overwatering and Panic Around day 5, I saw a single yellow leaf and panicked, thinking it needed more water. I gave it a small drink. Two days later, two more leaves yellowed. I realized my error: the yellowing was from the bottom of the plant, a classic sign of overwatering, not underwatering. I immediately stopped. I aerated the soil gently with a chopstick and placed the pot in a breezy spot (not a direct draft) to help the soil dry out faster. I returned to my “finger test” rule and haven’t seen a yellow leaf since.
Pitfall 2: Ignoring the Leaf Language Leaves communicate. Brown, crispy tips signaled low humidity, which I fixed with the pebble tray. Soft, drooping leaves after watering indicated potential root distress, which taught me to be even more diligent about drainage. Curling leaves suggested it was getting too much direct light from my lamp, so I moved the light a few inches farther away. Learning this visual language was crucial.
Pitfall 3: Forgetting to Rotate My plant started leaning slightly toward the grow light. Now, I give the pot a quarter-turn every time I water. This ensures even growth and a balanced, beautiful shape.
Long-Term Health and Troubleshooting
Caring for a money tree in a small space is an ongoing practice. Beyond the basics, be mindful of pests (like spider mites, which love dry dorm air—a quick wipe-down with neem oil solution prevents them) and seasonal changes. Water less frequently in the winter months when growth slows. Every few months, give the leaves a gentle shower in the sink to wash away dust.
Seeing my money tree push out new growth after two weeks of tailored care was incredibly rewarding. It’s more than decor; it’s a daily reminder of resilience and a living, breathing piece of my routine. It proves that even in a temporary, challenging space like a dorm room, you can successfully nurture a piece of the natural world.
My leaves are turning yellow and falling off. What’s wrong? This is almost always a sign of overwatering. The roots need air as much as they need water. Stop watering immediately, let the soil dry out completely, and ensure your pot has a drainage hole. Going forward, only water when the top 2 inches of soil are dry.
Can I use tap water for my money tree? You can, but it’s not ideal. Tap water often contains chlorine, fluoride, and minerals that can build up in the soil and cause leaf tip burn. If your tap water is soft, it’s generally okay. For best results, I use filtered water or simply fill my watering can and let it sit out overnight, which allows some chemicals to evaporate.
How often should I really be watering? Throw away the concept of a “schedule.” The frequency depends entirely on your light, temperature, and humidity. In my dorm with a grow light, I water about every 10-12 days. The only reliable method is the finger test. When in doubt, wait another day or two. A money tree is far more tolerant of slight dryness than of soggy soil.
Success with a dorm room money tree comes down to understanding your specific environment and responding to your plant’s signals. Focus on providing bright, indirect light (a grow light is a game-changer), water deeply but infrequently, and boost the humidity around it. Start with these principles, observe closely, and adjust. Your thriving money tree will not only brighten your room but also bring a profound sense of accomplishment as you navigate your college years.





