 admin
admin How to Care for a Money Tree with Yellow Spots on Leaves: A 2-Week Rescue Mission
I’ve been there. You walk over to your beloved Money Tree, a symbol of prosperity and calm in your home, only to be greeted by the dreaded sight: yellow spots spreading across its once-lush, green leaves. That initial pang of panic is real. Is it dying? Did I do something wrong? As a fellow plant enthusiast who’s nurtured—and rescued—my fair share of indoor greenery, I want to tell you that those yellow spots are not a death sentence. They’re your plant’s way of crying out for help. Over the next sections, I’ll guide you through the exact, step-by-step process I used to diagnose and treat my own Money Tree, sharing my two-week observation journal, the mistakes I made along the way, and how we can get those glossy green leaves back together.
My journey began when I noticed a few scattered yellow patches on the lower leaves of my Pachira aquatica. Within days, they seemed to multiply. I knew I had to act fast. The key to fixing any plant problem is accurate diagnosis, as yellow spots can be a symptom of several very different issues. Rushing to water it more or less without knowing the root cause could make things much worse.
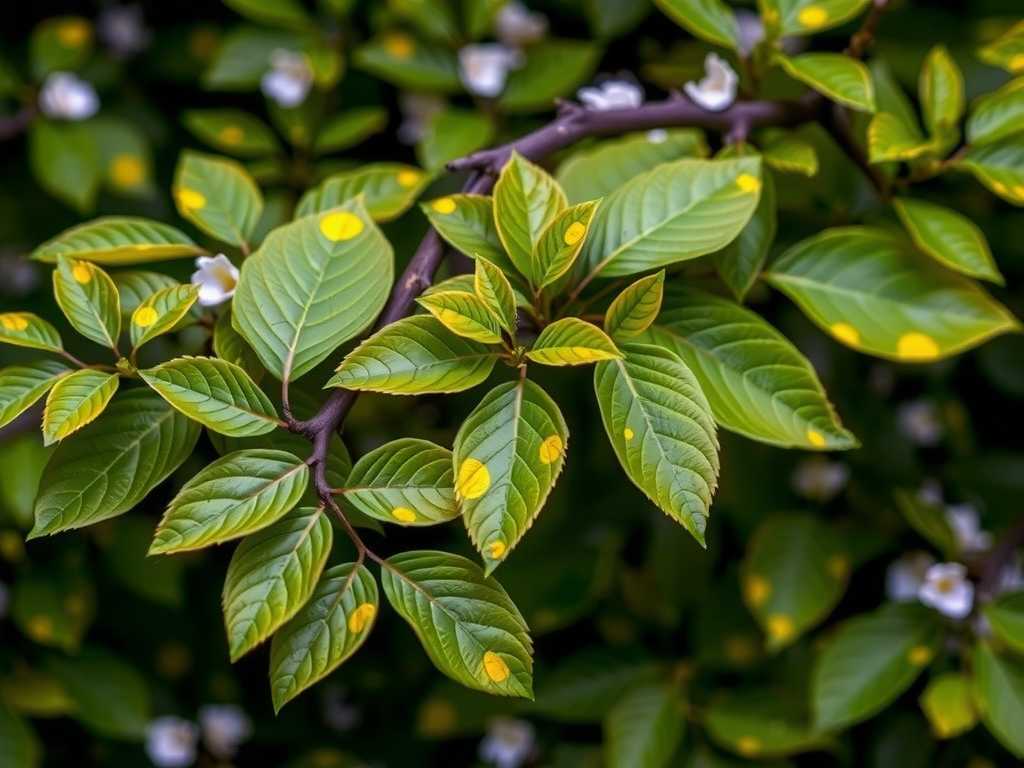
Diagnosing the Cause: It’s More Than Just Water
Before you do anything, take a deep breath and play plant detective. The pattern, location, and texture of the yellow spots hold the clues. Based on my experience and consultations with resources from the Royal Horticultural Society (RHS), here are the most common culprits we need to investigate.
The Overwatering Dilemma: Root Rot Revealed This is, by far, the most frequent cause of trouble. Money Trees store water in their thick trunks and prefer their roots to dry out between drinks. Constantly wet soil suffocates the roots, leading to rot. The yellow spots from overwatering often start on older, lower leaves. They might appear as generalized yellowing or distinct patches, and the leaves typically feel soft and limp, not crispy. The most telling sign? Gently remove the plant from its pot. If the roots are dark brown, mushy, and smell unpleasant instead of being firm and white, you’ve confirmed root rot.
When Thirst Turns to Stress: The Underwatering Signal Yes, too little water can also cause yellowing, though the presentation is different. Underwatering usually causes the entire leaf to turn yellow, often starting at the tips and edges, and it will feel dry and crispy to the touch. The soil will be bone-dry and may even pull away from the edges of the pot. The plant is essentially sacrificing older leaves to conserve water for new growth.
Unwanted Guests: Pest Infestations Tiny sap-sucking pests like spider mites, mealybugs, or scale can cause stippling—small yellow dots or spots where they’ve fed on the leaf. You’ll often find these spots concentrated on the undersides of leaves or where pests are hiding. I learned this the hard way. Upon very close inspection with a magnifying glass, I spotted almost invisible webbing and tiny moving dots: spider mites. The American Horticultural Society (AHS) notes that stressed plants, perhaps from incorrect watering, are more susceptible to such infestations.
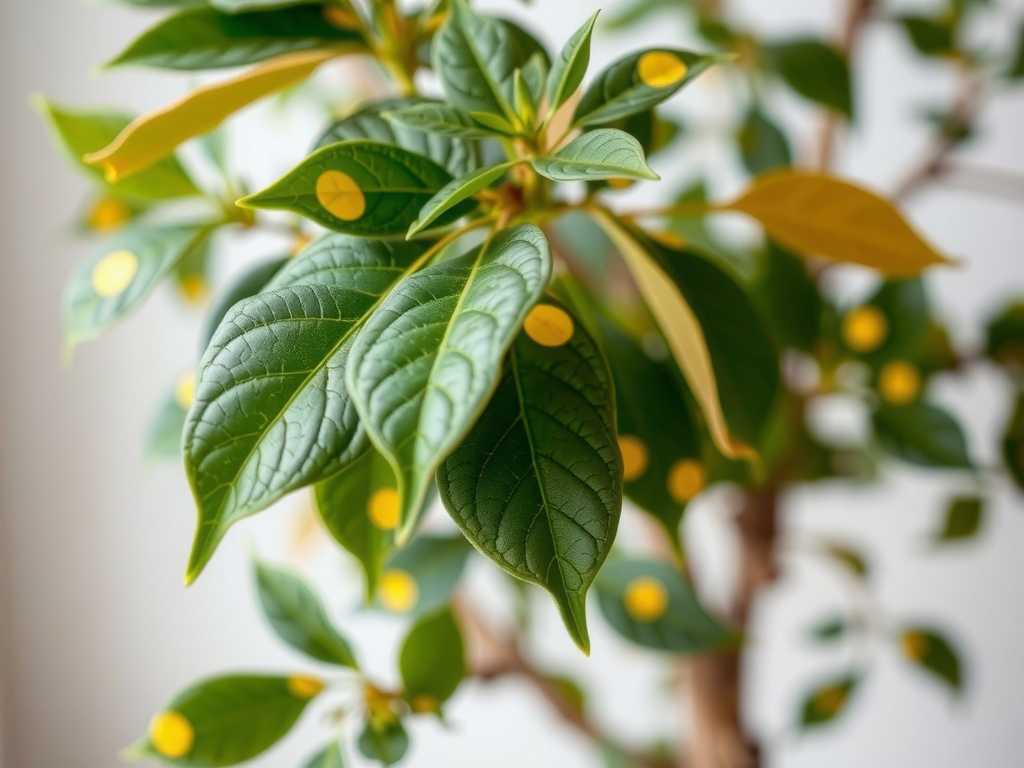
A Chemical Sunburn: Direct Light Exposure Money Trees enjoy bright, indirect light. Suddenly placing them in harsh, direct sunlight, especially through a window, can scorch the leaves. This creates irregular yellow or brown spots directly where the sun’s rays hit, often with a crispy texture. It’s a physical burn, much like what would happen to our skin.
The Nutrient Balance: Deficiency or Excess While less common indoors with regular potting mix, a deficiency in key nutrients like iron or magnesium can cause chlorosis—yellowing between the leaf veins while the veins themselves stay green. Conversely, a buildup of salts and minerals from tap water or over-fertilizing can “burn” the roots and cause leaf spotting.
My 2-Week Rescue Protocol and Observation Log
After my investigation, I identified a combination of issues: early-stage overwatering (the soil was still too damp a week after its last drink) and a mild spider mite infestation. Here is the exact action plan I followed.
Week 1: The Intensive Care Phase Days 1-3: Immediate Intervention First, I isolated my Money Tree from my other plants to prevent any pests from spreading. For the overwatering, I stopped all watering immediately. I carefully tipped the plant out of its decorative pot and let the nursery pot sit on a rack to air out and encourage evaporation. For the spider mites, I mixed a solution of mild liquid soap and water (1 tsp per liter) and meticulously wiped down every single leaf, top and bottom, with a soft cloth. I paid special attention to the stems and undersides. I then rinsed the leaves gently with clean water to remove any soap residue. Days 4-7: Repotting and Root Assessment By day 4, the soil was much drier. I prepared for repotting. I got a new pot that was only 1-2 inches larger in diameter than the root ball, with excellent drainage holes. I used a fresh, well-draining potting mix, specifically one formulated for cacti and succulents, to which I added a handful of perlite for extra aeration. Gently, I removed all the old soil from the roots. I was relieved to find only a few dark, soft roots—the early signs of rot. I sterilized a pair of scissors and snipped these away. I then placed the plant in its new home with fresh soil, watering it lightly just to settle the roots. I placed it in a spot with consistent, bright indirect light—away from any direct sunbeams and drafts from vents or windows.
Week 2: Monitoring and Adjustment Days 8-10: The Waiting Game This is the hardest part. I resisted the urge to water again. I simply observed. The existing yellow spots did not disappear (they never will), but they stopped spreading. The leaves that were still green remained firm and perky. No new yellow spots appeared. This was my first sign of success—the progression had halted. Days 11-14: Establishing a New Routine Once the top 2-3 inches of soil were completely dry (I checked with my finger), I gave it a thorough, deep watering until water ran freely from the drainage holes. I immediately emptied the saucer underneath. I repeated the pest treatment once more as a preventative measure, finding no evidence of new mites. By the end of the second week, I noticed something incredible: a tiny, bright green bud was pushing its way out from the top of the trunk. New growth is the ultimate sign of a recovering, happy plant.
The Pitfalls I Encountered (And How You Can Avoid Them) My biggest mistake was following a rigid watering schedule. I was watering every Sunday because it was convenient for me, not because the plant needed it. I now water only when the soil tells me to. Another error was ignoring the importance of leaf cleaning. Dusty leaves not only reduce photosynthesis but also provide hiding spots for pests. Now, wiping leaves is part of my regular plant care ritual. Finally, I initially placed my Money Tree in a “bright” spot that actually got two hours of direct afternoon sun. This contributed to some of the spotting. Moving it just three feet back made all the difference.
Can a Money Tree recover from yellow leaves? Absolutely. While the specifically yellowed leaves will not turn green again, the plant can fully recover. The goal is to stop the cause, allow the plant to shed severely damaged leaves naturally, and support the growth of new, healthy foliage. My plant is living proof.
How often should I water my Money Tree to prevent this? There is no universal schedule. The correct frequency depends on your home’s light, temperature, and humidity. The only reliable method is the finger test. Water deeply only when the top 2-3 inches of soil are completely dry. In winter, this may mean watering only once every 3-4 weeks.
Are yellow spots always a sign of disease? Not necessarily. While they can indicate problems like root rot or pests, they can also be caused by environmental stress like sunburn, low humidity, or a sudden temperature change. Consistent, attentive care is the best prevention. If you provide stable conditions—appropriate light, careful watering, and occasional feeding during the growing season—your Money Tree will reward you with resilient, spot-free leaves.
Seeing your Money Tree thrive again is incredibly rewarding. It taught me that plant care is less about following strict rules and more about mindful observation and responding to your plant’s unique language. Those yellow spots were a distress call, and by listening, investigating, and acting patiently, we turned the situation around. Your green-thumb journey is filled with learning moments, and this is a powerful one. With the right knowledge and a little patience, you can restore your Money Tree’s health and enjoy its vibrant presence for years to come.





