 admin
admin How to Clean Money Tree Pots to Prevent Disease: My Step-by-Step Guide for a Healthier Plant
I’ve always cherished my Money Tree for the lush, vibrant energy it brings to my home. But for the longest time, I struggled with a frustrating cycle: yellowing leaves, mysterious soil mold, and a general lack of that perky growth I knew it was capable of. I tried adjusting water, light, and fertilizer, but the problems subtly returned. It wasn't until I looked down at the container itself that I had a revelation. The issue wasn't just in the soil or the leaves; it was lurking on the very walls of the pot. Old mineral deposits, algae, and unseen pathogens were creating a hostile environment for my plant's roots. Learning how to clean Money Tree pots to prevent disease became the single most impactful change in my plant care routine, transforming my struggling tree into a thriving centerpiece. In this guide, I'll walk you through my exact process, the mistakes I made, and the remarkable 2-week observation that proved its worth.
Why a Dirty Pot is a Silent Threat to Your Money Tree
You might think repotting into fresh soil is enough. I did too. But according to principles echoed by plant pathology experts and resources like the American Horticultural Society (AHS), disease prevention starts with sanitation. Pots, especially reused ones, can harbor fungal spores, bacteria, and pest eggs. Residual salts from fertilizer and hard water build up on the interior, altering soil pH and creating "chemical burns" on delicate roots. A clean pot is not about aesthetics; it's about providing a sterile foundation for healthy root growth, which is the absolute core of a plant's vitality. Ignoring this is like putting a recovering patient in an unsanitized hospital room.
My Complete Toolkit for Effective Pot Cleaning
Gathering the right supplies before you start is crucial. Here’s what I use:
- For Plastic, Ceramic, or Glazed Pots: Mild dish soap, white vinegar, a soft brush (an old toothbrush is perfect), a microfiber cloth, and access to a sink or hose.
- For Terracotta or Unglazed Clay Pots: The above, plus a stiff-bristled brush and a larger container for soaking.
- Safety & Extras: Gloves to protect your hands, a mild bleach solution (1 part household bleach to 9 parts water) for serious contamination, and fresh, well-draining potting mix for after the cleaning.
The Step-by-Step Cleaning Process I Follow Every Time
This is the hands-on method I developed through trial and error. I recommend doing this during a planned repotting for minimal stress on your Money Tree.
Step 1: The Emptying and Initial Scrub
First, I gently remove my Money Tree and its root ball, setting it aside on a clean surface. I knock off all the old soil from the pot into the compost bin—never reusing it. Then, I take the empty pot to the sink and use the soft brush and hot water with a drop of dish soap to scrub away all loose debris. The goal here is to remove the obvious dirt.
Step 2: Tackling Stubborn Stains and Mineral Deposits
This was my game-changer. For the chalky white crust (mineral deposits), I no longer scrub aggressively. Instead, I create a 50/50 solution of white vinegar and water. For plastic or glazed pots, I spray or wipe the interior thoroughly and let it sit for 15-20 minutes. The vinegar dissolves the minerals effortlessly. For a porous terracotta pot, I fill a basin with the vinegar solution and submerge the entire pot for about an hour. After soaking, I use the stiff brush, and the deposits flake away like magic. A final rinse with clean water is essential.
Step 3: The Disinfection Decision
If my plant has shown any signs of rot, fungus gnats, or previous disease, I don't stop at vinegar. This is where I implement a sanitization step for plant health. I prepare the diluted bleach solution (1:9 ratio) and carefully wipe down the entire interior and exterior of the pot. I let it sit for about 10 minutes, which is sufficient to kill pathogens without leaving a strong residue. Then, I rinse the pot more thoroughly than ever before, ensuring all bleach traces are gone. The AHS notes that such physical cleaning and sanitization are key to breaking disease cycles in the garden, and the same logic applies perfectly to our containers.
Step 4: The Critical Dry-Out Phase
My biggest early mistake was being impatient. I would clean and immediately repot. This traps moisture against the roots, creating a new problem. Now, I always let the pot air dry completely, ideally in the sun for a few hours. Sunlight is a natural disinfectant. Ensuring the pot is bone-dry prevents any new microbial growth from starting the moment you add fresh soil.
My 2-Week Observation: The Proof Was in the Growth
After completing this deep clean and repotting my Money Tree into fresh, appropriate soil, I began a dedicated observation period. Here’s what I documented:
- Days 1-3: The plant looked stable, with no signs of transplant shock—a good start.
- Week 1: I noticed the existing leaves appeared slightly more rigid and glossy. The soil seemed to dry at a more consistent, expected rate, indicating better aeration and no hidden wet spots from old residue.
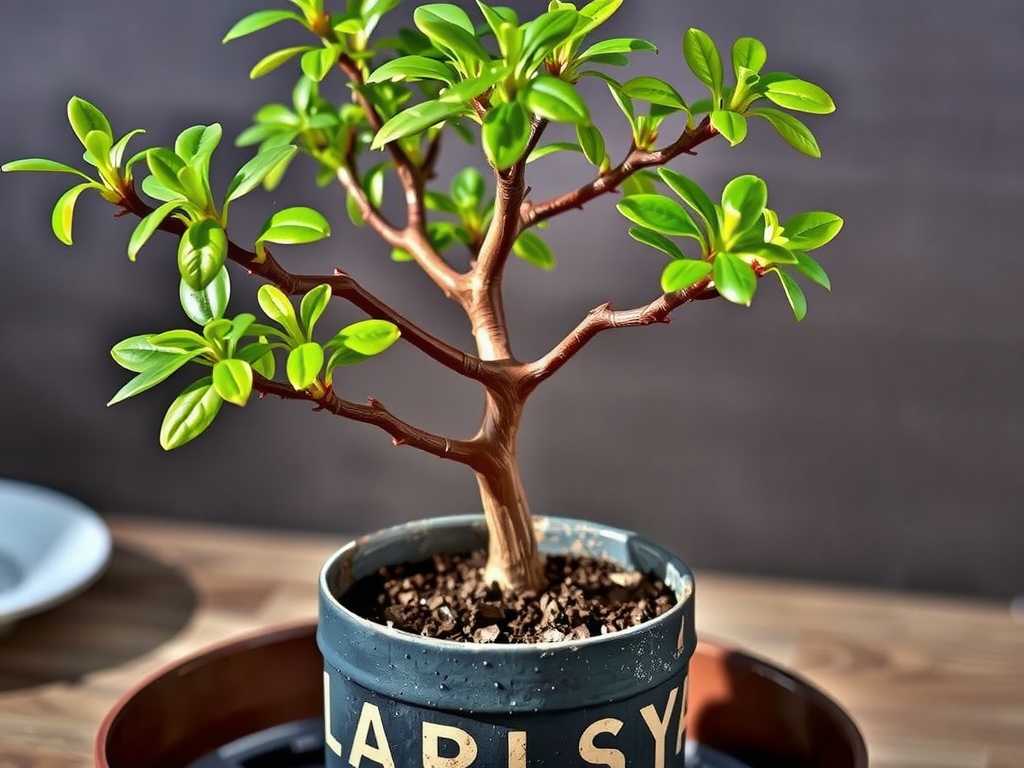
- Week 2: This was the clincher. At the base of the trunk, I spotted not one, but two tiny, bright green buds pushing out. New growth! This was a response I hadn't seen in months. The plant was investing energy in new foliage, a clear sign the roots were happy and healthy in their clean, new environment. The prevention of root disease through this method allowed the plant to thrive, not just survive.
Common Pitfalls I Encountered and How to Fix Them
- The Scratch Disaster: On a favorite ceramic pot, I once used a abrasive scouring pad to remove hard water stains. It left permanent scratches that now trap dirt even easier. Solution: Always test your cleaning tool on a small, inconspicuous area first. Vinegar soak first, scrub gently after.
- The Stinky Terracotta: After cleaning a terracotta pot, I once stored it while slightly damp in a cabinet. It developed a musty, mildewy smell. Solution: Terracotta must be 100% bone-dry before storage. I now store mine in a dry, airy space, not sealed away.
- Overdoing the Bleach: Early on, I used a stronger bleach solution and didn't rinse well enough. My plant showed signs of chemical stress after repotting. Solution: Stick to the 1:9 dilution and rinse, rinse, rinse. When in doubt, extra rinsing is never wrong.
Frequently Asked Questions
How often should I clean my Money Tree pot? I incorporate a full clean with every repotting, which for a healthy Money Tree is typically every 2-3 years. If you see salt buildup or algae on the exterior or rim, a spot clean with vinegar can be done anytime.
Can I just wash the pot with soap and water without disinfecting? For a generally healthy plant with no history of issues, a thorough soap-and-vinegar wash is often sufficient. The disinfectant step is a critical extra precaution if you've battled disease, pests, or root rot before. It’s the difference between cleaning and sanitizing.
Is it necessary to clean a brand-new pot before use? Absolutely. New pots can have dust, manufacturing residues, or even contaminants from storage and shipping. A quick wash with soapy water is a simple, good practice I always follow.
Keeping your Money Tree healthy is a holistic practice. While we focus on light, water, and humidity, the foundation—literally—is its container. A clean pot eliminates a major vector for disease, allowing your plant's roots to access water and nutrients without fighting hidden threats. From my own experience, the simple, mindful process of cleaning plant pots to stop fungal growth and other issues resulted in visible, joyful growth in just a fortnight. Give your Money Tree this fresh start; its vibrant new leaves will be your reward.





