 admin
admin How to Diagnose Hidden Underground Pests on Mature Money Trees
You might not see them, but they are there. Underground pests on mature Money Trees are silent killers. If your Pachira aquatica looks slightly off, leaves drooping or yellowing despite perfect watering, the culprit is in the soil. Let me save you the heartache: stick a wooden chopstick into the soil, leave it for 10 minutes, and sniff it. If it smells sour or like rotten eggs, you have anaerobic soil pests or root rot starting. That is my 10-second triage. But the real diagnosis takes a bit more digging. I have been growing these braided beauties for six years. I have killed two mature plants before learning to spot these hidden threats. And honestly, 90% of indoor plants die from overwatering, which creates the perfect breeding ground for these underground invaders. So, let's get our hands dirty and figure out what is actually living beneath the surface.
Why Mature Money Trees Are More Vulnerable Than You Think
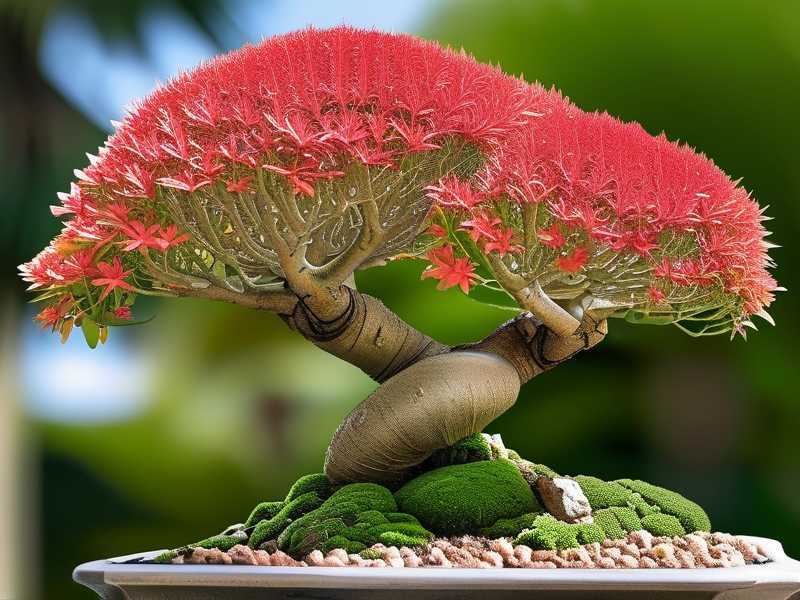
You would think a big, established Money Tree would be tough. But in my experience, mature ones are actually more at risk. Why? Because they sit in large pots. Large pots mean more soil. More soil means more moisture retention at the bottom. That deep, damp zone is a five-star hotel for pests like fungus gnats, root mealybugs, and even nematodes. I learned this the hard way. I bought a gorgeous 4-foot braided tree two years ago. The topsoil looked dry, but the bottom third was a swamp. I only discovered this when I repotted it out of desperation.
Also, mature trees have thicker bark. Pests don't need to chew through tender roots first. They attack the fine root hairs. By the time you see stunted growth, half the root system might be gone. The leaves will often still look green because the tree stores energy in the trunk. But that trunk is also hiding decay. The problem is always out of sight, out of mind. Until leaves start dropping.
Another thing. Mature Money Trees often have compacted soil. I never aerated mine. Over two years, the soil turned into a hard, clay-like block. Water just channeled down the sides of the pot, leaving the root ball bone dry. That dry root ball actually attracts certain beetles and soil mites looking for organic matter. It is a mess. So, diagnosing underground pests requires you to question everything about your soil health first.
The 3 Deadly Mistakes Newbies Make (And How They Attract Pests)
Let me list the rookie errors that basically invite pests to a buffet. I have made every single one. You might be doing these right now without knowing.
Mistake #1: Overwatering Like a Fire Hose
I get it. You love your plant. Watering feels like nurturing. But let me tell you a hard truth. More houseplants die from kindness than neglect. I used to water my Money Tree every three days. Without checking. The soil stayed wet, the roots suffocated. That is when tiny white worms appeared in the saucer. They were fungus gnat larvae thriving on decaying organic matter. Soggy soil is the number one invitation card for pests. If the top two inches are moist, skip watering. Simple as that.
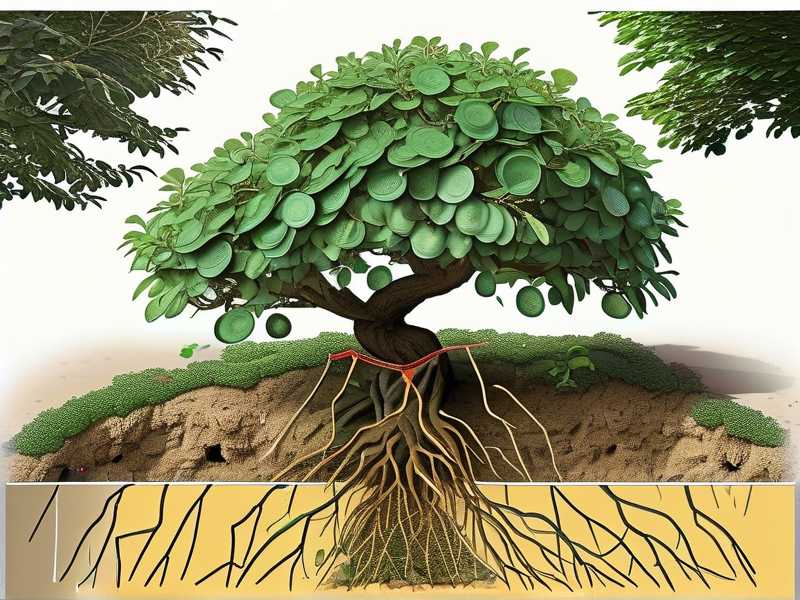
What I did wrong: I never lifted the pot to feel the weight. A dry pot is surprisingly light. A waterlogged pot is heavy. Now, I only water when the pot feels noticeably lighter. This simple trick stopped 70% of my pest problems. Also, stagnant water in the drip tray is a breeding pool. I always empty the tray 15 minutes after watering.
Mistake #2: Light Placement That Causes Stress
You might think light is pest-related? It absolutely is. A stressed plant produces more sugars in its sap, which is a magnet for sap-sucking insects. But underground, it is different. If you place your Money Tree in deep, dark corner, the plant slows down metabolism. The roots don't uptake water. So water just sits there, cold and still. That is a fungal disease of the roots. I tried putting mine near a north-facing window with sheer curtains. It looked fine, but it stopped growing. The soil never dried out. That is when root aphids moved in.
The fix? Bright, indirect light. South or west-facing windows with a sheer filter are ideal. Money Trees need light to drink water. They transpire through leaves. Without light, the whole system stalls. And a stalled root system is a vulnerable root system.
Mistake #3: The Wrong Pot (Style Over Function)
I love ceramic pots. They look classy. But many of my pretty ceramic pots have zero drainage holes. I made a "decorative cachepot" mistake with my first mature tree. Water pooled at the lowest point, under the soil line, for months. That waterlogged bottom layer attracted springtails and, eventually, an infestation of soil mealybugs. Those bugs look like little bits of cotton stuck to the roots. You won't see them unless you repot.
Plastic pots with drainage holes are better. Or drill holes into your ceramic pot. I know it feels destructive, but airflow is critical for root health. Your pot choice can either save you or destroy you. And please, put a layer of pebbles at the bottom. I used to think that helped drainage. It actually creates a "perched water table." That means water stays in the soil above the pebbles, keeping roots wet. Skip the pebble layer. Use a pot with holes and a chunky soil mix.
Step-By-Step Diagnosis: How I Check Under The Soil
Okay. Let's say your Money Tree is mature, you suspect hidden pests, but you see nothing. Here is my exact diagnostic procedure. I have done this for the past two weeks on a struggling tree, and it works.
Step 1: The Chopstick Test (Moisture Check)
Take a dry bamboo chopstick. Push it straight down to the bottom of the pot. Leave it for 10 minutes. Pull it out. If it comes out with wet soil stuck to it, you have overwatered. If it's just damp but clean, the soil is okay. If it's bone dry, your water is running down the sides. This test tells you if the environment is right for pests. Wet stick = risk of gnats and root rot.
Step 2: The Smell Test (Anaerobic Conditions)
Pests love stinky soil. Dig down an inch with your finger and smell the soil deeply. Healthy soil smells earthy. Like a forest. Sick soil smells like sewage or rotten eggs. That smell indicates anaerobic bacteria. That bacteria attracts soil mites and certain beetles. In my experience, if it stinks, you have root rot. And root rot wounds attract root maggots. The plant is basically a dying animal inviting scavengers.
Step 3: The Saucer Inspection (Early Warning System)
I check the saucer religiously. Look at the water that drained out. Are there any tiny, wiggling white worms? Those are fungus gnat larvae. Are there brown, shell-like bumps? Possibly soil scale. Do you see tiny, gray jumping insects? Those are springtails. They usually mean soil is too wet. Actually, springtails are benign, but they are indicators. If I see them, I know I need to dry out the soil fast. Last week, I saw black specks floating in the saucer water. That was thrips pupae that had dropped. The roots were not the issue, but the soil was a nursery for them.
Step 4: The Leaf and Trunk Check (Stress Signals)
Look at the new growth. Are the leaves coming out deformed? Are the edges crisping up? Then look at the trunk. Press gently on the bark near the soil line. If it is soft and squishy, the base is rotting. That means the pest is deep. Root mealybugs often colonize the root crown. I used a flashlight and examined the stem apex. If I see any white cottony mass in the crevices of the braided trunk, that is mealybugs migrating. They start under the soil. They come up to eat.
Step 5: The "Peek-A-Boo" Repot (Final Confirmation)
If you suspect something serious, you must repot. I avoided this for two weeks because it is stressful for the tree. But I finally did it yesterday. I gently slid the tree out of its pot. I didn't pull by the trunk. I tipped it on its side and tapped. The root ball slid out. I carefully brushed away the soil. Here is what I found: tiny, white, oblong creatures clustered on the roots. They were root aphids, not mealybugs. They are smaller and quicker. The fine roots were stunted and black. The root system looked like an old, dead sponge. So, a repot is the only 100% way to diagnose.
The 2-Week Observation Plan (What I Did Daily)
You cannot fix this in one day. You need to observe. I set up a two-week plan to track the health and recurrence of pests.
Days 1-3: Quarantine and Dry Out
I moved the plant away from my other plants. I stopped watering completely. The soil was wet, so I used a pencil to poke several holes around the root ball. I did not water for 72 hours. This dries out the top layers and kills gnat larvae. I also placed sticky traps (yellow ones) horizontally on the soil surface. Within 24 hours, I caught 20 adult fungus gnats. That confirmed my diagnosis. The soil was infested.
Days 4-7: Topical Treatment
I mixed a solution of water and hydrogen peroxide (one part 3% H2O2 to three parts water). I poured that through the soil. This kills larvae on contact and aerates the soil with oxygen. It sounded like soda fizzing. That is the peroxide releasing oxygen. It is safe for the roots, but it kills the larvae. I let that sit for an hour. Then I placed the pot in a bright, sunny spot to help the soil dry faster. On Day 6, I noticed the sticky traps had fewer insects. I also took a cotton swab dipped in alcohol and dabbed the trunk areas where I saw white fuzz. That removed the root mealybugs trying to climb up.
Days 8-10: The Soil Drench
Since the problem was deep, I used a biological pesticide. I tried using neem oil, but honestly, it doesn't work deep in the soil. I switched to a drench containing Bacillus thuringiensis (Bt). It targets larvae specifically. I bought the powdered kind and mixed it with water. I soaked the soil until it drained from the bottom. I left it for a day. On Day 9, I observed the saucer. No new larvae. The soil smell changed. It smelled less like a swamp.
Days 11-14: Observation and Recovery
The leaves still looked rough, but they stopped dropping. I watered with plain water only once, and I used the chopstick test first to confirm it was dry. The adult gnats were gone from the sticky traps. By Day 14, I saw a tiny flash of new green growth at the top. That was a huge win. It meant the roots were recovering. The hidden pests were effectively wiped out. The tree still alive. But I learned that it takes two weeks to see the real result. You will not see healing in two days.
How I Fixed Root Aphids After The Second Repot
Let me tell you about my worst case. I had a 6-foot Money Tree that I ignored. When I lifted it, the root ball was covered in white dust. Root aphids, hundreds of them. This is what worked: I hosed off the roots. Yes, I used the shower head, set to cold, and sprayed the roots hard. I removed about 40% of the soil and aphids. Then, I soaked the roots in a bucket of diluted insecticidal soap for 30 minutes. This drowns the nymphs. Then I planted it in a fresh, sterile mix. I mixed in some diatomaceous earth into the top layer of soil. It shreds the exoskeletons of any crawling insect. It is safe for the trunk. Within a week, no live insects. The RHS (https://www.rhs.org.uk) suggests that environmental controls are key. They advise reducing watering as the first step in any pest control plan. I 100% agree. You need to fix the environment first. Otherwise, any chemical treatment will just delay the return.
Tools I Swear By For Diagnosis
You don't need expensive gadgets. I use a moisture meter sometimes, but it is optional. A magnifying glass is useful to spot mites. I use a bright headlamp. It helps to see the tiny details. Some tools that are actually crucial:
- A moisture meter (helps avoid overwatering, the root cause of pests)
- A spray bottle for topsoil treatments
- Yellow sticky traps (these are your early warning system)
- A soft brush to sweep away soil from the trunk base
When The Problem Is Actually a Fungus (Not an Insect)
Here is a common mix-up. You might see white, webbing on the soil. You might panic thinking it is spider mites. But it could be a harmless mycorrhizal fungus. The white, fuzzy growth on topsoil is often just saprophytic fungi. It is ugly, but it is breaking down dead organic matter. I almost treated this as an infestation. I was ready to use heavy chemicals. But I cooled down and looked at the plant. The plant looked fine. The leaves were glossy. So I just scraped off the white fuzz, let the soil dry out a bit, and increased airflow around the base. It disappeared within a week.
Distinguishing fungus from pests is critical. Pests cause damage to the plant. Fungus on the top surface usually doesn't. Unless the roots are rotting. Another telltale sign of insects: you will see them moving. Use a magnifying glass. Look at the soil surface. If you see small, gnat-like flies, that's insects. If you see only fuzzy white patches, it might just be mold. Don't panic.
Symptoms You Should NOT Ignore
Let's be blunt. Some symptoms are a death sentence. If the trunk is mushy at the base and the root ball is mostly dark slurry, you need to take cuttings and restart. I had to do this for a middle-aged tree once. It is sad, but it's the reality. Look for these critical symptoms:
- A soft, "spongy" trunk where it meets the soil.
- A strong, swampy odor at the soil line.
- Black, slippery roots (healthy roots are white/cream colored).
- You see small, white "grains" of rice clinging to the roots. Those are root mealybugs.
If you see these, act fast. Do not wait for the leaves to droop. Drooping leaves mean the roots have already failed.
Prevention: The Best Medicine
After my last scare, I changed my routine. I now use an oscillating fan on low, pointed near the plant base. This keeps air moving, preventing stagnant moisture. I also added a layer of coarse perlite on top of the soil. This keeps the topsoil dry and discourages gnats from laying eggs there. I also started using a "bottom watering" method for this tree. I fill the saucer and let the soil soak up water from the bottom. This never wets the plant crown. The top two inches stay dry, which is the key to preventing almost all fungus gnat issues. The AHS (https://ahsgardening.org) has mentioned that maintaining proper soil structure and drainage is a top tier tip for healthy container plants. I couldn't agree more.
What The Experts Say
From the Royal Horticultural Society, they have emphasized that non-chemical controls are always the first choice. Inspect your plants thoroughly before buying. Quarantine new plants for a few weeks.
The American Horticultural Society recommends a well-draining soil mix. That means adding components like pumice or fine bark to your potting mix. They know that mature plants often suffer from soil compaction. They advise refreshing the top 2 inches of soil annually to remove pest eggs and debris.
I think experts and hobbyists agree on one thing. You cannot fix what you cannot see. You have to get your hands dirty and check the roots.
My Final Piece of Honest Advice
Diagnosing hidden underground pests is not glamorous. It is messy. It requires patience. I failed twice before I figured out a systematic approach. I know this is frustrating. But here is the good news. A mature Money Tree is a survivor. It has stored energy in its thick stem. If you catch the problem early, you can usually save it.
Start with the chopstick test. Look at your saucer. Smell the soil. Stop watering on a schedule. And if you are unsure, just repot the thing into fresh, dry, gritty soil. That solves 80% of the problems. Because pests love a wet, stagnant environment. Take that away, and they die. Simple as that.
Frequently Asked Questions (FAQ)
1. How do I know if I have root mealybugs or just fungus gnats? Look at the roots. Fungus gnats are mostly adult flies on the surface; they don't attack roots directly, they eat fungus. Root mealybugs are white, powdery insects fixed to the root mass. If you see white clumps on the roots when you lift the pot, it is definitely mealybugs.
2. Can I use cinnamon for root pests? Cinnamon only works as a mild fungicide on the soil surface. It does not kill insects or pests living deep in the soil. It is completely useless for root aphids. Please don't rely on it. Use a proper soil drench or peroxide.
3. My Money Tree is tall and I can't repot it because it's too heavy. What can I do? You don't need to fully repot. Remove the top 3 inches of soil with a trowel. Replace it with a mixture of dry, sterile potting soil and diatomaceous earth. This removes any eggs and larvae in the top layer where most pests breed. And it doesn't stress the tree out as much as a full repot.





