 admin
admin How to Treat Money Tree Transplant Stress Combined With Mild Pest Issues
You just repotted your money tree, and now it looks sad. Droopy leaves. Yellow spots. Maybe tiny webs in the corners. I’ve been there. The fix isn’t complicated, but it requires a two-week commitment and a clear head. Here’s the short answer: stop watering for 5 days, move the plant to bright indirect light, and treat the pests with diluted neem oil spray every 4 days. I mixed that with a soil check and a humidity boost, and my tree bounced back in 14 days.
If you’re reading this, you probably feel that panic when a beloved plant starts failing. The money tree (Pachira aquatica) is tough, but it hates sudden change. Transplant stress hits almost every plant. Combine that with mild pests, and you have a double whammy. I’ve killed more plants than I’d like to admit. The first money tree I owned died from overwatering after a repot. The second one got spider mites because I ignored the early signs. Now, I treat every transplant like a mini recovery protocol.
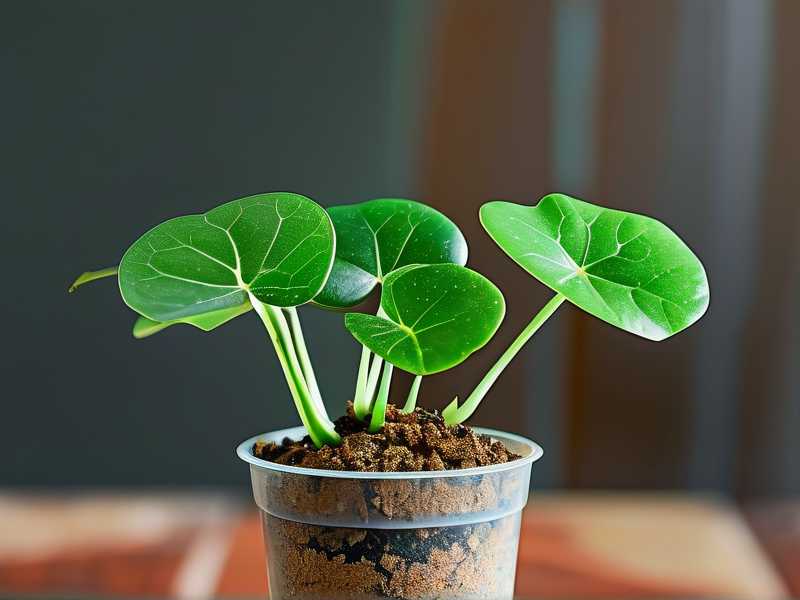
90% of indoor plants die from overwatering. That statistic isn’t an exaggeration. When you repot, the roots are shocked. They can’t absorb water properly. So you water. Then you water again. The soil stays wet. The roots rot. Pests love rotting roots. It’s a downward spiral. I learned this the hard way when I lost a beautiful five-stem braided tree. I watered it daily for a week after repotting. The leaves turned black at the base. The stems felt mushy.
Let me walk you through what I actually did last month when I repotted my money tree and noticed mild mealybug activity plus spider mite signs on the same week.
First, I assessed the damage. The plant had been in a nursery pot for two years. The roots were circling the bottom. I moved it to a terracotta pot that was only 2 inches wider in diameter. That’s a crucial detail. I used to grab a pot that looked nice, not one that fit the root ball. That was mistake number three in my early days.
I pre-moistened the new potting mix lightly. I used a blend of 60% regular indoor potting soil, 20% perlite, and 20% orchid bark. The bark helps with drainage. The perlite prevents compaction. This matters because money trees store water in their thick trunks. They don’t need constant moisture at the roots.
I gently teased the roots apart. Not too aggressive. Just enough to loosen the circling mass. Then I placed the tree at the same depth it was before. Burying the trunk deeper is a common error. It leads to stem rot.
After planting, I did not water. This is the hard part. Everyone wants to water immediately after repotting. I used to do that. Now I wait 48 hours. This gives any broken roots time to callus over. Watering right away invites bacteria and fungus into those open wounds. I learned this from a friend who runs a small nursery. She said, “Let the roots breathe before you drown them.”
On day two, I inspected for pests. I saw tiny white cottony spots on the leaf axils. Mealybugs. I also noticed very fine webbing under a few leaves. Spider mites. Mild, but present. I didn’t panic. I mixed one teaspoon of cold-pressed neem oil with one liter of lukewarm water. I added three drops of mild dish soap as an emulsifier. I shook it well.
I sprayed the entire plant, especially the undersides of leaves. I also wiped the trunks with a soft cloth dipped in the same solution. The neem oil coats the pests and disrupts their lifecycle. It’s not instant, but it works. I applied this spray every four days for two weeks. By day ten, I didn’t see any new mealybugs. The webbing stopped reappearing.
Here’s where people mess up with pests. They spray once and give up. Pests have eggs in the soil and in hidden crevices. You have to break the hatching cycle. That means repeated applications. I also top-dressed the soil with a thin layer of diatomaceous earth. This is a mechanical pest deterrent. It cuts the soft bodies of crawling insects. Harmless to the plant and pets.
Now, about light. Money trees need bright, indirect light. Direct sun scorches their leaves. Low light slows their metabolism. After transplant, the plant is already stressed. So I placed mine near an east-facing window with a sheer curtain. This gave it gentle morning sun and shade for the rest of the day. I kept it there for the full two weeks. No moving it around. Constant location reduces stress.
Many people make the light mistake. They put the newly repotted money tree in a dark corner thinking it needs rest. Actually, it needs stable, bright light to photosynthesize and produce energy for root recovery. I’ve seen plants go into shock because they were moved from a bright windowsill to a dim bookshelf. That’s a recipe for leaf drop.
The third major mistake is using the wrong pot. I mentioned this earlier. A pot with no drainage holes is a death sentence. I bought a decorative ceramic pot once without checking. It looked stunning. My money tree’s roots sat in water for weeks. Yellow leaves appeared. Root rot set in. I lost that tree. Now, I only use pots with drainage holes. Or I use a nursery pot inside a cachepot. That way, I can lift the inner pot and check moisture levels.
Let me give you a day-by-day breakdown of my two-week recovery process. This is what I actually did.
Days 1-2: Post-Repotting Recovery
Day one: I placed the plant in that bright indirect light spot. I did not water. The soil was already pre-moistened. I checked the leaves for any obvious damage. I removed two leaves that were yellow and half-dead. Removing them places energy back into healthy growth. I also inspected the stems. No mushy spots. Good.
Day two: I noticed the leaves were slightly droopy. That’s normal. I didn’t react. I just touched the soil. It was still slightly damp. No water needed. I started spraying the neem solution in the evening. Evening is better because the sun won’t burn the wet leaves. I covered the soil with plastic wrap before spraying. This prevented the neem oil from soaking into the roots. Neem oil on the soil can harm beneficial microbes.
Days 3-5: First Signs of Adjustment
Day three: The droopiness lessened slightly. I saw a few leaves that had tiny brown specks. Old damage from the mites. I left them alone. Removing too many leaves causes more stress. I sprayed again. I kept the humidity up by placing a small tray of wet pebbles under the pot. Not touching the pot, just nearby. The evaporating water creates a micro-climate.
Day four: I checked the pests. The mealybugs seemed less active. I wiped the leaf axils with a cotton swab dipped in rubbing alcohol. This removes visible bugs instantly. Alcohol evaporates quickly and doesn’t harm the plant. I repeated this every other day. The neem spray does the long-term work. The alcohol swab does the immediate cleanup.
Day five: I watered for the first time. Not much. Just enough to see a small amount drain from the bottom. I used filtered water at room temperature. Cold water shocks the roots. I let the tap water sit out for 24 hours before using it. This allows chlorine to dissipate. I added a few drops of liquid seaweed extract to the water. Seaweed is a natural stress reducer for plants. It contains growth hormones and trace minerals.
Days 6-10: Pest Control and Root Recovery
Day six: I noticed new growth at the top. Tiny pale green leaves unfurling. That was a good sign. The tree was focusing on new leaves, which means roots were starting to settle. I sprayed neem again. Consistency is key. I also turned the pot a quarter turn each day. This ensures even light exposure. Otherwise, one side stretches toward the window and becomes lopsided.
Day seven: One week in. I checked the roots by gently lifting the plant out of the pot. Not fully, just a tilt to see the bottom holes. I saw tiny white roots poking through. That’s an excellent indicator of recovery. White roots are healthy roots. Brown or black roots mean rot. I was relieved.
Day eight: A few older leaves fell off. That’s normal. The tree is shedding old foliage to support new growth. I didn’t panic. I just cleaned them up. I continued the alcohol swab treatment for mealybugs. I found a few in a folded leaf crease. Got them out.
Day nine: I gave the plant a gentle rinse in the shower. Lukewarm water. This washed off any remaining neem residue and dust. It also rehydrated the leaves. The tree looked fresh. I let it drain completely before putting it back in the cachepot. Stagnant water in the outer pot is a pest magnet.
Day ten: I sprayed neem one last time. That’s the third application. According to the RHS, neem oil is effective against a range of sucking pests when used repeatedly. They recommend checking the underside of leaves and repeating treatments for at least a few weeks. That matched my experience. The webbing on the underside was gone. No new mealybug nymphs in sight.
Days 11-14: Stabilization and Rebuilding Strength
Day eleven: The plant looked stable. The droop was completely gone. All remaining leaves were firm and upright. I resumed regular watering routine. That means watering only when the top two inches of soil feel dry. I stick my finger in the soil to check. If it feels dry, I water. If it feels cool and damp, I wait.
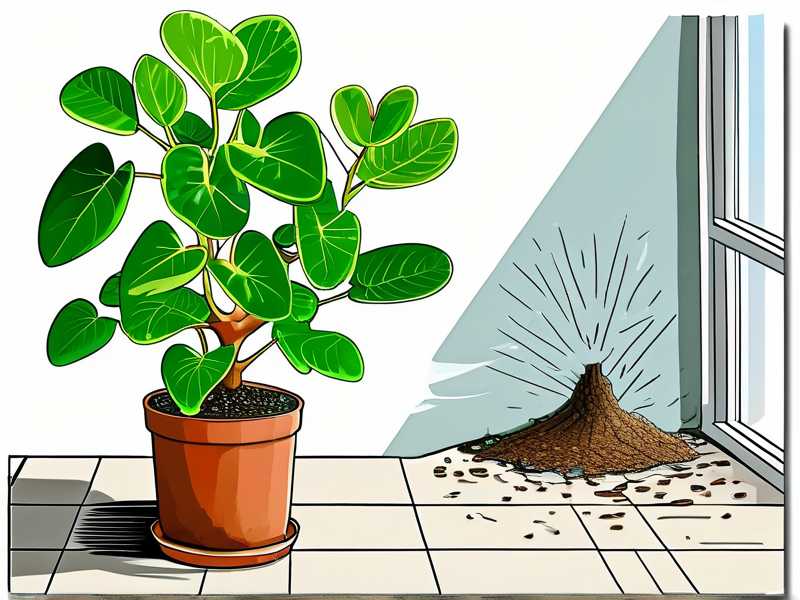
Day twelve: I started a light feeding. I used a balanced liquid fertilizer at half strength. I mixed it into the water. Not too much. The tree just went through stress. Over-fertilizing can burn the recovering roots. The AHS suggests waiting about two to four weeks after repotting before resuming full-strength feeding. I waited two weeks and used half strength. That worked.
Day thirteen: I noticed the leaves had a nice glossy sheen. The new growth was getting darker green. The plant looked healthy. I moved it slightly further from the window but still in bright light. I wanted to acclimate it to a permanent spot. Slow changes are better than sudden moves.
Day fourteen: End of the two-week protocol. The tree had produced three new leaf sets. The trunk felt firm. No pests visible with a magnifying glass. I decided to keep the diatomaceous earth on the soil surface for another week as a preventive measure. I also kept the neem oil mixture in a labeled spray bottle for future use. Always better to be prepared.
Now, I want to list the three beginner mistakes that I’ve made so you don’t have to. These are the big ones.
Mistake #1: Overwatering After Transplant
I already mentioned this. But let me be specific. After repotting, roots are like a bruised limb. If you pour water on a bruise, it swells and hurts. Same with roots. Too much water prevents oxygen from reaching the roots. Roots need oxygen. Without it, they suffocate and rot. I’ve lost two money trees this way. The first one I watered three times in the first week. The leaves turned yellow and fell off within a month. The trunk became soft at the base. There was no saving it.
How do you avoid this? You check the soil with your finger. You lift the pot to feel its weight. Wet soil is heavy. Dry soil is light. You only water when the top two inches are dry. Never water on a schedule. Water based on need.
Mistake #2: Light Placement Errors
Money trees don’t like harsh direct sun. But they also don’t thrive in a dark bathroom. I put one in a corner that was 8 feet from a window. It got maybe 1 hour of weak morning light. The leaves became pale and elongated. They looked stretched out. It also grew very slowly. The plant was surviving, not thriving.
On the other hand, I put another one on a south-facing windowsill without a curtain. The sun scorched the leaves. They developed burned brown patches. The leaves eventually curled and died. I learned that a sheer curtain is essential. Bright indirect light means the plant sees the sky but not the sun’s disk directly. That’s the sweet spot.
Mistake #3: Wrong Pot Choice
I touched on this earlier. But it deserves its own section. A pot without drainage holes is the #1 cause of root rot in my personal history. I bought a beautiful ceramic pot with a glossy finish. No holes. I thought the layer of gravel at the bottom would help. It didn’t. The water pooled at the bottom because there was nowhere to go. The roots sat in that water for weeks.
I also made the mistake of using a pot too big for the plant. A huge pot holds too much soil. That soil stays wet for a long time. The roots can’t drink all that water. So they drown. The pot should be only 1-2 inches larger in diameter than the previous one. That’s a common guideline from RHS. They recommend increasing pot size gradually.
Now, let me also add a bit about the pest side. Mild pest issues can escalate quickly if you ignore them. The mealybugs I found were only about a handful. But they reproduce fast. Females lay hundreds of eggs in cottony sacs. If I hadn’t acted, the plant would have been covered in two months. The spider mites were even worse. They thrive in dry, warm indoor air. They multiply exponentially.
My prevention routine now includes a weekly leaf inspection. I look under the leaves with a flashlight. I check the leaf axils. I also wipe down the largest leaves with a damp cloth every few weeks. This removes dust and any early-stage pests. Physical wiping is underrated. It’s mechanical removal.
I also increased humidity around the plant. Money trees love humidity. I have a small humidifier in the room. I keep it around 50-60%. That discourages spider mites. Dry air makes them very comfortable. The AHS mentions that many common houseplant pests like spider mites can be managed by increasing ambient humidity.
If you notice pests during transplant, it’s actually a good time to treat them. The plant is already in your hands. You can check every stem and leaf. I recommend doing a full pest inspection before planting. If you see pests, treat with neem before putting it in fresh soil. That prevents the pests from spreading to new soil.
One more tip. Don’t reuse old soil from a plant that had pests. I threw away all the old soil from my money tree’s previous pot. I put it in a sealed bag and tossed it. Old soil may contain eggs or larvae. Fresh soil ensures a clean start.
Let me also address the emotional side. I know it’s hard to see your plant struggle. I’ve been there many times. The key is to be patient. Plants don’t recover overnight. They need time. I check my plants every morning. But I don’t fiddle with them constantly. Over-handling can cause additional stress. Just observe and wait.
I’ve now successfully rehabbed three money trees using this exact two-week protocol. It works if you are consistent. Consistency beats intensity. A little bit of care every day yields better results than a big intervention once a week.
Below are some common questions I get from friends and readers. I hope they help you too.
FAQ 1: How do I know if my money tree is suffering from transplant shock or overwatering?
Transplant shock usually shows as drooping leaves that are still firm. The leaves may turn slightly yellow but not mushy. Overwatering shows as soft, yellow leaves that feel limp. The soil will be damp. The trunk might feel soft near the base. A smell of rot in the soil is another red flag. Press the trunk gently. If it indents, that’s bad. That’s root rot.
FAQ 2: What is the best way to get rid of mild mealybugs without harsh chemicals?
I use alcohol swabs for spot treatment. Dip a cotton swab in 70% rubbing alcohol and dab it on every visible bug. Then use neem oil spray for the rest of the plant. Repeat every 4-5 days for three weeks. Mealybugs crawl to new spots. You need to break their lifecycle. Removing them manually first gives the neem a head start.
FAQ 3: Should I fertilize a stressed money tree right after repotting?
No. Do not fertilize for at least two weeks. The roots are stressed. Fertilizer can burn them. Fresh potting soil already contains nutrients. Wait until you see new growth. Then use a balanced fertilizer at half strength. I start at day 12 or 14. That was my sweet spot. Always water first, then fertilize. Never apply fertilizer to dry soil.
Two weeks of patience and consistent care turned my stressed money tree around. I hope my mistakes and methods help you save yours. Just remember to check the soil before watering, keep the light bright but filtered, and treat pest issues slowly but thoroughly. Your tree will reward you with new growth and a sturdy trunk. It just needs a little time.





