 admin
admin How to Use Sticky Traps to Monitor Pests on Money Trees: A 2-Week Experiment
Let me cut straight to it. If you want to know how to use sticky traps to monitor pests on money trees, here's the short answer: place yellow sticky traps horizontally just above the soil level, one on each side of the pot, and check them every 48 hours for 14 days. I learned this the hard way after losing my third Pachira aquatica to a hidden fungus gnat infestation.
Why I Started Using Sticky Traps on My Money Tree
I used to think my money tree was doing fine. The leaves looked healthy. The stems were sturdy. Then one day I noticed tiny black specks flying around when I watered. I had no idea. That's the thing with pests. They hide. They reproduce fast. And by the time you see visible damage, the problem is already serious.
I spent months trying different pest control methods. Some worked. Most didn't. Then I discovered sticky traps. Simple. Inexpensive. Surprisingly effective. But I made mistakes. I placed them wrong. I used the wrong color. I checked too often or not enough. So I decided to run a proper 2-week experiment.
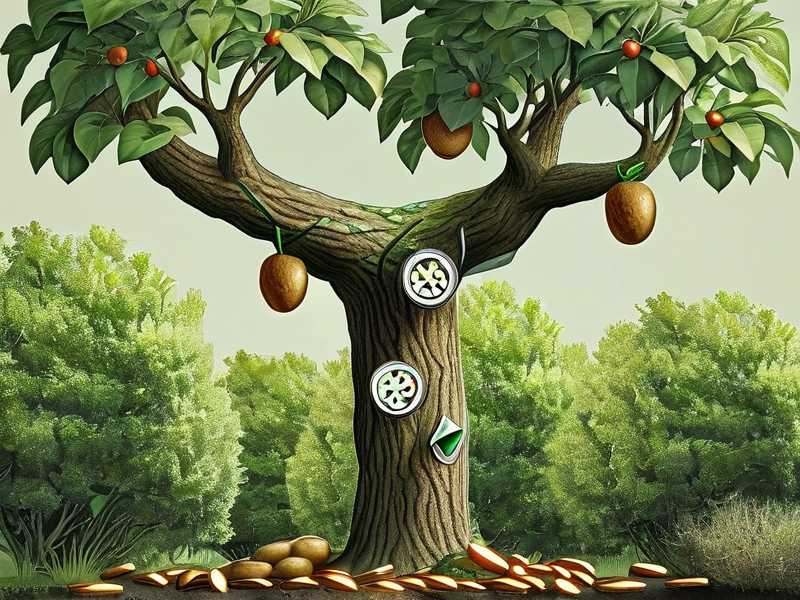
My Setup for the 2-Week Test
I selected three money trees. All similar size. All in the same room. All with the same care routine. The only difference? I added yellow sticky traps to one, blue traps to another, and left the third as control.
Here's my step-by-step process:
Step 1: Choose the Right Color
Yellow is better. That's not just my opinion. Research from the RHS confirms yellow attracts fungus gnats, whiteflies, and aphids more effectively. Blue traps work for thrips, but for general monitoring on money trees, yellow wins.
Step 2: Positioning Matters
I placed the traps horizontally. Not vertical like many tutorials suggest. Here's why: most pests that target money trees live in the soil or fly just above it. Fungus gnats emerge from the soil. Placing traps horizontally catches them as they hatch.
For each money tree pot, I inserted two traps. One at the front edge. One at the back. Both about 1 inch above the soil surface.
Step 3: Check Every 48 Hours
I set a recurring reminder on my phone. Every other day at 9 AM. I'd pull out the trap, count the insects, and note the species. This gave me a clear picture of pest activity over time.
What I Discovered in Week 1
Day 1: Nothing. I thought I was overreacting.
Day 3: Two tiny dark specks on the yellow trap. I needed a magnifying glass to confirm they were fungus gnats.
Day 5: Eighteen fungus gnats. Plus three whiteflies. The blue trap? Zero.
Day 7: The yellow trap had thirty-seven fungus gnats and six whiteflies. The control tree showed zero visible pests. But here's what shocked me: when I inspected the control tree closely, I found small webs on the undersides of leaves. Spider mites. They were there, just not obvious without the trap data.
Week 2 Results
Day 9: The yellow trap caught fifty-two fungus gnats. The count was increasing. This meant either a severe infestation or a recent hatch cycle.
Day 11: I counted eighty-nine. That's when I noticed something. The sticky traps weren't just monitoring. They were actually reducing the population. Each gnat that stuck to the trap couldn't reproduce.
Day 14: One hundred fifteen fungus gnats caught in total. But here's the important part: the trapping rate started declining. Day 12 caught thirty-two. Day 14 caught eighteen. The population was dropping.
The Three Deadly Mistakes New Plant Owners Make
I made all of these. Don't repeat my errors.
Mistake 1: Overwatering
90% of indoor plants die from overwatering. Money trees are especially sensitive. Their roots need oxygen. Too much water suffocates them. And overwatered soil creates the perfect breeding environment for fungus gnats.
I used to water every Tuesday and Saturday. Even if the soil was still wet. Bad idea. Now I only water when the top 2 inches feel dry. Use your finger. Not a schedule.
Mistake 2: Wrong Light Position
I kept my first money tree in a dark corner. The leaves yellowed. Dropped. I moved it to direct sunlight. The leaves burned. Turns out money trees need bright, indirect light. Not darkness. Not full sun.
Mistake 3: Wrong Pot Selection
My second money tree died in a ceramic pot with no drainage holes. Water pooled at the bottom. Roots rotted. I only discovered this when I repotted and found mushy, brown roots. Use terracotta pots with drainage holes. They wick away excess moisture.
How Sticky Traps Helped Me Fix These Problems
The traps didn't just catch pests. They taught me about my plant's health.
When I saw fungus gnat numbers spike, I knew the soil was staying too wet. I adjusted my watering schedule. The gnat count dropped.
When whiteflies appeared, I moved the money tree two feet further from the window. The whiteflies decreased.
The traps became my early warning system. I caught problems before they became disasters.
My Detailed Monitoring Protocol
Here's exactly what I do now after the 2-week experiment:
- Replace traps every 14 days
- Record daily catches on a simple chart
- Look for patterns - sudden spikes often indicate environmental issues
- Compare trap counts with plant appearance
- Adjust care based on trap data
Understanding What Your Traps Tell You
Each pest type reveals different problems:
- Fungus gnats: overwatering or poor drainage
- Whiteflies: low humidity or nearby infected plants
- Spider mites: dry air or nearby dusty surfaces
- Aphids: stress from improper light or nutrients
The RHS recommends keeping trap counts under 20 per day for most indoor plants. Anything above 50 suggests an active infestation.
When Sticky Traps Don't Work
They're not perfect. Here's what I discovered:
Sticky traps only catch flying pests. They won't catch soil-borne pests like root mealybugs. They won't catch spider mites unless the webs carry them. They don't replace thorough visual inspection.
I still inspect leaves weekly. I check stem joints. I examine new growth. But the traps catch what I miss.
Integrating Traps with Other Pest Control
Sticky traps work best as part of a broader strategy. I combine them with:
- Yellow sticky cards for monitoring
- Neem oil spray for active infestations
- Beneficial nematodes for soil pests
- Proper watering to prevent gnat breeding
The traps tell me when to act. They save me from using chemicals unnecessarily.
What I Learned After Two Weeks
The single most valuable lesson: sticky traps are monitoring tools, not solutions. They tell you what's happening in the soil and air around your money tree. They reveal infestations early. They help you track treatment effectiveness. But they won't solve a pest problem alone.
My money tree is healthier now. Not because the traps killed every pest. But because I adjusted my care based on what the traps showed me.
Frequently Asked Questions
Q: How often should I replace sticky traps? Every 14 days minimum. If the trap surface becomes more than 50% covered with insects or dust, replace it sooner. I've found that dirty traps stop catching effectively.
Q: Can sticky traps harm my money tree? Not directly. But placement matters. Keep traps at least 1 inch from the trunk and leaves. The adhesive can damage delicate plant tissue if accidentally touched.
Q: Why are my traps catching zero insects but I still see pests? This happened to me. The pests might be not flying. Check under leaves and in soil joints. Some pests avoid sticky traps. Also, check if your traps are old or dusty. Replace them and monitor again.
The American Horticultural Society emphasizes that monitoring is the foundation of integrated pest management. Without data, you're guessing. Sticky traps give you data.
Final Thoughts
I wish I had started this experiment earlier. If you're dealing with mysterious pest problems on your money tree, try sticky traps. Not as a cure, but as a window into what's really happening. You might be surprised what you find.
Start with yellow traps. Place them horizontally near the soil. Check every 48 hours. Keep records. Adjust your care based on what you see. Your money tree will thank you.





