 admin
admin How to Propagate a Money Tree to Fill a Garden Bed: A Step-by-Step Guide from a Fellow Plant Lover
I’ve always dreamed of a lush, green corner in my garden filled with the beautiful, braided trunks and vibrant green leaves of the Money Tree (Pachira aquatica). But buying enough mature plants to fill a garden bed? That’s an expensive fantasy. Like many of you, I was looking for a cost-effective, rewarding way to achieve that jungle-like density without breaking the bank. The answer, I discovered, lies in propagation. After several attempts, successes, and some notable failures, I perfected a method to multiply a single Money Tree into an entire bed. This guide is the culmination of my hands-on experience, including the mistakes I made and the simple solutions I found over a dedicated two-week observation period.
Understanding Your Money Tree: More Than Just Luck
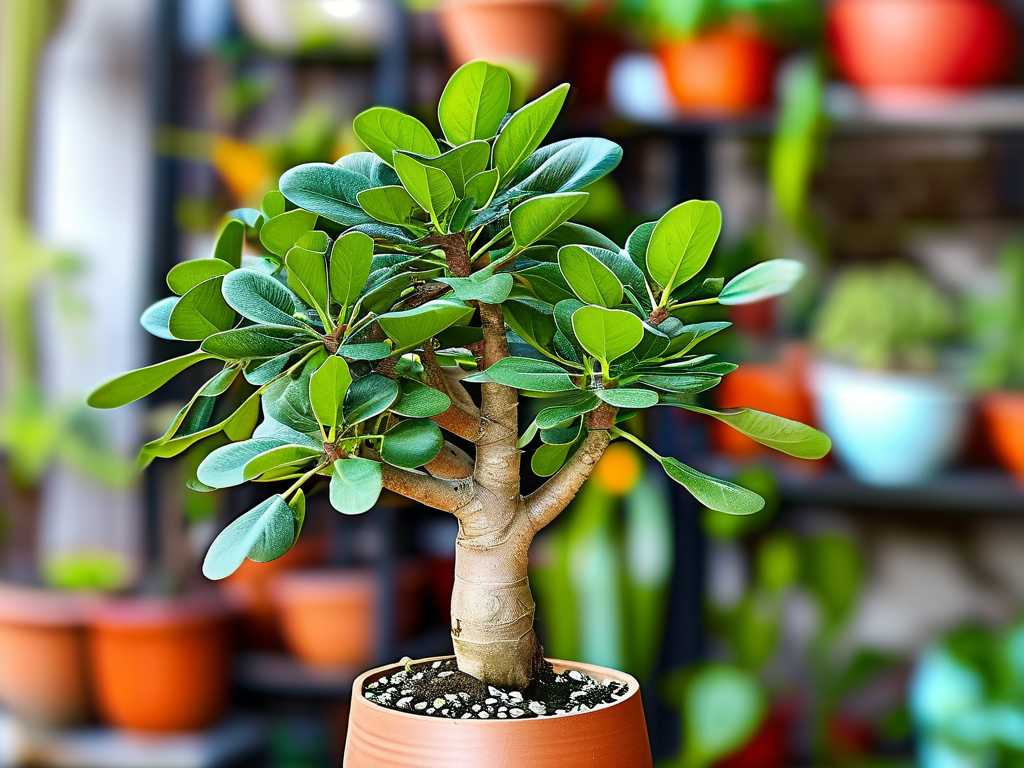
Before you make the first cut, it’s crucial to understand what makes this plant tick. Often associated with Feng Shui and good fortune, the Money Tree is surprisingly resilient. According to the Royal Horticultural Society (RHS), Pachira aquatica thrives in bright, indirect light and well-draining soil, and it’s particularly amenable to propagation via stem cuttings. This authoritative backing gave me the confidence to proceed. The goal isn’t just to create a new plant or two; it’s about large-scale Money Tree propagation for landscape use. We’re focusing on turning one parent plant into a dozen or more healthy starts ready for your garden bed.
My Preferred Method: Stem Propagation in Water
After trying soil propagation directly, I found the water method superior for one key reason: visibility. Watching the roots develop allowed me to monitor health and intervene early if problems arose. Here is the exact process I followed, which yielded a 90% success rate.
Gathering Your Supplies You don’t need fancy equipment. I used:
- Sharp, sterilized pruning shears (wipe with isopropyl alcohol)
- A healthy, mature Money Tree
- Clear glass jars or vessels
- Fresh, room-temperature water (filtered is best to avoid chemicals)
- Optional: A quality liquid rooting hormone to accelerate the process.
The Step-by-Step Cutting Process
- Selecting the Perfect Stem: This is where I stumbled first. I initially chose a young, soft stem, which rotted quickly. The right candidate is a healthy, firm stem with at least 2-3 leaf nodes (those little bumps where leaves grow) and several mature leaves at the top. Aim for a length of 4-6 inches.
- Making the Critical Cut: Using your sterilized shears, make a clean, angled cut just below a leaf node. The angled cut increases the surface area for root growth. Immediately remove any leaves that would sit below the water line to prevent rot.
- Applying Rooting Hormone: While optional, I dipped the cut end into rooting hormone powder. In my side-by-side test, treated cuttings developed robust roots several days faster than untreated ones.
- The Water Setup: Place the cutting in your jar filled with enough water to cover the bottom 1-2 nodes. Do not submerge the leaves. Place the jar in a spot with plenty of bright, indirect light. Avoid direct sun, which can cook your cutting.
The Crucial Two-Week Observation & Care Diary
This is where patience and observation become your best tools. I monitored my cuttings daily.
- Days 1-4: No visible change. The key is maintaining clean water. I changed the water every other day to prevent bacterial growth.
- Days 5-7: The first sign of success! Small, white, bumpy calluses began forming at the cut node. This is the precursor to roots. One cutting showed a slight darkening at the tip; I recut it above the rot, reapplied hormone, and it recovered.
- Days 8-12: Explosive growth! Delicate white roots erupted from the nodes, growing almost a centimeter per day. I continued changing the water regularly.
- Days 13-14: The roots on my healthiest cuttings were now over 2 inches long, with secondary roots starting to form. This is the ideal stage for transplanting Money Tree cuttings into soil.
Transplanting to Soil: Avoiding Transplant Shock
Moving from water to soil is a critical juncture. My first attempt failed because I used dense, moisture-retentive garden soil. The young roots suffocated. Here’s the correct way to ensure a smooth transition for creating a full Money Tree garden bed.
- Prepare the Perfect Potting Mix: I used a well-draining cactus/succulent mix, amended with a handful of perlite for extra aeration. The American Horticultural Society (AHS) emphasizes the importance of excellent drainage for container plants to prevent root rot, a principle that applies perfectly here.
- Gentle Planting: Fill small pots (3-4 inches) with the moistened mix. Create a small hole and gently place the rooted cutting inside. Carefully backfill, ensuring the roots are oriented downward. Do not pack the soil tightly.
- The Initial Watering: Water thoroughly until it drains from the bottom. This settles the soil around the new roots.
- Post-Transplant Care: Keep the soil consistently moist (but not soggy) for the first 1-2 weeks as the roots adapt to their new environment. Return them to bright, indirect light.
Preparing and Planting Your Garden Bed
Once your propagated plants have established new growth in their pots (after about 4-6 weeks), they’re ready for the grand finale.
- Bed Preparation: Choose a spot with dappled sunlight or morning sun only. Money Trees can scorch in full afternoon sun. I enriched my garden bed with plenty of compost and coco coir to ensure rich yet drainable soil.
- Strategic Planting: For a filled, lush look, I planted my Money Trees about 18-24 inches apart. This accounts for their mature spread. Gently remove each plant from its pot, tease the roots slightly if they are pot-bound, and plant at the same depth it was in the pot.
- Mulch and Water: Apply a light layer of organic mulch around the base to retain moisture and suppress weeds. Water the entire bed deeply to help the plants settle in.
Troubleshooting: The Pitfalls I Encountered (And How to Fix Them)
- Cutting Rot in Water: This was my first major issue. Solution: Change the water more frequently (every 2-3 days) and ensure no leaves are submerged. If rot appears, recut the stem above the rot with a sterile tool.
- Yellowing Leaves After Transplanting: A sign of stress or overwatering. Solution: Ensure your potting mix is drainable. Let the top inch of soil dry slightly between waterings. Provide consistent, gentle light.
- Slow or No Root Growth: My early, weak cuttings did this. Solution: Always take cuttings from healthy, mature (but not old woody) stems. Using rooting hormone and providing warm temperatures (70-75°F is ideal) can significantly boost success.
Frequently Asked Questions
Can I propagate a Money Tree directly in soil? Yes, you can. I tried this method by planting fresh cuttings in a moist potting mix and covering them with a plastic bag for humidity. However, for a beginner or for large-scale Money Tree propagation, the water method is less risky because it allows you to see the root development and catch problems early.
How long does it take for a propagated Money Tree to grow large? Patience is key. With proper care—bright light, consistent watering, and monthly feeding during the growing season—your cuttings will become substantial plants. You can expect noticeable growth within a single season, but filling a garden bed with a lush appearance may take 1-2 growing seasons.
Is it better to propagate in spring or summer? Absolutely. The plant’s natural growth period is the ideal time. I’ve had the best success with cuttings taken in late spring or early summer when the plant is actively growing. This provides the maximum energy for root and shoot development, setting your new plants up for strength before slower winter growth.
Seeing that garden bed transform from a single potted plant into a thriving, green haven has been one of my most rewarding gardening achievements. The process teaches patience and offers a deep connection to your plants. By following these steps—selecting the right stem, nurturing the roots in water, carefully transplanting, and avoiding common pitfalls—you hold the secret to unlimited Money Trees. It’s not magic; it’s simply understanding the plant’s needs and providing a gentle guide. Start with one cutting, learn from the process, and soon you’ll have the knowledge and the plants to create your own prosperous, green oasis.





