 admin
admin How to Create a Propagation Station for Your Money Tree Collection: A Plant Lover's Step-by-Step Guide
I love my Money Trees, but let's be honest—buying a new one every time I want to fill an empty corner gets expensive. For years, I hesitated to propagate them. The process seemed mysterious, and I was terrified of accidentally killing my beloved Pachira aquatica. My biggest fear was investing time and hope into cuttings, only to watch them rot in a jar of water. If you've ever felt that same hesitation, wondering how to multiply your green wealth without the guesswork, you're in the right place. This guide is the result of my own two-week experiment to build a dedicated, effective propagation station specifically for Money Trees. I'll walk you through my exact setup, the real results I observed, and the mistakes I made (and fixed) along the way.
Why Your Money Tree Needs a Specialized Propagation Setup
You might have successfully propagated a Pothos in a mason jar on a windowsill. Money Trees, however, are a different story. Their semi-woody stems and specific needs benefit immensely from a controlled environment. A dedicated Money Tree propagation station isn't just for aesthetics; it creates the consistent humidity, light, and stability that encourage robust root growth. According to principles often cited by the American Horticultural Society (AHS), providing stable conditions is key to reducing plant stress during propagation, which is when cuttings are most vulnerable. My goal was to create a mini-ecosystem that mimics the ideal conditions for root development, taking the uncertainty out of the equation.
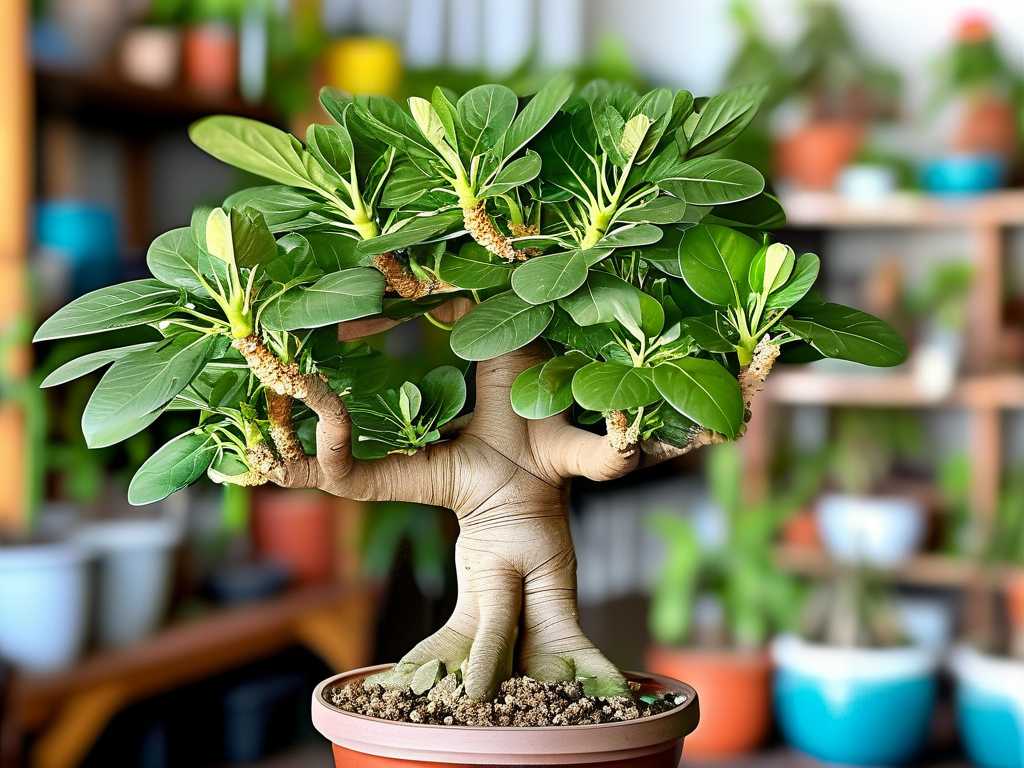
Gathering Your Propagation Station Essentials
Before making the first cut, I gathered my materials. Here’s what you’ll need for a successful indoor plant propagation station:
- Healthy Mother Plant: This is non-negotiable. I chose a mature, pest-free Money Tree with vigorous growth.
- Sharp, Sterile Tools: I used pruning shears cleaned with isopropyl alcohol. A clean cut prevents crushing the stem and introduces fewer pathogens.
- Propagation Vessels: I tested both clear glass jars (for water propagation) and small 3-inch pots with drainage (for soil). Clear vessels let you monitor root growth, which is fantastic for beginners.
- Growing Medium: For water, I used filtered water. For soil propagation, I used a well-draining mix of potting soil, perlite, and orchid bark.
- Rooting Hormone (Optional but Recommended): A powder rooting hormone can significantly speed up the process. I used one containing indole-3-butyric acid.
- The "Station" Itself: A designated tray or shelf. I used a plastic drip tray to group my cuttings, making them easy to manage and water.
- Humidity Domes: Clear plastic bags or reusable propagation domes. These are crucial for soil propagation to maintain high humidity.
Step 1: Selecting and Taking the Perfect Money Tree Cutting
This is the most critical step. A bad cut can doom the process from the start.
I looked for a stem that was healthy, firm, and had at least 2-3 leaf nodes (those little bumps where leaves and buds form). I avoided very young, green stems and opted for one that had started to mature slightly. Using my sterilized shears, I made a confident, angled cut about ¼ inch below a leaf node. The angle increases the surface area for rooting. My cutting was about 6 inches long.
The First Mistake I Made (And How I Fixed It): On my first attempt, I left too many leaves on the cutting. This caused excessive transpiration (water loss), and the cutting wilted within a day. I learned to immediately remove the lower leaves that would sit in water or soil, leaving only one or two small leaf clusters at the top. This balances photosynthesis with water retention.
Step 2: Preparing Your Cuttings for Success
Next, I prepared my cuttings for their two different journeys. For the water-propagating cuttings, I simply placed them in jars, ensuring no leaves were submerged to prevent rot. I filled the jars with filtered water, leaving the nodes fully covered.
For the soil propagation method, this is where the rooting hormone came in. I lightly dipped the moistened, angled end of the stem into the powder, tapping off the excess. Then, I used a pencil to make a small hole in the pre-moistened potting mix in my small pot and gently inserted the cutting, firming the soil around it. This prevents the hormone from rubbing off.
Step 3: Building and Managing Your Propagation Station
Now, to create the "station." I placed all my jars and pots on a single, shallow tray. This contained any spills and allowed me to move them as a unit. I positioned the tray in a spot with bright, indirect light. Direct afternoon sun would cook the cuttings inside their jars and domes.
For the pots with soil, I created a mini greenhouse. I placed three wooden skewers around the pot's edge and loosely covered it with a clear plastic bag, securing it with a rubber band. This created the consistent, humid environment Money Tree cuttings crave.
My Key Management Routine: Every other day, I would lift the bags for 15 minutes to allow fresh air circulation and prevent mold. For the water cuttings, I changed the water completely every 5-7 days to keep it oxygenated and clear of bacteria. This simple routine was the backbone of my propagation station care.
The Two-Week Observation Diary: What Actually Happened
Here’s the real, unfiltered account of my propagation project:
- Days 1-3: The soil cuttings under their domes looked perky. The water cuttings showed no change. I worried I had done something wrong.
- Days 4-7: A water cutting developed a cloudy film on its stem—a sign of early bacterial growth. Mistake #2! I hadn't changed the water soon enough. I immediately changed all the water, gently rinsed the stems, and cleaned the jars. Crisis averted.
- Days 8-10: The first signs of life! On the water-propagated cuttings, tiny, white nubs began to appear at the submerged nodes. These were the primary root initials. The soil cuttings still showed no visible signs, but the leaves remained green and firm—a good indicator.
- Days 11-14: The "nubs" on the water cuttings developed into definite, white roots, reaching about half an inch long. The soil cuttings, when I gave one a very gentle tug, showed slight resistance, hinting that root formation was beginning underground. The humidity dome was clearly working.
When and How to Transplant Your Propagated Money Trees
You can't leave cuttings in water forever. Once the water-based roots were about 1-2 inches long (which happened just after the two-week mark for me), it was time to pot them. I prepared a small pot with my well-draining soil mix, made a hole in the center, and carefully placed the rooted cutting inside. I gently backfilled, being careful not to break the fragile new roots. I watered it thoroughly and kept it in a similar bright, indirect light spot. For the soil-propagated cuttings, I waited a full 4 weeks before gently checking the root ball, confirming they were established before treating them as a mature plant.
Troubleshooting Common Propagation Station Problems
- Yellowing Leaves: This often means too much direct light or, for soil cuttings, overwatering. I moved my tray slightly further from the window.
- Rotting Stem (in water or soil): This is usually due to bacterial growth or a poor-quality initial cut. Remove the cutting immediately, re-cut above the rot with a sterile tool, and restart in fresh water or soil.
- No Root Growth After 3 Weeks: Be patient. Ensure the station is warm enough (70-75°F is ideal). If using soil, ensure it's consistently lightly moist, not soggy. A lack of light can also slow things down.
How long does it really take for Money Tree cuttings to root? In my controlled propagation station for houseplants, water cuttings showed visible roots in 10-14 days. Soil cuttings take longer, typically 3-5 weeks, to establish a sufficient root system. Patience is key, as the environment you create directly influences the speed.
Can I propagate a Money Tree from just a leaf? No, a leaf alone will not grow into a new plant. You must include a piece of the stem with at least one node. The node contains the meristematic tissue needed to produce new roots and shoots. This was a fundamental lesson in my learning process.
What is the single most important factor for success? Consistency. Whether it's maintaining humidity for soil cuttings or regularly changing water for aquatic ones, the stable environment provided by your dedicated setup is what minimizes stress and signals to the cutting that it's safe to put energy into growing roots.
Creating a dedicated space for propagating my Money Trees transformed the process from a hopeful experiment into a reliable practice. By following these steps—selecting the right cutting, using the right tools, and maintaining a consistent environment—you can confidently expand your collection. The joy of watching those first tiny roots emerge, knowing you fostered that growth, is a reward that goes beyond saving money. It's the satisfaction of truly understanding and nurturing your plants. Start small, learn from the hiccups, and soon you'll have a thriving propagation station feeding your indoor jungle.





