 admin
admin How to Avoid Overwatering a Small Money Tree Seedling: A Grower's 2-Week Rescue Diary
I almost killed my new money tree seedling with kindness. There it was, a symbol of potential prosperity, sitting in soggy soil with leaves turning a sickly yellow. If you're reading this, you likely share that same sinking feeling—the worry that your over-attentive watering is harming your plant. Overwatering is the single most common killer of houseplants, and delicate money tree seedlings are especially vulnerable. I learned this the hard way. In this guide, I’ll walk you through my exact, first-person journey of diagnosing, rescuing, and nurturing a waterlogged money tree seedling back to health over a critical two-week period, sharing every misstep and solution I discovered.
Understanding the Enemy: Why Overwatering is a Silent Killer
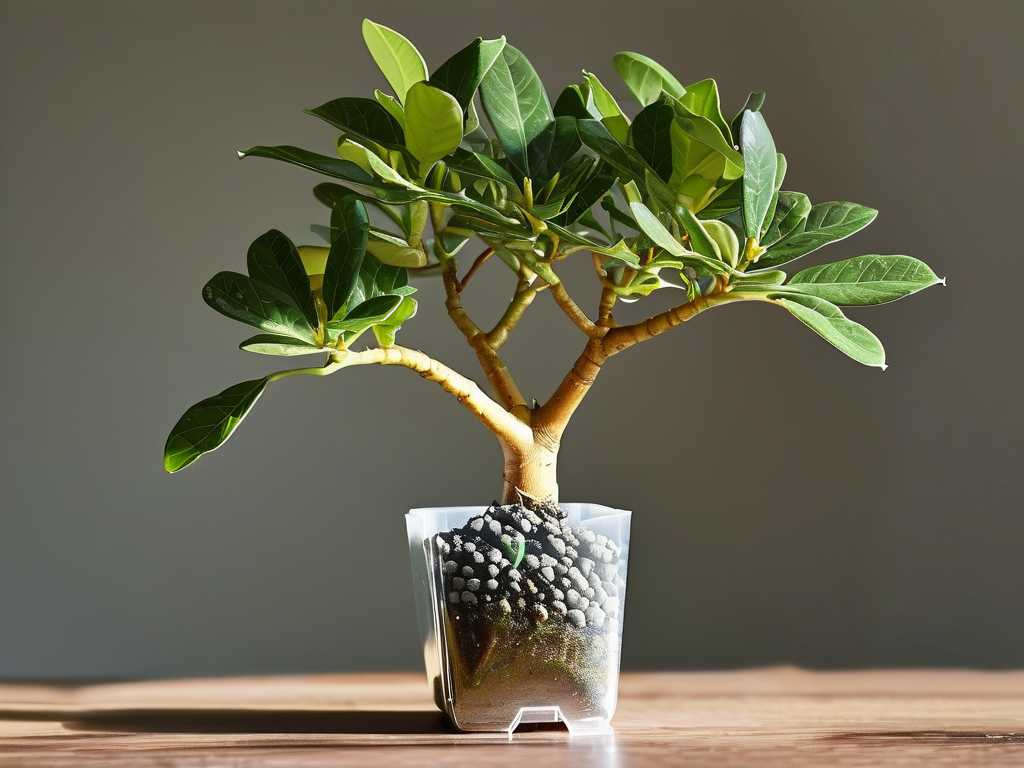
We often think more water equals more love, but for a money tree seedling, it's a death sentence. Its small root system needs oxygen as much as it needs moisture. When soil is constantly wet, air pockets are flooded, and roots begin to suffocate and rot. This root rot happens beneath the surface, often going unnoticed until the plant shows severe distress above the soil line. According to the American Horticultural Society (AHS), "Root rot caused by overwatering is a pervasive issue, often mistaken for underwatering because the initial symptoms—wilting and yellowing leaves—can be similar." This was my first critical mistake: seeing a droopy leaf and reaching for the watering can, only making the problem worse.
My Step-by-Step Rescue Mission and 2-Week Observation Log
Recognizing the Telltale Signs of Trouble
My seedling presented a classic trio of symptoms. First, the leaves lost their firm, glossy green hue, becoming soft and turning yellow, particularly at the lower levels. Second, the soil surface felt perpetually damp and cool to the touch, even days after watering. Finally, a slight, musty odor was emanating from the pot—a surefire sign of decaying organic matter and struggling roots. The plant had stopped putting out any new growth. It was clearly struggling.
Immediate Action: The Unpotting and Root Triage
Day 1 was intervention day. Gently, I tipped the seedling out of its nursery pot. The root ball was a dark, clumpy mess, and several smaller roots were mushy and brown—the undeniable evidence of root rot. Healthy roots should be firm and white or light tan. Following guidance from resources like the Royal Horticultural Society (RHS), I used sterilized scissors to carefully prune away every soft, rotten root. It felt drastic, but it's essential to remove the diseased tissue. I then gently loosened the remaining healthy roots to encourage them outward.
The Fresh Start: Repotting with the Right Foundation
A proper home is non-negotiable. I chose a new pot that was only about an inch larger in diameter than the remaining root ball. A huge pot holds excess moisture, repeating the cycle. Crucially, the new pot must have excellent drainage holes. I filled the bottom with a layer of fresh, well-draining potting mix. For my money tree seedling, I used a cactus/succulent blend amended with extra perlite for aeration. This mix provides the fast drainage these plants crave. I placed the seedling in, filled around it, and gently firmed the soil. I did not water it immediately. This gave the pruned roots a day to callous over, reducing the risk of further infection.
The Critical Watering Reset: Learning to "Soak and Dry"
This was the most profound change in my routine. The "soak and dry" method became my mantra. After letting the repotted plant settle for 24 hours, I gave it its first proper drink. I placed the pot in a sink and watered thoroughly until water ran freely from the drainage holes, ensuring the entire root ball was moistened. Then, I let it drain completely. Here’s the key: I did not water again until the soil was mostly dry. To gauge this, I learned to use the "finger test." I inserted my finger about two inches into the soil. If it felt dry at that depth, it was time to water. If it felt cool or damp, I waited. This simple technique prevents you from watering on a schedule and instead teaches you to respond to the plant's actual needs.
The 2-Week Recovery Timeline: A Daily Log
- Days 1-3: The plant looked a bit shocked and droopy post-surgery. I kept it in bright, indirect light—no direct sun, which would add stress. No watering.
- Days 4-7: I performed the finger test; the soil was still slightly moist at the two-inch mark. I continued to wait. The yellowing on the lower leaves stabilized; they didn't get worse, but they didn't recover (they wouldn't). The main stem remained firm—a good sign.
- Day 8: The soil finally felt dry. I performed the first "soak and dry" watering, making sure no water sat in the saucer beneath. This is a crucial step for proper money tree seedling care.
- Days 9-12: A noticeable change! The plant seemed to perk up. The remaining green leaves looked more turgid and healthy. Most excitingly, I spotted a tiny, pale green nub at a stem node—the very beginning of a new leaf. This was the confirmation I needed that the roots were active and healthy.
- Days 13-14: The new leaf bud was slowly unfurling. I watered again on Day 14 after another confirmed dry-down period. The seedling was clearly on a positive trajectory, having successfully avoided the fatal consequences of overwatering.
Essential Environmental Factors for a Thriving Seedling
Light: The Energy Source My seedling thrived in a spot with plenty of bright, filtered light. An east-facing window was perfect. Direct afternoon sun can scorch the delicate leaves, while too little light will slow growth and reduce the plant's ability to use water efficiently, leading to—you guessed it—soggier soil.
Humidity and Airflow Money trees appreciate moderate humidity. I placed a small pebble tray filled with water near the plant to provide gentle ambient moisture. Good air circulation from a gentle room fan (not pointed directly at the plant) also helps keep the foliage dry and discourages fungal issues, which love stagnant, moist conditions.
Choosing the Right Pot and Soil Mix My initial pot was ceramic and glazed, which retains moisture. For the rescue, I switched to an unglazed terracotta pot. Terracotta is porous, allowing the soil to dry more evenly from the sides. Combined with the fast-draining, chunky soil mix, this created an environment where the roots could access both water and oxygen safely.
How can I tell if my money tree seedling needs water? Forget the calendar. Use the finger test. Insert your finger into the soil up to the second knuckle (about 2 inches). If the soil at your fingertip feels completely dry, it's time to water thoroughly. If you feel any moisture or coolness, wait a few more days and check again. This is the most reliable method for preventing overwatering.
What should I do if I see gnats around the soil? Fungus gnats are a common sign of persistently moist soil. They lay eggs in the top layer. To break the cycle, let the top inch of soil dry out completely between waterings. You can also place yellow sticky traps near the soil surface to catch the adult flies. For a severe infestation, a top dressing of sand or gravel can help.
Can a money tree seedling recover from severe root rot? It depends on the extent of the damage. If the main stem and some healthy, firm roots remain after pruning all the rot, there is a good chance of recovery with immediate repotting and corrected care. However, if the rot has traveled up the main stem and it feels soft or mushy, the seedling may be too far gone. The key is early intervention.
Watching my money tree seedling push out that first new leaf after its ordeal was incredibly rewarding. The journey taught me that successful plant care isn't about constant intervention, but about mindful observation and creating the right conditions. By understanding the signs of overwatering, mastering the soak-and-dry watering technique, and providing a well-draining home, you're not just avoiding a common mistake—you're setting the foundation for a robust, thriving money tree that will grow alongside your own gardening expertise. Pay attention to what your plant is telling you, and you'll both prosper.





