 admin
admin How to Use Pebble Trays to Boost Humidity for Your Money Tree (And Why It’s a Game-Changer)
If you’ve ever watched the tips of your Money Tree’s leaves turn crispy brown, or seen new growth emerge stunted and sad, you know the heartbreak. You water faithfully, provide bright indirect light, yet something’s off. For years, I blamed everything from water quality to pests, until I finally understood the silent culprit: low humidity. Our Money Trees (Pachira aquatica) hail from humid Central and South American wetlands, but our modern homes, especially with heating or air conditioning, often mimic deserts. This mismatch stunts their potential. After trying costly humidifiers with mixed results, I rediscovered a classic, low-tech solution: the pebble tray. It’s not just a hack; when done correctly, it’s a transformative tool. Here’s my hands-on, two-week journey to perfecting the pebble tray method, including the mistakes I made so you don’t have to.
Understanding the Humidity Gap: What Your Money Tree Craves
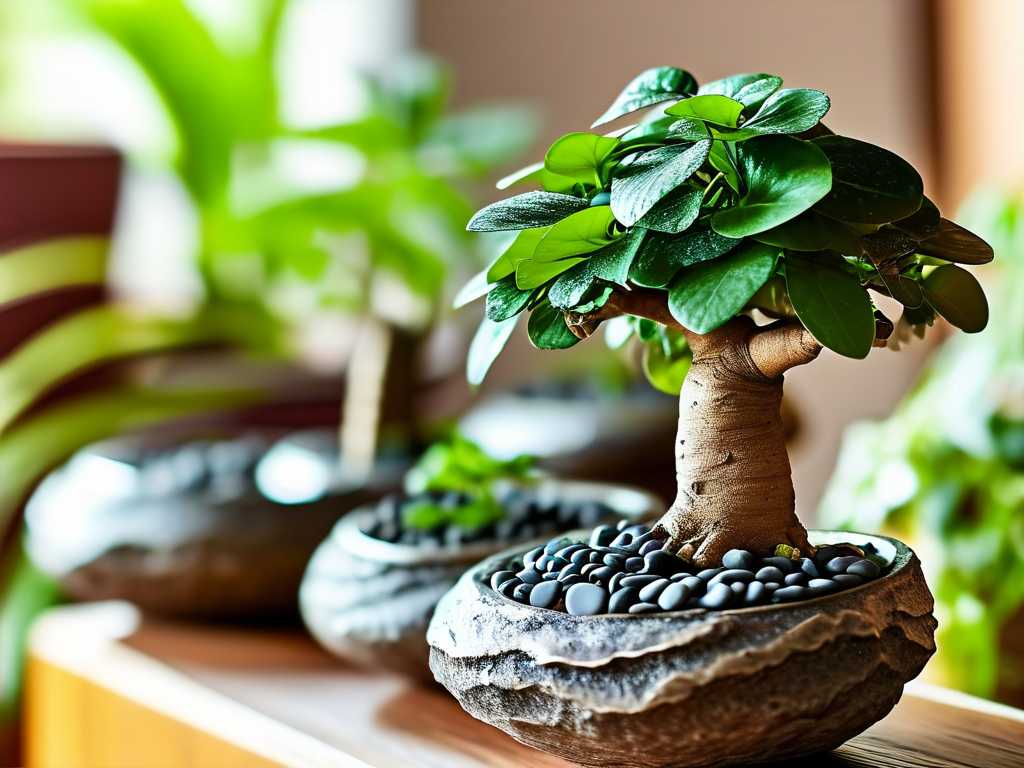
Money Trees thrive in relative humidity levels of 50% and above. The average home sits around 30-40%, and in winter, it can plummet further. Low humidity forces the plant to lose moisture through its leaves (transpiration) faster than its roots can absorb it, leading to stress and those tell-tale brown edges. While misting offers a temporary boost, its effects vanish within minutes. A pebble tray, however, creates a sustained, localized microclimate. As water evaporates from the tray, it gently increases the moisture in the air immediately surrounding the plant. This is a principle often endorsed by horticultural authorities like the American Horticultural Society (AHS), which notes that evaporation trays are a simple, effective way to raise humidity for humidity-loving plants without promoting leaf diseases, which can be a risk with overhead misting.
Gathering Your Materials: It’s More Than Just Rocks and a Dish
My first attempt failed because I underestimated the setup. You need the right components for consistent, clean operation.
- The Tray: Choose a waterproof tray, saucer, or dish that is at least 2-3 inches wider than the diameter of your Money Tree’s pot on all sides. The key is surface area: a larger tray means more evaporation. I initially used a saucer barely bigger than the pot base and saw zero effect.
- The Pebbles: Use clean, washed river pebbles, lava rocks, or decorative aquarium gravel. They should be large enough to create gaps for air and water flow. Avoid small, fine gravel that can compact and hinder evaporation. I purchased a bag of polished pebbles from a garden center and washed them thoroughly to remove dust.
- Pure Water: This is critical. Use distilled, rainwater, or filtered water to prevent mineral buildup on the pebbles and the base of your pot as the water evaporates. Tap water left white, crusty deposits that were unsightly and could potentially wick into the pot.
- Optional – A Humidity Monitor: To move from guesswork to science, I invested in a small, inexpensive digital hygrometer. Placing it near the foliage let me track actual results.
My Step-by-Step Setup and Two-Week Observation Log
Day 1-3: Assembly and Baseline First, I measured my room’s ambient humidity: a dry 35%. I placed my 10-inch Money Tree pot on a bed of pebbles in a 14-inch wide, shallow ceramic tray. I poured in filtered water until it reached just below the top of the pebble layer. The golden rule: the bottom of the plant pot must never sit directly in the water. This prevents root rot, which is far deadlier than dry air. I placed the setup in its usual bright spot away from direct vents.
Day 4-7: The First Signs of Change By day four, the hygrometer near the leaves read a steady 48-50%—a significant jump! I noticed the water level dropped about a quarter inch, confirming active evaporation. I topped it up with filtered water. No visible change in the plant yet, but the environment was improving.
Day 8-10: A Problem Emerges – The Algae Bloom Under the grow light, I noticed a green film developing on the sun-exposed pebbles. Algae. While not directly harmful, it’s unsightly and can clog the evaporation process. This was my first “pitfall.” The solution was simple: I replaced the water completely, scrubbed the pebbles with a brush (no soap), and for future prevention, I decided to do a full water change and pebble rinse weekly. Some experts suggest using darker pebbles or placing the tray in less direct light to slow algae growth.
Day 11-14: The Reward – New Growth Responds The most exciting observation came in the second week. A new braided stem section that had been dormant for weeks suddenly pushed out a glossy, healthy leaf. It unfurled completely without a single brown tip. The existing leaves felt less brittle. The humidity monitor now consistently showed a 50-55% bubble around the plant, even as the room stayed at 36%. The localized microclimate was undeniably working.
Optimizing Your Pebble Tray for Maximum Impact
- Cluster Your Plants: I grouped my Money Tree with a few other humidity-appreciating plants (like a peace lily). Their collective transpiration and shared evaporation from a larger tray created an even more robust micro-environment, boosting the zone to 60% humidity.
- Strategic Placement: Put your tray setup where air naturally circulates gently (but not in a strong draft). A ceiling fan on low or a room with natural airflow helps disperse the moist air around the plant without it becoming stagnant.
- Consistent Maintenance: My weekly ritual is now: empty the old water, rinse the pebbles and tray, and refill with fresh filtered water. This prevents mosquitoes, algae, and mineral buildup. It takes two minutes and is non-negotiable for plant health.
Beyond the Tray: A Holistic Humidity Strategy
A pebble tray is a cornerstone, but for severe cases, layering methods works best. The Royal Horticultural Society (RHS) advises that for very dry environments, combining methods is most effective. I use my pebble tray as the foundation. In the deepest winter, I might occasionally run a humidifier in the room for a few hours, with the Money Tree benefiting from both sources. I still avoid misting the leaves directly, as lingering moisture can invite fungal issues.
Addressing Your Top Concerns
Can I over-humidify my Money Tree with a pebble tray? It’s highly unlikely with this passive method. You are raising humidity locally, not sealing the plant in a terrarium. Problems like mold on soil or leaves typically arise from overwatering, poor air circulation, or actual humidity levels consistently above 70-80%, which a simple tray cannot achieve. The tray provides a gentle, natural boost.
My water evaporates very fast. Is this normal? Yes, and it’s a sign it’s working! Factors like heat, airflow, and low ambient humidity will increase evaporation rate. If you’re refilling every other day, you’ve built an excellent evaporation surface. Just ensure you keep up with top-ups to maintain the effect. Using a deeper tray can extend time between refills.
Will a pebble tray alone solve all my Money Tree’s problems? No. It addresses one critical piece of the puzzle: atmospheric humidity. Your Money Tree still needs appropriate watering (allowing the top few inches of soil to dry out), stable warm temperatures, bright indirect light, and proper fertilization during the growing season. Think of the pebble tray as providing the supportive, humid air it needs to truly flourish, making all your other care efforts more effective.
Seeing that first perfect leaf unfurl was all the proof I needed. The pebble tray method isn’t a trendy gimmick; it’s a time-tested, scientifically sound practice that bridges the gap between our home environments and our tropical plants’ needs. It requires minimal investment but consistent, simple upkeep. By creating that stable, humid microclimate, you’re not just preventing brown tips—you’re actively enabling your Money Tree to grow with the vigor and lush beauty it’s meant to have. Give it two weeks of proper implementation, and you’ll see the difference. Your plant will thank you with vibrant, healthy growth.





