 admin
admin How to Transition a Money Tree from Outdoors to Indoors Successfully
I’ve always loved the lush, vibrant energy a Money Tree brings to my patio. But as the seasons turn and the first chill whispers in the air, a familiar anxiety sets in for every plant lover like me: how do I bring this outdoor beauty inside without causing it shock, leaf drop, or worse? The transition from the boundless outdoors to the controlled indoors is a critical, often tricky, process. After several attempts, some heartbreaking failures, and finally, a resounding success, I’ve perfected a method to transition a Money Tree from outdoors to indoors smoothly. This guide is born from my hands-on experience, detailing every step I took, the two-week observation period, the mistakes I made, and exactly how I corrected them.
Understanding the "Why": The Science Behind the Shock
Moving a plant isn't just a change of scenery; it's a drastic shift in its entire world. Outdoors, your Money Tree enjoys higher humidity, natural breeze which strengthens stems, dappled sunlight, and temperature fluctuations. Suddenly placing it in a dry, still, uniformly lit room is a massive shock. According to principles often emphasized by horticultural authorities like the American Horticultural Society (AHS), this abrupt change disrupts the plant's transpiration and photosynthesis processes. The goal isn't a sudden move, but a gradual acclimating Money Tree to lower light and stable indoor conditions, mimicking a slow change in seasons.
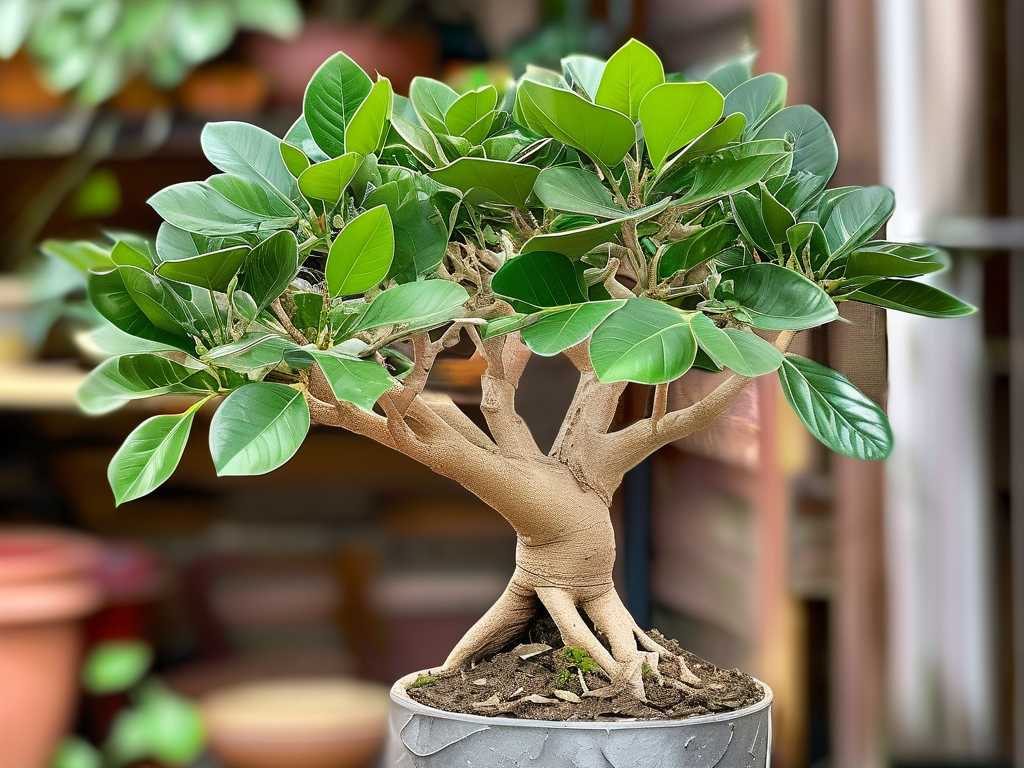
My Step-by-Step Transition Plan: A Two-Week Protocol
I dedicated a full two weeks to this transition process. Rushing is the enemy here.
Week 1: The Pre-Move Preparation (Days 1-7)
This week is all about groundwork and gradual exposure.
- Day 1-2: Inspection and Pest Management. First, I brought my Money Tree to my shaded patio table and gave it a thorough inspection. I looked under leaves, along stems, and in the soil. Outdoor plants are prone to hitchhikers—aphids, spider mites, scale. I found a few early signs of spider mites. Instead of harsh chemicals, I used a strong jet of water from my hose to dislodge them, followed by wiping the leaves with a damp cloth. This is non-negotiable; you don’t want to bring pests into your home ecosystem.
- Day 3-5: Gradual Light Reduction. I started shifting the plant’s location. If it was in full morning sun, I moved it to a spot with bright, indirect light for most of the day. Each day, I increased its time in this shadier spot. This begins the crucial process of helping Money Tree adapt to indoor lighting, which is invariably less intense than even a shady outdoor spot.
- Day 6-7: The First Overnight Trial. On the sixth evening, as temperatures were predicted to stay above 55°F (13°C), I brought the plant inside to its predetermined spot. I left it there overnight and for the entire next day. In the evening of the seventh day, I took it back outside to its shaded transition spot. This "sleepover" helps it start adjusting to indoor air, which is drier and still.
Week 2: The Incremental Move (Days 8-14)
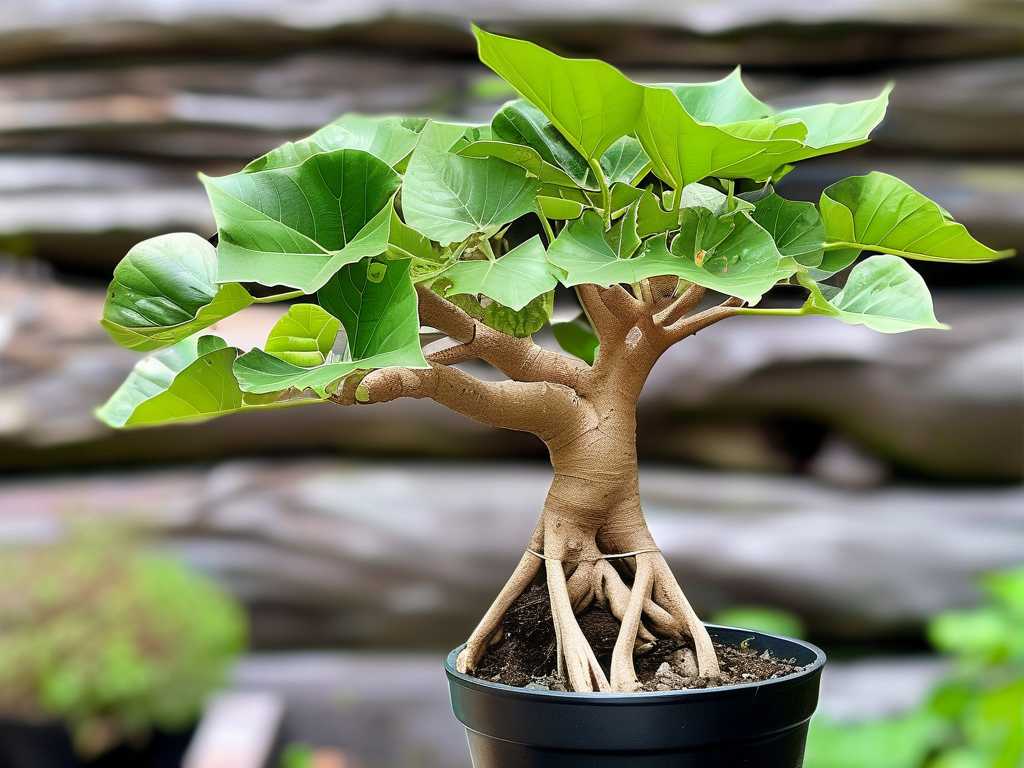
- Day 8-10: Increasing Indoor Time. I reversed the rhythm. Now, the plant spent the majority of its time indoors, only going outside for a few hours in the late afternoon on the mildest days. I closely monitored the soil moisture, as indoor potting mix dries differently than outdoor soil. I was careful not to overwater.
- Day 11-14: Full Indoor Residence. By day 11, my Money Tree stayed indoors permanently. I placed it about 3 feet from a large east-facing window, ensuring it received plenty of bright, indirect light but no harsh afternoon sun. I also placed a small humidifier nearby, as indoor heating can create desert-like conditions. I resisted the urge to fertilize; a plant in transition is under stress and shouldn't be pushed to grow.
The Two-Week Observation Diary: What I Saw and Did
This is where real learning happened. Here’s my log:
- Days 1-3 (Indoor): The plant looked perky. No visible changes. I felt optimistic.
- Day 4-5: I noticed 2-3 older, lower leaves turning slightly yellow. Panic moment. I initially thought it was overwatering. After checking the soil (it was moist but not soggy), I realized this was a normal part of the acclimation process. The plant was shedding leaves that were less efficient in the new lower-light environment to conserve energy. I gently plucked the yellowed leaves.
- Day 6-10: Leaf yellowing stabilized. No new yellow leaves appeared after Day 7. However, I observed a slight droop in the newer growth. The air was too dry. Here was my mistake: I had placed the humidifier too far away. I moved it closer, creating a gentle mist zone around the plant. Within 48 hours, the drooping perked up significantly.
- Day 11-14: The plant settled. It wasn't growing vigorously, but it looked healthy, green, and stable. The trunk felt firm, and the braid was tight. Success! The transition was complete.
The Pitfalls I Encountered and How I Solved Them
- The Pest Infestation Surprise: My first attempt years ago failed because I skipped the inspection step. I brought in a beautiful Money Tree that, within a week, spread spider mites to two other houseplants. The solution, as I now practice, is a rigorous pre-move inspection and preventative wash. Quarantining a newly moved plant for a week in a separate room is also a wise precaution.
- The "Sunburn" Scare: Once, I moved a plant from direct sun straight to a bright south window indoors. The leaves developed bleached, scorched spots. Glass magnifies light, and the sudden change was too much. The solution is the gradual light reduction protocol I now follow. Always err on the side of less light initially.
- Overwatering and Root Rot: In my early days, I assumed drooping leaves meant thirst. I watered heavily, only to compound the stress with soggy soil, leading to root rot. The fix is to let the top 1-2 inches of soil dry out before watering. During transition, plants use less water. I now use a moisture meter for accuracy.
Optimizing Long-Term Indoor Care Post-Transition
Once acclimated, your Money Tree needs consistent care. It thrives in bright, indirect light. Water only when the topsoil is dry, and ensure the pot has excellent drainage. I feed mine with a balanced, half-strength liquid fertilizer monthly in spring and summer, but never right after the move or in fall/winter. Regularly wiping the leaves with a damp cloth keeps pores open for photosynthesis and checks for pests.
What’s the biggest sign my Money Tree is struggling with the move? Significant leaf drop (more than just a few older yellow ones), widespread yellowing, or mushy stems are red flags. This usually points to overwatering, severe shock from a too-sudden move, or a drafty location. Reassess your watering schedule, light levels, and ensure the plant isn't near a heating vent or cold draft.
Can I transition my Money Tree indoors at any time of year? The ideal time is late summer or early fall, before nighttime temperatures consistently drop below 50°F (10°C). This mimics the natural end of the growing season. Avoid moving it during a heatwave or in the dead of winter if it's been kept in a greenhouse-like setting.
My Money Tree lost many leaves after moving inside. Is it dead? Not necessarily. Leaf loss is a common stress response. As long as the stems and trunk are still firm and greenish underneath the bark, there’s hope. Be patient, ensure optimal care (proper light, careful watering), and resist the urge to over-correct. It may take several weeks to months to push out new growth as it fully adjusts to its indoor life.
Moving a Money Tree indoors is an exercise in patience and observation. By mimicking a gentle seasonal shift, preempting problems like pests and dry air, and responding to the plant’s signals without panic, you can ensure your green companion thrives for years, bringing its fortune-blessed beauty from your summer garden into your winter home. The key is to remember you’re not just moving a plant; you’re guiding it through a carefully managed relocation.





