 admin
admin How to Stake a Tall Money Tree to Prevent Toppling: A Gardener’s Step-by-Step Rescue Mission
I’ll never forget the sinking feeling. There it was, my prized, five-foot-tall Money Tree (Pachira aquatica), leaning at a precarious 30-degree angle like the Tower of Pisa. All those years of careful watering, rotating for even light, and whispering encouragements seemed threatened by one overzealous new leaf cluster. If you’re reading this, you likely know that panic. A tall, top-heavy Money Tree is a disaster waiting to happen—a snapped trunk, torn roots, and a heartbreaking mess of soil and leaves. But don’t worry. After successfully stabilizing my own tree and monitoring its recovery for over two weeks, I’m here to guide you through exactly how to stake a tall Money tree to prevent toppling. This isn’t just theory; it’s a battle-tested method from one plant lover to another.
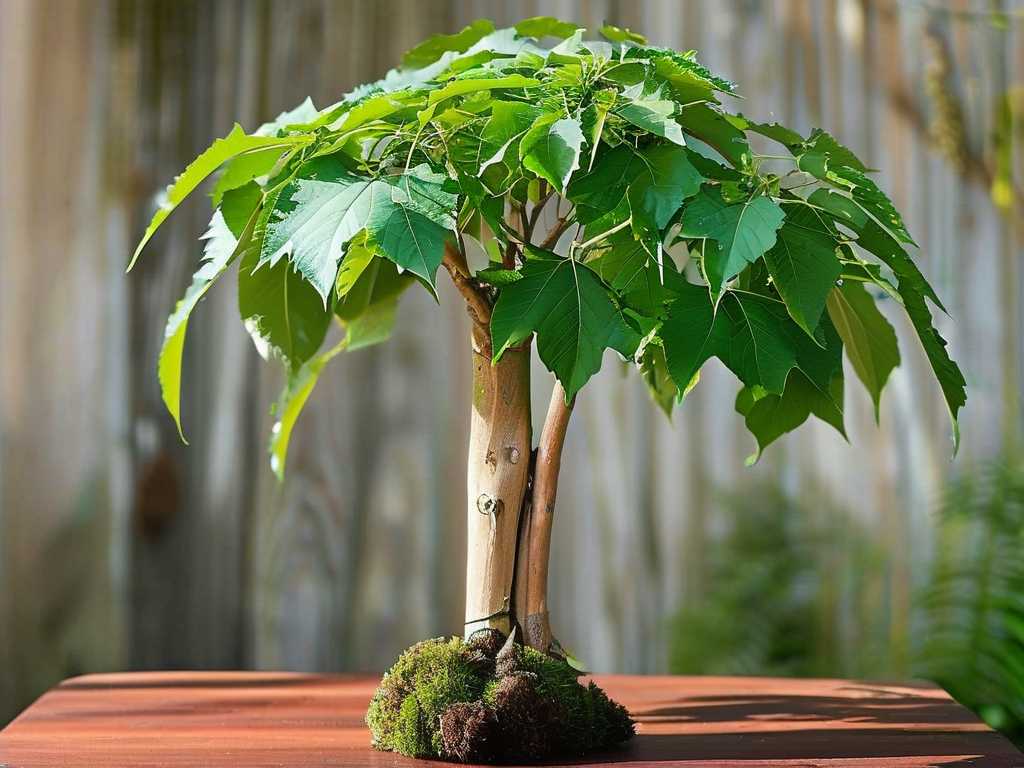
Understanding Why Your Money Tree is Falling Over
Before we grab stakes and ties, it’s crucial to diagnose the problem. Staking without understanding the cause is a temporary fix.
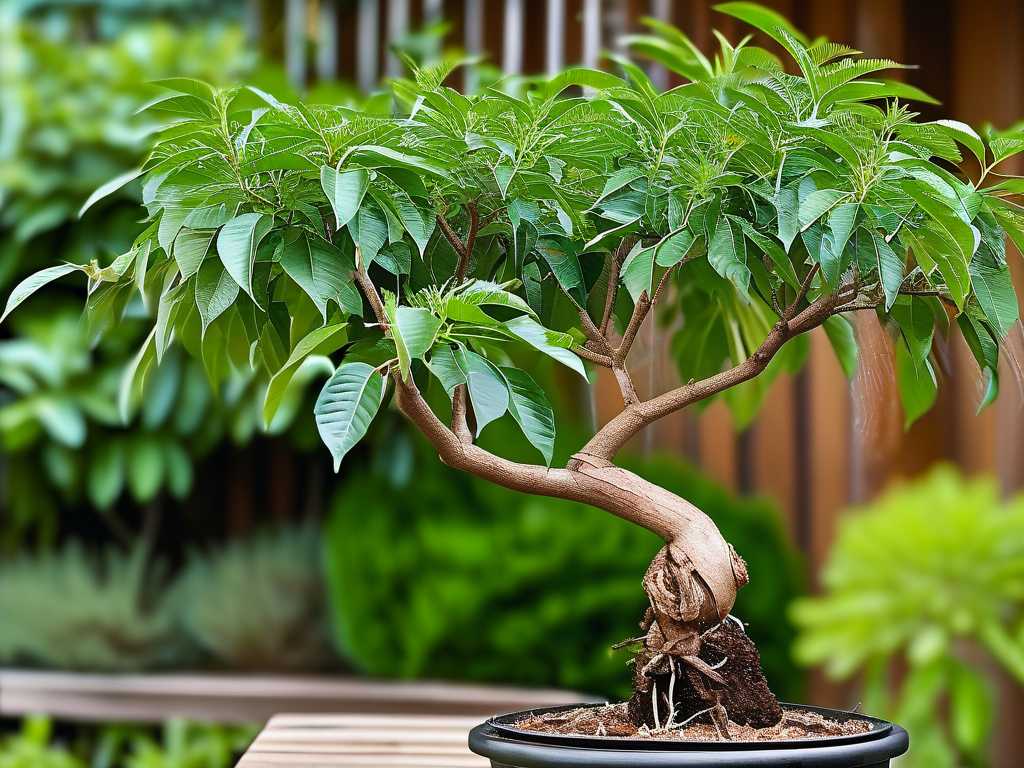
The Primary Culprit: Top-Heavy Growth and Insufficient Support Money Trees, especially taller specimens, often develop a dense canopy of large, palmate leaves. This creates significant weight at the top. As the Royal Horticultural Society (RHS) notes, plants with disproportionate canopy-to-root or canopy-to-stem ratios are inherently unstable. The natural stem, particularly if it’s a braided trunk which can sometimes restrict individual trunk growth, may simply be too slender to support the weight.
Secondary Causes: Light and Root Issues A Money Tree leaning dramatically toward a light source is crying out for more sun. This phototropism forces uneven growth. Similarly, root problems from overwatering (like root rot) or being pot-bound can destabilize the entire plant by decaying or cramping the root anchor system.
My Toolkit: Gathering the Right Materials for Staking
Getting this right means using the right tools. Here’s what I gathered, learned through trial and error:
- Stakes: I chose three 48-inch bamboo stakes. Why three? A single stake offers minimal support. Two can create a pivot point. Three stakes, evenly spaced, create a stable, triangular support system that cradles the plant without putting pressure on a single side. Ensure they are tall enough to reach at least two-thirds the height of your plant.
- Soft Ties: This is where I made my first mistake. I initially used garden twine. Avoid this. It can cut into the soft bark as the plant moves and grows. I switched to velcro plant ties and flexible rubber-coated wire. These are gentle, adjustable, and won’t cause girdling.
- Pot & Soil: A heavy, wide-based ceramic or terracotta pot is ideal for counterbalancing top weight. I also had fresh, well-draining potting mix on hand to address any root issues.
- Other Tools: Pruning shears (sterilized), a trowel, and gloves.
The Step-by-Step Staking Process: A Two-Week Recovery Journal
Day 1: Assessment and Preparation I gently tipped the pot to inspect the root ball. The soil was overly moist, and while there was no severe rot, the roots were circling tightly. The leaning was due to both top-heaviness and a slight root constraint. Decision time: I opted for a stake and repot combo for long-term health.
Step 1: Gentle Repotting (If Needed) I carefully removed the tree from its old pot. I loosened the root ball with my fingers, teasing out the circling roots. I placed a layer of fresh soil in the new, wider, heavier pot and set the root ball in, ensuring the trunk was straight. I then backfilled with soil, firming gently to eliminate large air pockets.
Step 2: Inserting the Stakes Strategically With the tree centered, I inserted the three bamboo stakes deep into the pot, pushing them down until they hit the bottom. I placed them outside the root ball, about 2-3 inches from the trunk, in a triangular formation. The goal is to avoid spearing major roots. The RHS emphasizes that support stakes should be inserted at planting time or carefully added afterward to minimize root damage—I was careful on this point.
Step 3: Securing the Trunk with the Right Ties This is the most delicate part. Starting about one-third of the way up the trunk, I used a velcro tie to create a loose loop around all three stakes and the trunk. I did not pull it tight against the trunk! I left enough space to fit two fingers between the tie and the bark. This allows for natural micro-movements and growth, which, according to horticultural best practices, is essential for building the plant’s own strength. I added a second tie about two-thirds of the way up.
Step 4: Pruning for Balance and Health To reduce the top-heavy load and encourage bushier growth lower down, I did some selective pruning. I removed one or two of the very largest leaves and trimmed back any excessively long branches. This felt scary but was necessary.
Days 2-7: The Adjustment Period The tree looked a bit shocked, as expected. I placed it in bright, indirect light (no more leaning toward the window!) and resisted watering until the top few inches of soil were dry. The staking system was holding it perfectly upright. I checked the ties daily to ensure they weren’t too tight.
My Big Mistake and Fix: On Day 3, I noticed the upper tie was slightly tighter due to the trunk settling. The velcro allowed for an instant, easy adjustment. My initial twine would have already started digging in.
Days 8-14: Signs of Success By the end of the first week, the tree stopped looking shocked. By Day 14, I saw new, small buds forming at the leaf nodes below where I pruned—a fantastic sign it was redirecting energy. The trunk remained straight and stable. The gentle support allowed the plant to strengthen itself while being protected from toppling. The American Horticultural Society (AHS) principles of “right plant, right place” were reinforced; I had now provided the “right support” for its environment.
Long-Term Care After Staking
Staking is not forever. The goal is to provide support while the plant develops its own structural strength.
- Regular Checks: Every month, inspect and loosen the ties. The trunk will thicken over time.
- Proper Rotation: Rotate your pot a quarter turn every time you water to ensure even light exposure and prevent phototropic leaning.
- When to Remove Stakes: You can consider removing the stakes in 6-12 months. Do a “wiggle test.” If the plant can stand upright on its own with minimal sway at the base, it’s ready. You might remove them one at a time over a few weeks.
Will staking hurt my Money Tree? No, if done correctly with soft, adjustable ties and by avoiding root damage. Improper staking with wire or tight string can girdle and damage the trunk. The method I used provides support while allowing for natural growth.
How long should I leave the stakes in? This depends on the plant’s growth rate. For a tall Money Tree, plan for at least one full growing season (6-12 months). The key is to provide support until the trunk thickens and the root system is fully re-established in its pot.
My Money Tree is still leaning even with a stake. What did I do wrong? The most common issue is stakes that are too short or not driven deeply enough into the pot. They should be anchored firmly in the soil and tall enough to support the leaning section. Also, ensure you have at least three stakes for 360-degree support, not just one on the leaning side.
Seeing my Money Tree standing tall, proud, and putting out new growth after its near-disaster is incredibly rewarding. The process of staking it properly was a lesson in patient, supportive care. It’s more than just tying a plant to a stick; it’s about understanding biomechanics, providing a framework for recovery, and giving your plant the confidence to grow strong on its own. With the right materials, a gentle touch, and some ongoing observation, you can save your tall Money Tree from toppling and enjoy its lush, upright beauty for years to come.





