admin
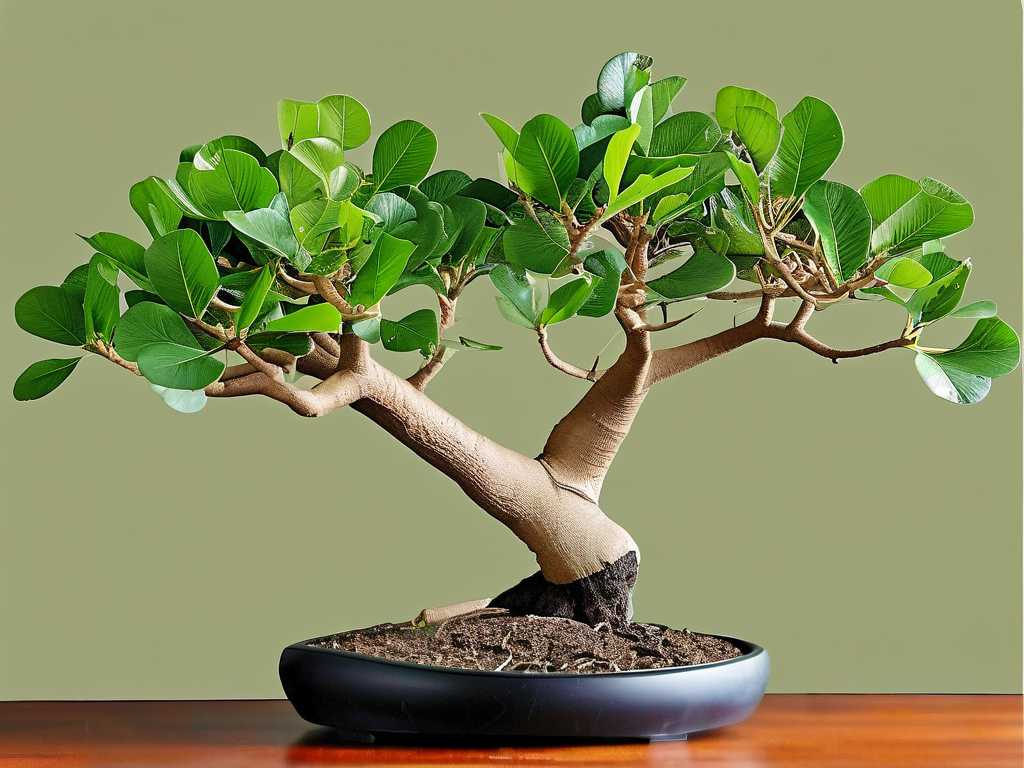
admin My Money Tree was thriving, a lush symbol of prosperity in my living room corner. But over time, I noticed a problem: several branches had turned dry, brown, and lifeless. They weren't just unsightly; they were sapping energy from the healthy parts of the plant. If you're wondering how to remove dead branches from a Money Tree, you've come to the right place. I'm a hands-on plant enthusiast, and after trying various methods, I've perfected a process that not only cleans up your plant but actively promotes vigorous new growth. This guide is the result of my own trial, error, and a dedicated two-week observation period to see what truly works.
Why Removing Dead Branches is Non-Negotiable for Plant Health
Let's be clear: dead or dying branches on your Money Tree aren't just a cosmetic issue. They are an open invitation for trouble. According to principles echoed by the American Horticultural Society (AHS), dead plant material can harbor pests and fungal diseases, which can then spread to the healthy stems and foliage. A dead branch is also a drain. Your plant continues to expend minimal resources trying to sustain it, resources that should be redirected to pushing out shiny new leaves.
I learned this the hard way. I once left a partially dead branch for too long, thinking it might recover. Instead, the dieback progressed further down the stem, and I spotted the first signs of fungus gnats around the soil. That was my wake-up call. Removing these branches is a crucial act of preventative care, a principle supported by responsible horticultural practice.
Your Essential Toolkit for the Job
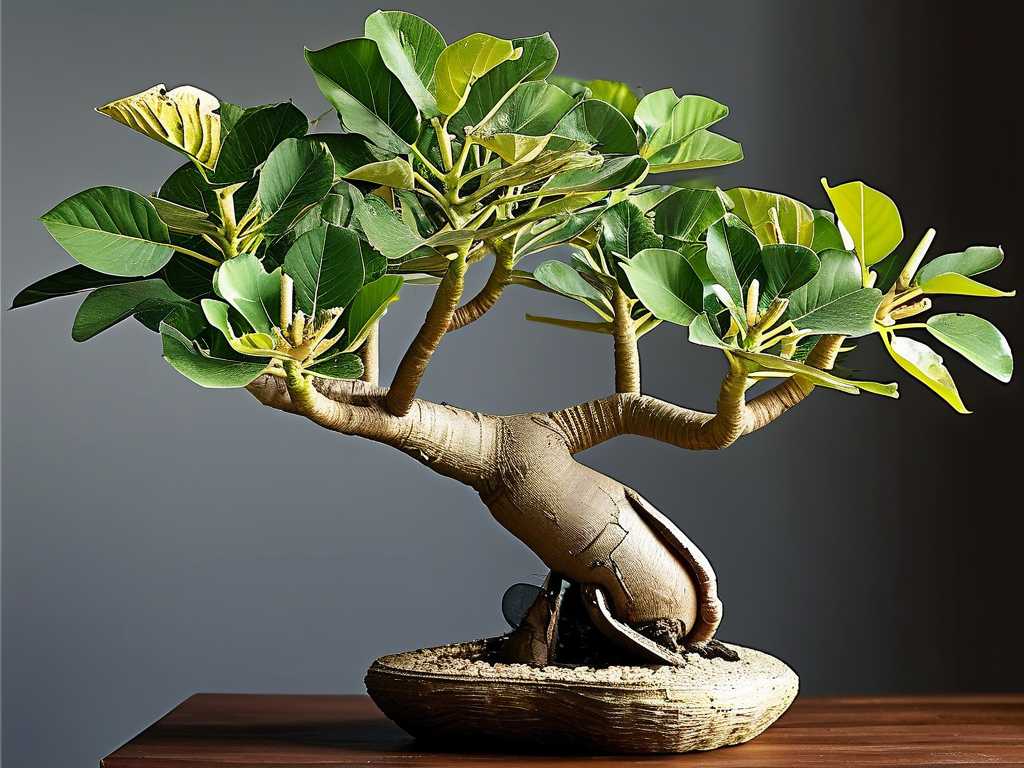
You don't need much, but using the right tools is 80% of the success. Using dull or dirty tools was my first big mistake.
- Sharp, Clean Pruning Shears: Bypass pruners are ideal for making clean cuts that heal quickly. I use a dedicated pair for my houseplants.
- Rubbing Alcohol & a Cloth: This is for sterilization. Wipe down your shears before you start and between cuts if you're removing diseased material.
- Ground Cinnamon (a natural fungicide): My favorite natural remedy for protecting fresh cuts.
- Gloves (Optional): Some people have mild skin sensitivity to Money Tree sap.
The Step-by-Step Guide to Pruning Dead Money Tree Branches
Here is the exact process I followed, which yielded fantastic results.
Step 1: The Critical Assessment – Identifying True Dead Wood
Not every brown twig is a lost cause. You must distinguish between dead, dying, and just dormant branches. A truly dead branch will be dry, brittle, and snap easily. The bark may be shriveled. A dormant bud or a branch that's just struggling might still be slightly pliable. The best way to remove dead branches from a Money Tree starts with the "scratch test." Gently scratch a tiny section of the bark with your fingernail. If you see green underneath, there's life. If it's brown and dry all the way through, it's time for removal.
Step 2: Strategic Cutting – Where and How to Make the Incision
This is where precision matters. Never cut flush into the main trunk or a healthy green branch. Your goal is to cut just above the "collar" – the slight raised ring where the branch meets another stem or the trunk. Cutting here allows the plant to seal the wound most effectively.
- Sterilize your shears with rubbing alcohol.
- Locate the branch collar near the base of the dead branch.
- Make a single, confident, clean cut at a slight angle, about 1/4 inch above that collar. Ragged tears from dull tools can lead to rot.
Step 3: Immediate Aftercare – Protecting the Wound
Right after making the cut, I lightly dust the exposed area with ground cinnamon. It's a fantastic, natural antifungal and antibacterial agent that helps seal the wound and prevent pathogens from entering. I avoided using commercial sealants, as many experts, including those from the Royal Horticultural Society (RHS), advise that trees heal best on their own when cuts are clean. The cinnamon simply gives them a protected start.
Step 4: Post-Pruning Plant Care
Your Money Tree has just had minor surgery. Its care for the next few weeks is vital.
- Watering: Maintain your normal watering schedule, but be extra vigilant against overwatering. The plant's water needs are slightly reduced with less foliage.
- Light: Provide bright, indirect light. This fuels the energy needed for healing and new growth.
- Hold the Fertilizer: Do not fertilize for at least 4-6 weeks post-pruning. Let the plant focus on recovery, not processing nutrients.
My 2-Week Observation Diary: What Actually Happened
I documented the process on my own braided Money Tree, which had three clearly dead smaller branches.
- Day 1-3: Immediately, the plant looked tidier. The cinnamon dried on the cuts, forming a thin protective layer. No oozing sap.
- Day 4-7: I inspected the cuts daily. No signs of browning, mushy texture, or mold. The plant otherwise looked stable.
- Day 8-14: This was the exciting part. Around Day 10, I noticed tiny, swollen bumps (buds) appearing on the healthy stems below where I had made the cuts. By the end of the second week, these buds had developed into small, bright green leaf nubs. The plant was clearly redirecting its energy to these new growth points. The process of removing dead limbs from a Money Tree had successfully stimulated it.
The Pitfalls I Encountered (And How to Fix Them)
My journey wasn't flawless. Here's where I stumbled so you don't have to.
-
The Pitfall: I initially used scissors that weren't sharp enough. This resulted in a crushed stem end that turned black and mushy after a few days.
-
The Solution: I re-sterilized my proper shears and made a second, clean cut further back, removing the damaged portion. I applied cinnamon, and the new cut healed perfectly. The lesson? Tool quality is non-negotiable.
-
The Pitfall: In my eagerness, I over-pruned a different plant in the past, removing too much living material at once. This shocked the plant, causing leaf drop.
-
The Solution: The proper technique for cutting off dead Money Tree branches is conservative. Never remove more than 20-25% of the plant's foliage at one time. If you have extensive dieback, stage the pruning over several months.
How to Encourage Lush Growth After Dead Branch Removal
Once your plant has healed, you can help it flourish. After my two-week observation, I ensured it had consistent warmth, adequate humidity from a pebble tray, and resumed a diluted, balanced fertilizer schedule after the one-month mark. The new growth from those buds has now become full-sized leaves, making the plant look bushier and more balanced than before.
Will cutting the dead branches hurt my Money Tree? No, if done correctly, it will help it. Removing dead tissue prevents disease and allows the plant to focus its resources on healthy growth. Think of it as removing a splinter to allow your finger to heal.
My Money Tree sap is slightly sticky after cutting. Is this normal? Yes, Money Trees can exude a mild, milky sap when cut. It's normal and not a cause for concern. Simply wipe it away gently with a damp cloth before applying your cinnamon dust.
How often should I check for and remove dead branches? Incorporate it into your regular plant care routine. I do a quick visual check every time I water. A thorough inspection and any necessary pruning are best done in the spring or early summer, during the plant's active growing season.
Seeing those vibrant green buds emerge after a careful pruning was incredibly rewarding. It transformed my Money Tree from a plant that was merely surviving with dead weight into one that is actively thriving. The process is straightforward but requires attention to detail: use sharp, clean tools, make precise cuts above the branch collar, protect the wound, and provide stable aftercare. By trimming dead branches off your Money Tree, you're not just tidying up; you're actively investing in its future health and beauty. Give your plant the fresh start it deserves.