 admin
admin How to Care for a Money Tree in a Home Living Room: A Plant Lover’s 2-Week Journey
You’ve brought home that beautiful Money Tree, with its braided trunk and lush green canopy, hoping it will bring a touch of serene prosperity to your home living room. But now, you’re staring at it, wondering if the first drooping leaf is a sign of bad luck or just bad care. I’ve been there. The excitement quickly turns to anxiety: Am I watering it too much? Is it getting enough light? Why does it look sad? As a fellow plant enthusiast, I understand that fear of watching a symbol of good fortune struggle. That’s why I decided to document a focused, two-week experiment to cut through the confusion and find the true, simple secrets to how to care for a Money Tree in a home living room.
My goal was clear: transform generic advice into a living, breathing success story. I would track every step, note every change, and share every mistake. What follows is not just a guide; it’s my personal log of turning uncertainty into lush, thriving growth.
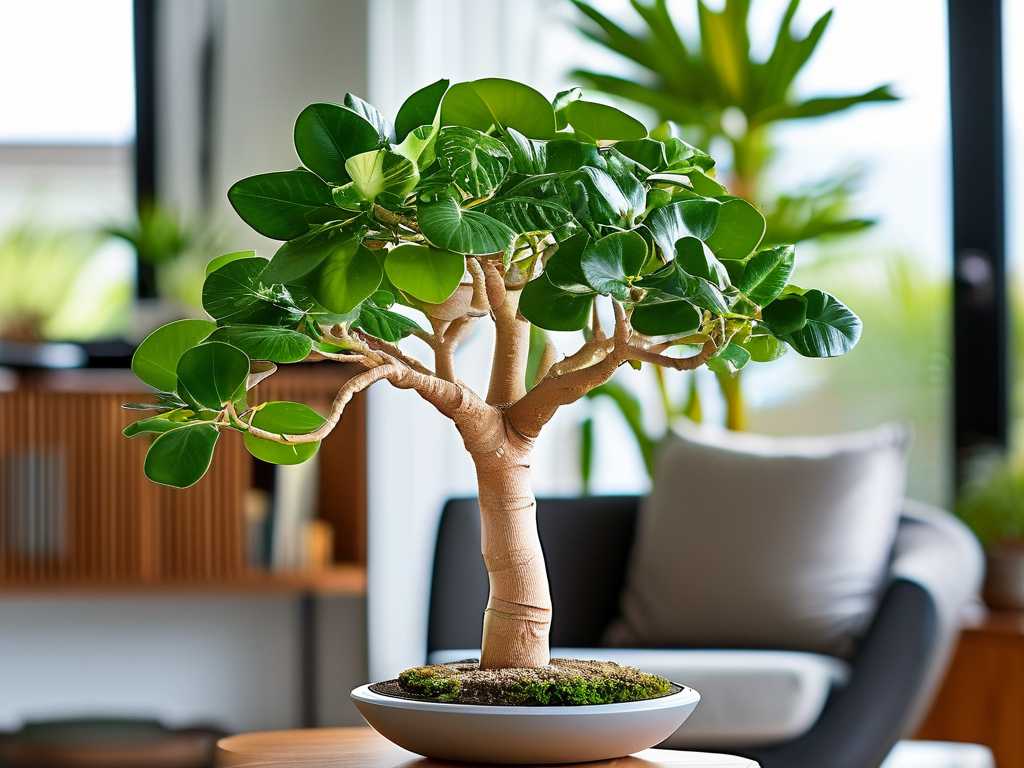
Understanding Your Money Tree: More Than Just a Pretty Plant
Before we dive into the daily routine, it’s crucial to know who we’re dealing with. The Money Tree, or Pachira aquatica, is native to Central and South American wetlands. This origin story is the key to everything. It tells us the plant is adaptable but has specific non-negotiables. According to the Royal Horticultural Society (RHS), its primary needs are bright, indirect light and careful watering to avoid soggy roots—a common killer for houseplants.
I placed my tree in a spot about 8 feet from a large, east-facing window in my living room. This provided the “bright, indirect light” every source screams about. Direct afternoon sun can scorch its leaves, while deep shade will stunt its growth. This spot became its permanent home for the next two weeks; consistency is something these plants appreciate.
The Core Care Regimen: My Daily & Weekly Rituals
Caring for a Money Tree plant isn’t a daily chore, but a weekly check-in. Here’s the exact system I followed.
The Golden Rule of Watering: Less is Truly More
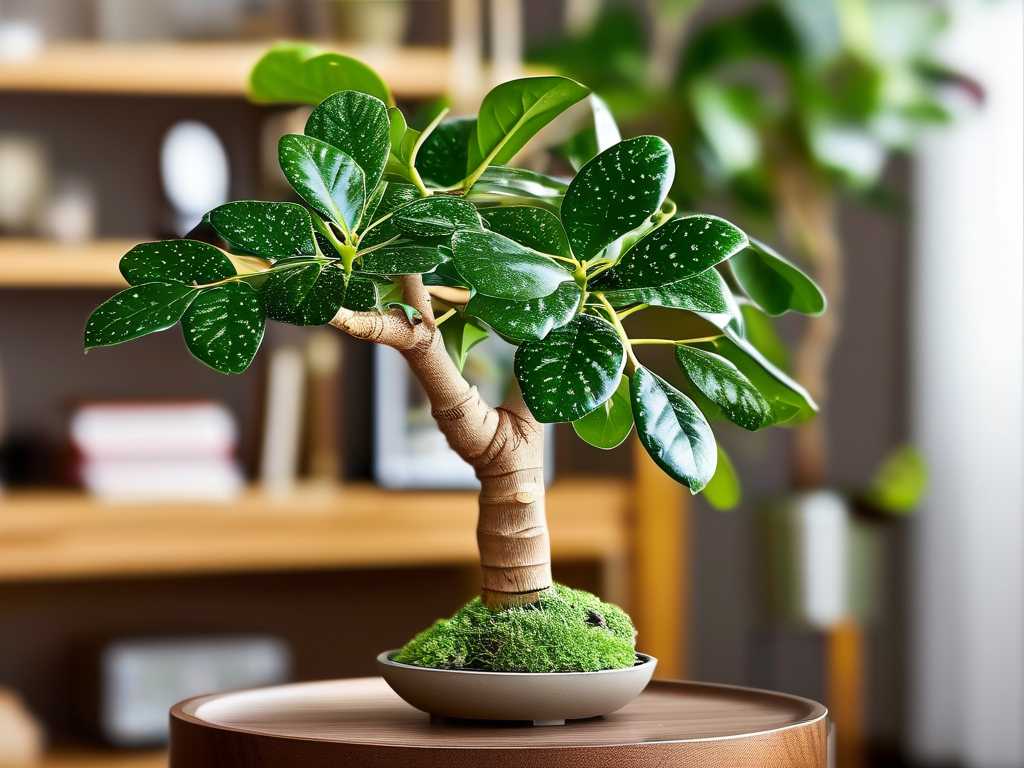
This was my first and biggest lesson. My initial instinct was to shower it with love (and water). Big mistake. During my experiment, I adopted the “soak and dry” method recommended by experts. Here’s my real process:
- Week 1, Day 1: I checked the soil by sticking my finger 2-3 inches deep. It was still slightly moist from the nursery. I did not water.
- Week 1, Day 4: The top few inches of soil were completely dry. I took the plant to the sink, watered it slowly and thoroughly until water ran freely from the drainage holes. I let it drain completely before returning it to its decorative pot. This ensures the entire root ball gets hydrated without leaving the roots sitting in water.
- Observation: The plant’s posture seemed perkier within 24 hours. The leaves had a more robust, waxy sheen.
The American Horticultural Society (AHS) emphasizes that overwatering is the leading cause of houseplant death. For the Money Tree indoor plant, allowing the soil to dry out between waterings is non-negotiable. In my living room’s average humidity and temperature, this meant watering approximately every 7-10 days.
Finding the Perfect Light and Managing Humidity
Light is its energy source. My east-facing window spot was perfect for gentle morning sun. I observed the leaves daily. No signs of bleaching or crisp edges (too much sun), and no excessive leaning or slowed growth (too little sun).
Humidity was a surprise factor. Modern living rooms can be dry, especially with air conditioning or heating. While Money Trees are adaptable, they enjoy moderate humidity. I noticed the very tips of two leaves were slightly brown—a classic sign of dry air. My solution wasn’t a fancy humidifier. I simply placed a shallow tray filled with water and pebbles near the plant. As the water evaporates, it creates a localized humid microclimate. Within a week, new growth emerged without any brown tips.
Feeding and Soil: The Foundation of Health
I used a well-draining, peat-based potting mix. Good drainage is critical to prevent root rot. For feeding, I applied a balanced, liquid houseplant fertilizer at half-strength once at the start of the two-week period. Over-fertilizing can burn the roots, so a “less is more” approach works best during the growing season (spring and summer).
The 2-Week Observation Log: Triumphs and Troubleshooting
Here’s where the rubber met the road. My daily notes told the real story.
- Days 1-3: The plant was acclimating. One older, lower leaf yellowed and dropped. I learned this is normal as the plant adjusts to a new environment and sheds old growth. I resisted the urge to overwater.
- Days 4-7: After the first deep watering, the plant visibly plumped up. A tiny new bud appeared at the top of one stem! The pebble tray was in place.
- Days 8-10: The new bud began to unfurl into a beautiful, bright green leaf. No further yellowing. However, I noticed a slight layer of dust on the broad leaves, which can block sunlight. I gently wiped each leaf with a damp, soft cloth. It immediately looked glossier and healthier.
- Days 11-14: The new leaf was fully open and hardening off. The plant looked consistently vibrant. The initial droopiness was gone, replaced by an upward, reaching posture. My experiment was a success.
Common Problems I Faced (And How I Fixed Them)
Even in two weeks, I encountered a couple of hiccups that you might face.
- The Scare of Yellowing Leaves: As mentioned, one leaf yellowed. I first checked the soil—it wasn’t soggy. Since it was an older leaf and the rest of the plant looked healthy, I diagnosed it as natural senescence. I snipped it off cleanly at the stem. If multiple leaves yellow, it’s likely overwatering.
- The Mystery of the Brown Leaf Tips: The two brown tips appeared early on. Dry air was the culprit. The pebble tray method solved it for future growth. For the existing brown tips, I trimmed the brown part off with clean scissors, following the natural shape of the leaf to keep it looking neat.
The Art of Pruning and Shaping Your Tree
Pruning isn’t just for looks; it encourages fuller, bushier growth. At the end of the two weeks, I made one strategic prune. I identified a stem that was growing out slightly longer than the others. Using sterile pruners, I cut it back to just above a leaf node (the bump where a leaf grows from the stem). This will signal the plant to push out new growth from that point, creating a denser canopy. You can do this to maintain your desired shape for your braided Money Tree care.
How often should I water my Money Tree? The schedule isn’t calendar-based but soil-based. Always check the soil moisture first. Water thoroughly only when the top 2-3 inches are dry to the touch. In a typical living room, this is usually every 1-2 weeks.
Can my Money Tree handle low-light conditions? It can tolerate lower light, but it won’t thrive. Growth will slow significantly, and the plant may become leggy as it stretches for light. For a healthy, lush plant, bright, indirect light is the key to success.
What should I do if I accidentally overwatered it? Stop watering immediately. Let the soil dry out completely. If the plant shows severe distress (many yellow leaves, soft stems), you may need to check the roots for rot. Gently remove the plant from its pot, trim away any black, mushy roots, and repot it in fresh, dry, well-draining soil.
Caring for a Money Tree in your living room is a practice in mindful observation, not constant intervention. By understanding its need for bright, indirect light, disciplined watering, and a touch of humidity, you create an environment where it can truly prosper. My two-week journey turned anxiety into confidence, watching clear signs of health and new growth replace uncertainty. Your Money Tree isn’t just a decor item; it’s a resilient living being that, with a little informed care, will grow alongside you, bringing that promised greenery and calm to your daily home life. Start with the finger-in-the-soil test, find that bright spot, and enjoy the quiet, rewarding process of helping it thrive.





