 admin
admin How to Avoid Root Bound Issues in Your Money Tree: A Plant Lover's Guide
I’ve been there. You bring home a beautiful, lush Money Tree (Pachira aquatica), full of promise for prosperity and greenery. For months, or even years, it thrives. Then, almost without warning, the growth slows to a crawl. Leaves might turn yellow and drop, water seems to run straight through the pot, or the plant becomes top-heavy and unstable. The culprit? A silent, hidden problem beneath the soil: your Money Tree is root bound. This was the exact frustrating scenario I faced with my own beloved plant, "Fortune." Determined to save it, I embarked on a two-week rescue mission that taught me everything about preventing and fixing this common issue.
Understanding and avoiding root bound conditions is crucial for the long-term health of your Money Tree. When roots circle endlessly in a confined space, they can’t access the nutrients, water, and oxygen they need. It’s like trying to live and grow while wearing shoes three sizes too small. In this guide, I’ll walk you through the clear signs to watch for, my step-by-step repotting process, the critical two-week recovery observation, and the preventative care that will keep your plant thriving for years to come.

Recognizing the Signs: Is Your Money Tree Crying for Help?
Before you take any action, you need a proper diagnosis. Root bound issues don't happen overnight; they develop slowly. I missed the early signs with Fortune, so learn from my mistake. Here’s what to look for.
The most obvious signal is slowed or completely stunted growth. Even during the spring and summer growing seasons, a root bound plant simply has no room to expand. You might also notice that water drains far too quickly during watering, pooling immediately in the saucer without being absorbed. This happens because the root mass has displaced most of the soil, leaving little material to retain moisture.
Check the physical structure of the plant. Does it wobble excessively or seem to lift out of the pot easily? A severely root bound plant can become pot-bound, where the roots hold the shape of the container. Peek at the drainage holes. If you see roots snaking out, that’s a definitive red flag. As noted by the Royal Horticultural Society (RHS), roots emerging from drainage holes are a classic indicator that repotting is necessary for the plant's continued health.
The Rescue Mission: A Step-by-Step Guide to Repotting
Once I confirmed Fortune was root bound, I gathered my supplies: a new pot only 1-2 inches larger in diameter, fresh well-draining potting mix (I used a blend for tropical plants with added perlite), pruning shears sterilized with rubbing alcohol, a trowel, and newspaper for the mess. Choosing the right pot size is critical—going too large can lead to overwatering and root rot.
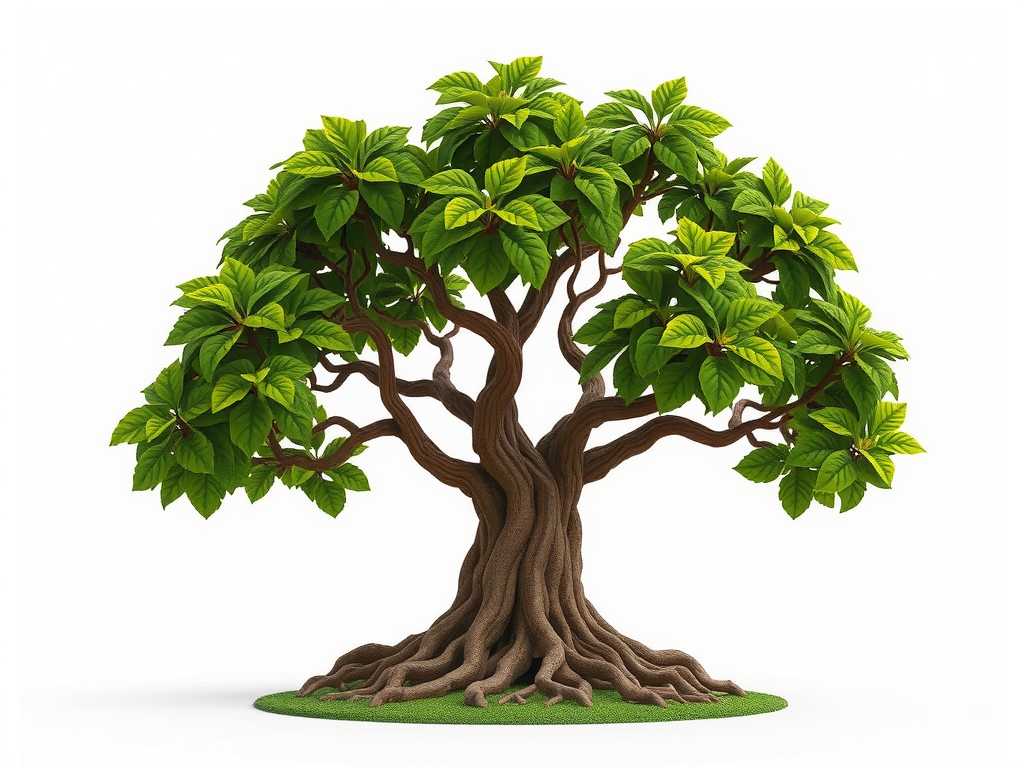
Step 1: The Gentle Extraction I watered Fortune lightly the day before to reduce stress. On repotting day, I tipped the pot sideways and gently coaxed the plant out. I had to tap and squeeze the nursery pot firmly. When it finally emerged, the root system was a tight, tangled web circling the bottom and sides. The soil was barely visible.
Step 2: Root Inspection and Pruning This is where many plant parents, including myself initially, get nervous. But careful root pruning is a healthy practice. I used my fingers to gently loosen the outer layer of the root ball. For the thicker, matted roots, I used my sterilized shears. The American Horticultural Society (AHA) advises pruning up to one-third of the root mass for severely pot-bound plants to stimulate new growth. I carefully untangled and trimmed the circling roots, making clean cuts. This process encourages the roots to grow outward into the new soil instead of continuing their circular pattern.
Step 3: Preparing the New Home I placed a layer of fresh potting mix in the bottom of the new pot. The goal is to set the plant so the top of its root ball sits about an inch below the pot’s rim. I centered Fortune, ensuring it was upright, and began filling in the spaces around the sides with more mix, gently tamping it down to eliminate large air pockets.
Step 4: The First Critical Watering After repotting, I gave Fortune a thorough, deep watering until it flowed freely from the drainage holes. This helps settle the soil around the roots. I then placed it in a location with bright, indirect light—avoiding direct sun, which would add transplant shock to its list of stresses.
The Critical Two-Week Recovery: Observation and Adjustment
The work wasn’t over after repotting. The following two weeks were a period of vigilant observation. This is the phase where you learn if your intervention was successful.
Days 1-3: The Adjustment Period Fortune looked a little droopy and sad for the first few days. This is normal transplant shock. I resisted the urge to overwater or fertilize. I simply ensured the soil stayed lightly moist and the environment was humid. I kept a close eye on leaf condition.
Days 4-10: Signs of New Life Around day five, I noticed the drooping had stopped. The existing leaves perked up. By day ten, to my absolute delight, I spotted tiny, bright green buds forming at the stem nodes. This was the ultimate sign of success—new growth! The root system was clearly taking advantage of its new space.
The Pitfall I Encountered and How I Fixed It Here’s where I hit a snag. Around day seven, a few lower leaves developed small brown spots. I panicked, thinking it was disease. After researching, I realized it was minor leaf burn from residual stress and possibly from getting the leaves too wet during watering. I adjusted my watering technique to target the soil directly, removed the two most affected leaves, and increased air circulation around the plant. The issue stopped spreading immediately.
Days 11-14: Established Recovery By the end of the second week, Fortune was visibly happier. The new buds were developing into proper leaves, and the plant felt firmly anchored in its pot. I considered the recovery phase complete and knew I could soon resume a regular care routine.
Preventative Care: How to Stop Root Bound Issues Before They Start
The best cure is prevention. My experience taught me to be proactive.
First, adopt a regular inspection schedule. Every 6-12 months, gently slide your Money Tree out of its pot during the growing season to check root development. Don’t wait for visible distress. Second, repot proactively, not reactively. If you see roots beginning to circle, plan a repot for the upcoming spring. Third, always use a well-draining soil mix and a pot with adequate drainage holes. This promotes a healthy root environment from the start.
Finally, understand that a slightly snug pot is okay, but a constricting one is not. Your goal is to manage the plant's growth, not strangle it.
Your Questions, Answered
How often should I repot my Money Tree to prevent it from becoming root bound? Generally, young, fast-growing Money Trees may need repotting every 1-2 years. Mature plants can often go 2-3 years or longer. The best method is the annual check I mentioned. Let the root growth, not the calendar, be your primary guide.
Can I fix a root bound Money Tree without repotting? For a mildly root bound plant, root pruning and placing it back in the same pot with some fresh soil (a process called root pruning) can buy a little time. However, for long-term health, moving to a slightly larger pot is the most effective solution. My plant was too far gone for the former method.
What is the best type of pot for a Money Tree? Both ceramic and plastic pots work, provided they have drainage holes. Terracotta is excellent for its breathability, which helps prevent overwatering. I chose a glazed ceramic pot for my repotted Money Tree because it was heavier, providing stability for the top-heavy plant, and still had a large drainage hole.
Watching my Money Tree bounce back from being root bound was incredibly rewarding. It went from a stagnant, struggling specimen to a vibrant, growing plant in just a fortnight. The key is attentive observation, timely action, and understanding that the health of what’s above the soil is entirely dependent on the health of what’s below. By learning the signs, mastering the repotting process, and committing to preventative care, you can ensure your Money Tree avoids the confines of being root bound and enjoys a long, prosperous, and healthy life in your home.





