 admin
admin How to Treat Money Tree Pest Damage on New Emerging Leaves
If you’ve spotted tiny holes, sticky residue, or webbing on the fresh, shiny leaves of your money tree, here’s the straight answer: isolate the plant immediately, snip off the most damaged new growth, and treat with a 70% isopropyl alcohol spray or insecticidal soap every 3 days for 2 weeks.
I learned this the hard way after my beloved Pachira aquatica nearly lost all its new foliage to a spider mite invasion. I’ve been growing these braided beauties for years, and honestly, I still panic when I see that first sign of trouble on a tender new leaf. But over time, and after countless failures, I’ve nailed down a routine that actually works. In this guide, I’m sharing exactly what I did, the mistakes I almost made, and the two-week recovery plan that saved my tree.
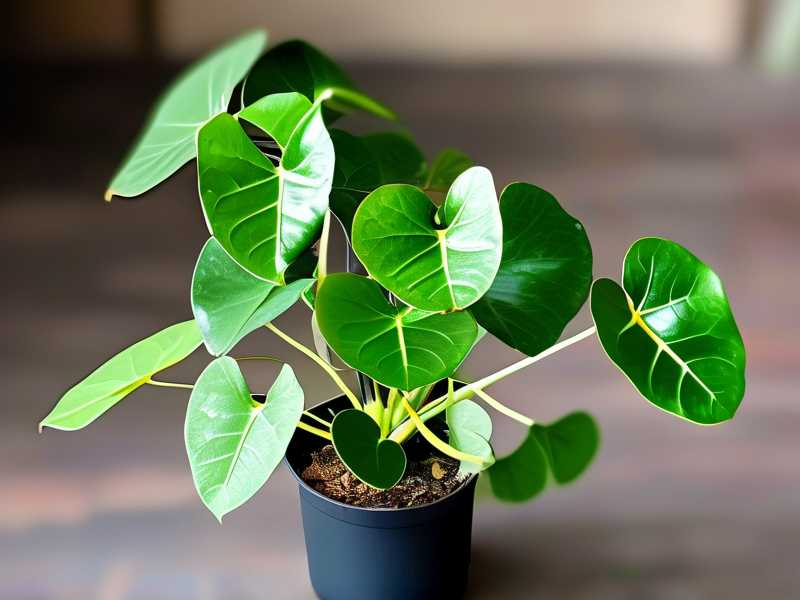
Why Pests Love New Emerging Leaves So Much
New leaves on a money tree are soft, succulent, and packed with sap. That’s basically a gourmet buffet for pests like spider mites, aphids, and scale. The plant pushes out this delicate growth in spring and summer, and I’ve noticed that if the humidity is too low, the tree becomes even more vulnerable. These pests pierce the cell walls and suck out the chlorophyll. That’s why you see stippling, tiny yellow dots, or curling on those brand-new leaves before they even have a chance to harden off.
I used to think pests only hit struggling plants. Wrong. I’ve had a perfectly healthy money tree get attacked within a week of bringing it indoors from a summer porch. The pests rode in on the breeze or hitched a ride from another plant. So, early detection is everything. Look at the newest leaves first, every single time you water.
My 2-Week Treatment Plan That Actually Worked
I’m not a scientist, but I follow what the RHS suggests for houseplant pest control. They recommend physical removal first, then targeted sprays. Here’s my exact step-by-step process, which I did for 14 straight days.
Week 1: The Aggressive Attack Phase
First, I moved the tree into my bathroom. Why? Because it’s easier to rinse off the pests without making a mess, and the humidity helps. I used lukewarm water and blasted the undersides of every leaf, especially the new ones. This knocked off a ton of adult mites and aphids. I waited about an hour for the leaves to dry. Then, I mixed a solution of 1 cup water, 1 teaspoon of mild dish soap, and 1 teaspoon of rubbing alcohol. I tested it on one single leaf first. Wait 24 hours if you can. But I was impatient, so I just sprayed the whole canopy, making sure to coat the crevices where the petioles meet the stem.
I repeated this every single morning for the first 7 days. I skipped a day on day 4 because I was busy. Big mistake. The pests came back on day 5 with a vengeance. Honestly, you cannot skip a day during week one. I learned that the hard way. After the spray, I gently wiped each new leaf with a soft cloth. This is tedious, but it physically removes the eggs, which the spray often misses. I saw the most significant drop in live pests on day 6, but I didn’t stop there.
Week 2: The Maintenance and Recovery Phase
During the second week, I switched to a 5-day spray schedule instead of daily. I sprayed on day 8, day 11, and day 14. This broke the life cycle of the spider mites, which typically hatch every 3-5 days. I also started giving the plant a diluted liquid fertilizer (half strength) on day 10. The new leaves were looking pale. The stress from the pest attack had stunted them. The extra nitrogen helped push out greener growth.
On day 14, I examined the new emerging leaf in the center. It was finally expanding without any holes or distortion. The stippling on the older new leaves stopped spreading. I checked the soil. It was still slightly moist. I waited two more days before watering again. Honestly, the urge to "flush" the plant with water is strong, but I resisted. 90% of indoor plants die from overwatering, and pests stress the roots, making them more susceptible to root rot.
Step-by-Step Visual Guide to the Cleaning Process
Let me break it down into simpler actions, because technique matters.
- Inspect with a Magnifier: I use a jeweler’s loupe. Spider mites are tiny, almost like dust. If you see fine webbing in the crotch of the stems, that’s them.
- Prune the Worst Offenders: I cut off the top 1-2 leaves if they were completely brown or shriveled. I used clean, sharp scissors. I dipped them in alcohol between cuts. Do not compost these leaves. Throw them in the trash bin outside.
- Clean the Pot and Saucer: I wiped down the outside of the pot with a bleach solution. Pests love hiding on the rim and in the saucer. I also checked the bottom drainage holes for scale insects.
The 3 Terrible Mistakes That Kept Killing My Money Tree
I’ve literally killed more money trees than I care to admit. I probably killed my third one just by treating it wrong. Here are the fatal errors I’ve made, so you don't have to.
Mistake #1: Watering Excessively During Treatment
I thought that drowning the soil would wash away any pests in the root zone. I was wrong. The soil stayed soggy for a week. The roots suffocated. The new leaves turned yellow and dropped off even faster than the ones with pest damage. The AHS advises that healthy plants withstand pest pressure better than stressed ones. A waterlogged root system is the ultimate stressor. I learned to keep the soil on the drier side, letting the top inch dry out completely before watering again during treatment.
Mistake #2: Placing the Plant in Direct Sunlight After Spraying
This is a classic blunder. I sprayed my plant with oil-based soap and left it in a south-facing window. The sun magnified the oil droplets like a prism. Within hours, those beautiful new leaves had burnt brown patches. Ouch. That was a painful lesson. Always let the plant dry in a shady, well-ventilated spot for at least a few hours. I now keep it in bright, but indirect light for the entire 2-week treatment period.
Mistake #3: Using the Wrong Potting Mix or Pot Type
My first money tree was in a massive decorative ceramic pot with no drainage hole. That’s an automatic death sentence. The water pooled at the bottom, and fungus gnats took over. Those gnats don't directly kill the leaves, but they weaken the roots. Then the spider mites finished the job. I switched to a plastic nursery pot inside the decorative pot. This allows water to drain out completely. I also mixed in extra perlite to the soil for better aeration. The roots need to breathe to support new leaf growth. I’ve learned that the pot needs to be just 2 inches wider than the root ball. Too big a pot means too much water retention.
Diagnosing the Specific Pest On Your Tree
Not all damage looks the same. You gotta know what you’re fighting.
- Spider Mites: Look for fine, silky webbing and tiny yellow or white speckles. They love the newest leaves. In severe cases, the leaf edges turn bronze.
- Aphids: These are pear-shaped, green or black insects. They cluster on the stems and the underside of new leaves. You’ll see a sticky substance called honeydew.
- Scale: These look like tiny brown bumps or shells stuck to the stems and leaf veins. They don’t move much. The new growth might look stunted and sticky.
I had a scale infestation once. I tried spraying with soap for three weeks with no luck. The waxy shell protects them. I had to physically peel them off with my fingernail. It was gross, but it worked better than any chemical.
Why RHS Guidelines Matter for New Growth
I always check the RHS website when I’m unsure. They emphasize that good cultural care is the first line of defense. They suggest that you should "syringing" the plant, which means spraying with clean water to dislodge pests. I did this first before applying any chemicals. This immediate reduction in pest numbers is crucial. It gives the plant a fighting chance. They also warn against overusing systemic pesticides, especially on edible plants, but money trees are decorative, so it's less of a concern. Still, I stick to soap and alcohol because I have pets.
Will The New Emerging Leaves Grow Back Normal?
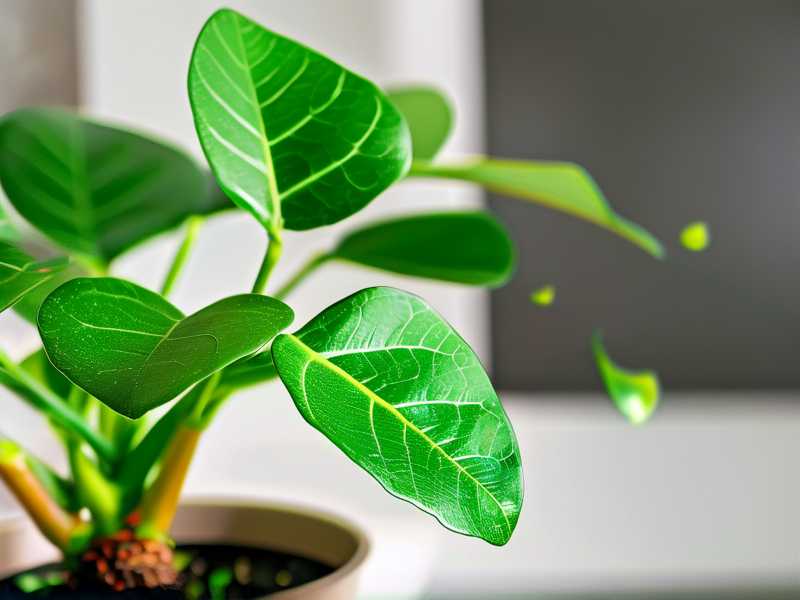
This is the most common question I got from my readers. In my experience, after two weeks of consistent treatment, the newest leaf that emerges will start to look normal. The leaves that were damaged during the attack will never heal. They will have scars. Those scars are permanent. So, if the distortion is really ugly, cut the leaf off. The plant will redirect energy to new growth.
I remember one particular leaf that was so twisted and wrinkled it looked like a wad of paper. I left it on for a month, but it just looked sad. Eventually, I cut it off, and within two weeks, a perfect, flat, glossy leaf emerged. That’s the reward. Actually, I snapped a photo of it. It felt like winning the lottery.
My Daily Maintenance Routine
To prevent this from happening again, I incorporated a few simple habits.
- Weekly Wipe Down: I take a damp cloth and wipe the top of every leaf once a week. This removes dust and discourages spider mites.
- Humidity Boost: I keep a small pebble tray with water under the pot. The evaporation creates a micro-climate that mites hate.
- Inspect Before Watering: Every time I water (about every 10 days in summer), I flip the leaves over and look at the stems. It takes 30 seconds. It saves me months of headache.
When To Give Up And Propagate
Listen, I love my plants, but sometimes we get it wrong. If more than 70% of the foliage is brown and the new leaves are immediately dying, it might be time to cut your losses. But don't throw the whole plant away. I've successfully cut off the healthy top portion of the stem and propagated it in water. The roots grow quickly, in about 3 weeks. This gives you a completely clean plant, free of pests, without having to buy a new one. This is a pro-move that I wish I had known earlier.
FAQ Section
Q1: Can I use neem oil on money tree new leaves? Yes, but use it cautiously. Neem oil is effective, but it can cause leaf burn if applied in direct sunlight or if the temperature is above 85°F (29°C). I prefer to use it in the evening. I also make sure to mix the solution exactly as directed. Too much neem oil can actually block the leaf’s pores (stomata). For new leaves, I actually prefer insecticidal soap because it’s less risky and easier to wash off.
Q2: Why are my new leaves turning black and falling off? This is usually not a pest but a fungal issue, often linked to overwatering. If you’ve been spraying the plant heavily, the water might be pooling in the center crown of the tree. That causes rot. Gently dab the center to dry it out. Also, check the roots. If they are mushy, you have root rot. Cut away the rotten parts and repot in fresh, dry soil. Pests usually cause holes or yellowing, not black mush.
Q3: How often should I water my money tree while treating for pests? This is tricky. You want to water to keep the plant alive, but you don’t want to flush the insecticide through the soil too quickly. I watered my tree on the morning of day 8, right before I sprayed. This way, the soil was already moist enough that the roots were fine, but I wasn't soaking it every day. Let the top 2 inches of soil dry out completely before you water again. Don’t stick to a strict schedule. Stick to the soil’s dryness.
Final Bit of Wisdom
I’ve been doing this for a long time. I’ve had years where my money tree was just a stick in a pot. Then, magically, it bounced back. The secret is consistency and patience. Don’t get lazy with the treatment. You have to complete the full two-week cycle. And don't feel bad if you lose a few leaves. It happens to the best of us. I have a few yellowed, scarred leaves on my tree right now that remind me to check for bugs every week. The plant is thriving now, pushing out three new leaves this month alone. Just keep at it. You’ll get there. don't forget to check those little spiders.





