 admin
admin How to Identify Early Webbing From Spider Mites on Young Money Trees
You will not see the mites first. You will see the webbing. That tiny, silky strand under a leaf joint is the earliest red flag. It shows up before any yellow stippling appears. And on a young Money Tree, that webbing means the plant is already fighting for its life. I missed it for two weeks once, and I lost a gorgeous 4-stem braided tree because of it. Do not repeat my mistake.
I have kept Money Trees for years. I have propagated them, neglected them, and revived them. But I also killed my fair share. The truth is, spider mites are sneaky. They hide on the underside of leaves. They spin webs that look like dust at first glance. And by the time you see visible damage, the population has exploded. That is why early identification is everything.
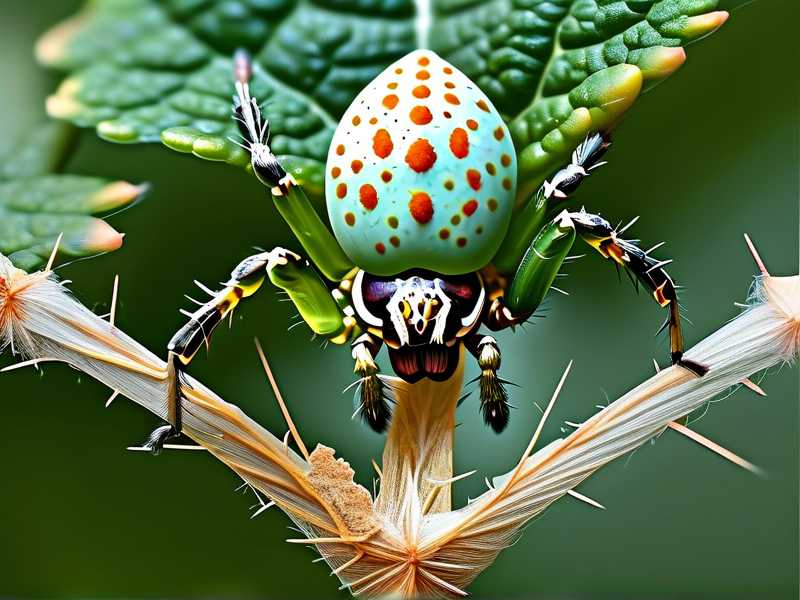
Most people think webbing appears on the top of the leaves first. Nope. It starts low. It starts near the stem. It starts in the crevices where the leaf petiole meets the main trunk. I check those spots every single time now. And honestly, I recommend you do the same.
The First 48 Hours: What You Need to Look For
Let me give you the direct answer. In the first two days of an infestation, you will notice three things. One, faint webbing on the underside of new growth. Two, a slight speckled look on the top leaf surface. Three, tiny moving dots if you hold a magnifying glass up to the leaf. The webbing is the easiest to spot if you know where to look.
I use a cheap jeweler’s loupe. It costs about ten bucks. And it changed everything for me. Without it, spider mites are almost invisible to the naked eye. They are less than a millimeter long. But their webs are not. The webs catch light. If you mist your plant, you will see water droplets trapped in those fine strands. That is a dead giveaway.
Here is a trick I learned after killing my second Money Tree. Take a white piece of paper. Hold it under a leaf. Tap the leaf gently. If tiny reddish-brown specks fall onto the paper and start moving, you have spider mites. The webbing on the plant itself is just the confirmation.
Why Young Money Trees Are More Vulnerable
I have noticed something important. Mature Money Trees can shrug off a small mite population. Young ones cannot. The leaves are softer. The cell walls are thinner. The plant has not built up enough resilience yet. So when mites puncture those cells to feed, the damage spreads faster.
A young Money Tree also has less surface area. That means fewer places for mites to hide, but it also means the mites concentrate in one small zone. They crowd together. They spin more webbing per square inch. And that webbing is easier to spot if you check daily.
I remember my third plant. It was a single-stem cutting I had rooted in water. I transferred it to soil in early spring. Within three weeks, I noticed a faint white film on the newest leaf. I thought it was dust. I wiped it off. It came back the next day. That was my first clue. If dust comes back overnight, it is not dust. It is webbing.
The Three Deadly Mistakes New Growers Make
I have to be blunt here. Most new Money Tree owners kill their plants without ever realizing how. And these mistakes make mite infestations worse. Much worse.
Mistake One: Watering Too Much
Overwatering is the number one reason indoor plants die. In fact, 90% of indoor plants die from overwatering. I know this because I did it myself. I thought I was helping. I watered my young Money Tree every two days. The soil stayed soggy. The roots got weak. And weak roots make the leaves more susceptible to mite feeding. The plant could not defend itself.
You want the top two inches of soil to dry out completely before you water again. Stick your finger in the dirt. If it feels damp, walk away. Do not water. I check my young trees every four days now. And I water only when the pot feels light when I lift it.
Mistake Two: Getting the Light Wrong
Money Trees love bright, indirect light. They hate direct afternoon sun. I learned this the hard way. I placed my young tree on a south-facing windowsill. The leaves got scorched. The scorched areas looked like mite damage. I treated for mites when I did not even have them. Then I grew complacent. When real mites showed up a month later, I almost ignored them because I thought it was sunburn again.
Bright, indirect light actually helps prevent mites. Healthy plants produce thicker cell walls. Thicker walls are harder for mites to pierce. So place your tree near a window with a sheer curtain. Keep it a few feet away. And rotate the pot a quarter turn every time you water. That ensures even growth on all sides.
Mistake Three: Using the Wrong Pot
This one surprises people. But the pot matters as much as the soil. I used to grow my Money Trees in decorative pots with no drainage holes. I thought it looked nicer. But water pooled at the bottom. The roots sat in moisture. The plant stressed out. And stressed plants release chemicals that actually attract spider mites. It is a biological signal. I did not know that back then.
Use a plastic nursery pot with drainage holes. Then slip it inside your decorative pot. That way, you can lift the inner pot out, check for moisture, and let it drain properly. A pot that is too large is also a problem. Too much soil holds too much water for a young root system. The pot should be only one to two inches larger in diameter than the root ball.
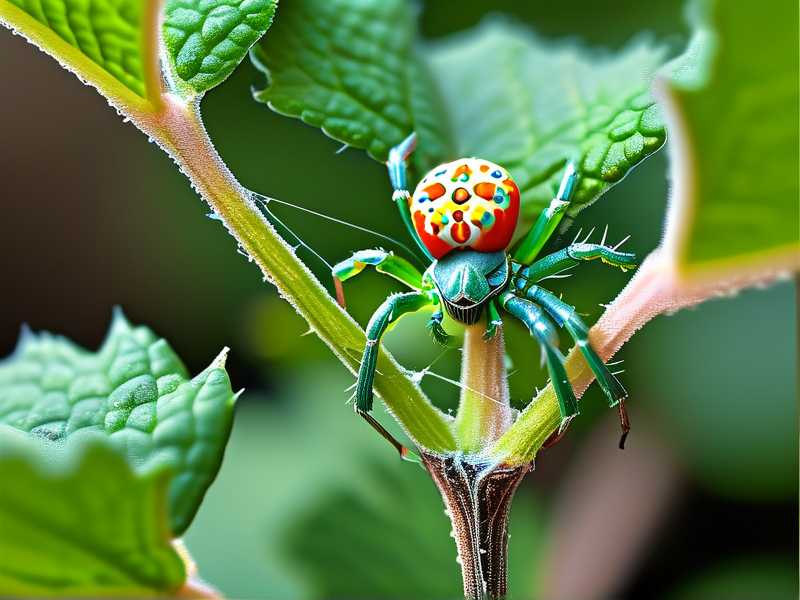
My Detailed 2-Week Observation Plan
Last spring, I tested a strict observation routine on a young Money Tree. I wanted to see how quickly I could catch and treat mite webbing. Here is exactly what I did, and the results surprised me.
Week One, Days One to Three
On day one, I examined the plant with my jeweler’s loupe. I checked the undersides of every leaf. I looked at the leaf axils, where the leaf meets the stem. I found nothing on day one. On day two, I misted the plant lightly. I noticed a single strand of web near a lower leaf joint. It caught the water droplets. I marked the spot with a small piece of tape on the pot.
On day three, I looked at that marked spot again. The webbing had expanded slightly. It was still faint, but it was clearly there. I also saw two tiny pale dots on the leaf underside that had not been there the day before. This told me I had caught the infestation very early, possibly within the first week of mite activity.
Week One, Days Four to Seven
On day four, I started treatment. I mixed a solution of one teaspoon of mild dish soap and one liter of water. I sprayed the entire plant, focusing on the undersides and the webbed area. I wiped the webbing off with a damp cloth first. Then I sprayed. I made sure the plant was in a shaded spot while the spray dried.
On day five, I checked again. The webbing was gone from that spot. But I found new, very faint webbing on a new leaf. I realized my spray did not reach every crevice. That is when I learned to spray from underneath, not just from the top. The mites hide on the underside, and the spray must hit them directly.
On days six and seven, I continued the daily spray routine. I also increased humidity. I placed a shallow dish of water near the plant and grouped it with two other houseplants. Mites hate humidity above 60 percent. My home is dry, around 35 percent, so I needed the boost. By the end of week one, I saw no new webbing on the leaves I had treated.
Week Two, Days Eight to Ten
On day eight, I stopped spraying for a day. I wanted to see if any mites survived. I checked every leaf with the loupe. I found no active mites. But I did find a small patch of old webbing in a leaf axil that I had missed. It was dry and empty, but it showed me that my coverage was not thorough enough.
On day nine, I switched to a more thorough application method. I used a cotton swab dipped in rubbing alcohol to dab the leaf axils directly. This got into the crevices that spraying missed. I also pruned off two bottom leaves that looked a bit stressed. Pruning those leaves removed potential hiding spots for mites.
On day ten, I checked the plant again. Everything looked clean. The new growth was unfurling without any stippling. I was cautiously optimistic, but I knew the mistake I made on my first plant was stopping treatment too early.
Week Two, Days Eleven to Fourteen
On day eleven, I resumed a preventative spray schedule. I used the soap solution every three days instead of daily. I also continued the humidity tray. I checked the surrounding plants too, because mites spread easily. All of them were clean.
On day twelve, I inspected the soil surface. Mites can fall off leaves and live in the top layer of soil. I saw nothing unusual. I sprayed the soil surface lightly with the soap solution anyway.
On day thirteen, I saw a single speck moving on a leaf. I panicked. But upon closer look, it was a springtail, not a spider mite. Springtails are harmless, and they actually help decompose organic matter. I let it be.
On day fourteen, I did a final full inspection. No webbing. No moving specks on the white paper test. No stippling on new leaves. The plant looked healthier than it had two weeks prior. I felt relieved, but I also knew that mites can hide in the soil or in nearby plants, so I committed to a weekly check from then on.
What I Learned From Killing My First Two Money Trees
My first Money Tree died because I confused mite webbing with dust. I wiped the leaves once, saw the webbing come back, and assumed the plant was just dusty. By the time I investigated with a loupe, the leaves were covered in fine webs and the plant had lost half its foliage. It was too late.
My second Money Tree died because I treated once and stopped. I sprayed the plant, saw the mites disappear, and thought I was done. A week later, the eggs hatched. The mites came back with a vengeance. That is why you must treat for at least two weeks, even if you see no active mites after day three. The eggs are not killed by most sprays. They hatch on their own timeline.
I also learned that isolation is crucial. When I found mites on my third plant, I immediately moved it to a separate room. That prevented the infestation from spreading to my other houseplants. I kept it isolated for a full three weeks, even after the mites were gone. That extra week was my insurance policy.
The Role of Humidity and Temperature
Spider mites love dry, warm conditions. They thrive in temperatures between 68 and 85 degrees Fahrenheit with humidity below 50 percent. Your average heated home in winter is a perfect breeding ground. I saw this firsthand last winter, when my mite problem peaked right after the heating season started.
I now keep a small humidity monitor near my plants. It costs about fifteen dollars. I aim for 55 to 65 percent humidity during the winter months. I use a cool-mist humidifier set to low, placed a few feet from the Money Tree. You do not want water sitting on the leaves all night, as that can promote fungal growth. But a gentle ambient humidity is excellent.
The experts at the Royal Horticultural Society (RHS) actually note that regular misting can help deter spider mites, though it is not a cure. They emphasize that a healthy plant is less prone to attack. This aligns with what I have seen. My neglected, dry plants get mites. My well-cared-for plants rarely do.
How to Inspect Your Money Tree Correctly
You need a routine. I do mine every Sunday morning, with my coffee in hand. I take the plant out of its decorative pot and set it on a table. I use my loupe and a white sheet of paper.
Step one is the paper test. I hold the paper under each leaf and tap with my finger. I look for moving specks. If I see any, I know I have mites. Step two is the webbing check. I scan all leaf undersides, leaf axils, and the stems. I look for faint, silky strands. Step three is the stippling check. I look at the top surfaces for tiny pale dots, almost like a very fine speckling. Step four is the new growth check. New leaves should be smooth and uniform in color. If they look slightly puckered or dull, I investigate further.
I do this every single week. It takes less than five minutes. And it has caught two infestations early in the past year. Both times, the plants were fully recovered within a month.
The White Paper Test Explained
Let me explain this test more clearly. Take a blank white sheet of printer paper. Place it flat under a suspect leaf. Hold the leaf stem with your other hand. Gently tap or flick the leaf about five or six times. Do this with enough force to dislodge mites but not enough to damage the leaf.
Then wait about ten seconds. Look at the paper closely. Spider mites are tiny, but they are visible against white. They look like small moving specks, often reddish or pale yellow. If you see them, you have a problem. If you see nothing, wipe the leaf and move on.
I also use this test for prevention. Once a month, I tap a few random leaves just to confirm nothing is lurking. It gives me peace of mind.
What to Do If You Confirm Mites on Your Young Tree
Okay, so the paper test was positive. What now? Do not panic. Your plant can be saved, especially if you caught it early.
First, isolate the plant. Move it to a different room. Second, take it to the sink or shower. Rinse the plant with lukewarm water. Use a spray nozzle if you have one. The goal is to knock off as many adult mites as possible. Cover the soil with a plastic bag to prevent water from saturating it too much.
Third, prepare a soap spray. I use a mix of one teaspoon of mild liquid dish soap per liter of water. Do not use laundry detergent or any heavy-duty cleaner. Those will strip the leaves of their natural waxy coating. Spray the entire plant, especially the undersides. Wait ten minutes, then rinse with plain water.
Fourth, use a cotton swab dipped in rubbing alcohol to target the leaf axils and crevices. This kills any stray mites and their eggs on contact. But do not soak the leaves in alcohol, as it can cause leaf burn.
Fifth, repeat this process every three days for two weeks. Even if you see no mites after day six, keep going. Remember that eggs hatch on their own schedule. The two-week window covers most of the egg cycle.
The American Horticultural Society (AHS) also highlights the importance of cultural controls. Their guidance is that adjusting the growing environment, like humidity and watering, is just as critical as direct treatment. I used to skip this part. Now I know better.
Preventing Future Infestations
Prevention is easier than treatment. I learned this after three infestations. Now I follow a simple set of rules.
First, quarantine any new plant for two weeks before placing it near your Money Tree. I put new arrivals in a separate bathroom with a window. I check them with the white paper test several times. Only after I am sure they are clean do I introduce them to my main plant collection.
Second, keep the humidity up. During dry months, I run a humidifier for the plants. I also group my plants together. Grouping creates a microclimate with higher local humidity. It is a passive, easy way to make things harder for mites.
Third, wipe the leaves monthly. I use a soft, damp cloth on both sides of the leaves. This removes dust, which can clog the stomata, and it also disturbs any mites that might be settling in. It is a low-effort habit with high rewards.
Fourth, inspect weekly. This is non-negotiable. I set a reminder on my phone. The five minutes I spend inspecting every Sunday saves me from weeks of treatment.
Fifth, do not over-fertilize. I have seen that nitrogen-heavy fertilizers make plants grow soft, lush leaves that mites love. I use a balanced, half-strength fertilizer once a month during the growing season. During winter, I do not fertilize at all.
Signs That Your Treatment Is Working
You will know you are winning the fight when you see certain things. The new leaves will unfurl without any stippling or webbing. The existing leaves will not show new damage. The white paper test will come up clean consistently for ten consecutive days. And the plant will look more vibrant, with a slight sheen on the leaf surfaces.
But stay vigilant. I have seen mites return three weeks after a seemingly successful treatment. The most common cause is a hidden egg in a soil crevice or on a leaf axil that you missed. That is why I continue weekly inspections even after I think the problem is gone.
It is also why I keep treated plants isolated for an extra week. Those seven extra days are worth the peace of mind.
Frequently Asked Questions
Question One: Can I See Spider Mites With the Naked Eye?
No, not easily. Adult spider mites are about 0.4 millimeters long. They look like tiny moving dots, but only if you have excellent vision and very good lighting. I cannot see them without my loupe. But you can see their webbing without magnification. And you can see their damage with the naked eye once it appears.
Question Two: What Does Early Mite Webbing Look Like Compared to Normal Plant Fuzz?
Money Trees do not have natural fuzz. If you see any fine, silky strands on the leaf undersides or stems, it is likely mite webbing. Spider webbing is typically more uniform and silkier. It also tends to gather dust and water droplets differently. If you mist the plant and you see bead-like water droplets trapped in the strands, that is webbing, not fuzz.
Question Three: Should I Cut Off All the Webbing I See?
Yes, you should. The webbing is not just a symptom; it is a protective shield for the mites. It protects them from sprays. It keeps the humidity around them high. Removing the webbing with a damp cloth or a cotton swab breaks their shelter and exposes them to treatment. I always wipe away all visible webbing before I spray.
My Final Thoughts on Catching Mites Early
Catching webbing early on a young Money Tree is really about consistency. You cannot check once and expect to be safe. You have to build a routine. You have to look at the right spots. And you have to act fast when you see something suspicious.
I have gone from killing two Money Trees to successfully reviving three others. The difference was not luck. It was knowledge. It was knowing where to look and what to do. I genuinely believe the white paper test and the weekly inspection are the two most important habits you can develop.
If you have a young Money Tree right now, go check its leaf undersides. Check the leaf axils. Look for any strand of silk. But trust me, you probably will not need to run off right now. You just need to start looking. And when you do find that first faint web, you will be ready. And now, you will know exactly what to do.





