 admin
admin The first thing I noticed was a soft, mushy spot near the base of my prized Money Tree stem. It felt like the trunk had turned into a damp sponge. The leaves above it had that sickly, yellow-green look that every plant owner dreads.
Here is the direct answer: You cannot reverse Crown Rot once the stem is mushy. You must cut the healthy top off immediately, reroot it in water or fresh, dry soil, and toss the infected pot and soil into the trash.
I learned this the hard way. I ignored the brown discoloration for a week. Within five days, the entire base collapsed inward, and the plant fell over. The smell was a dead giveaway—sour and earthy, like a bog.
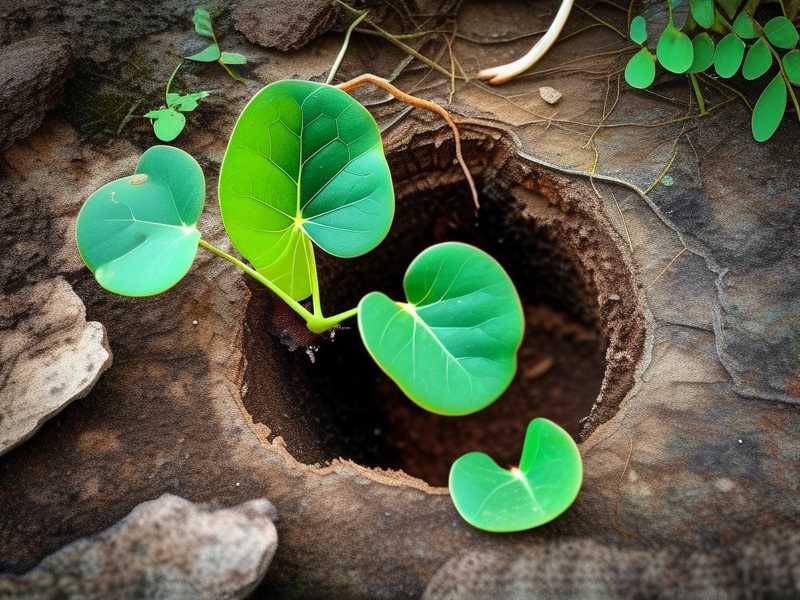
Let me walk you through exactly what I did, what I tried, and what actually worked, over a 14-day period. This is the gritty, practical, no-fluff routine that saved half of my plant.
Why Your Money Tree Stem Is Turning Brown and Soft
The stem discoloration on a Money Tree (Pachira aquatica) almost always points to one villain: overwatering. The roots suffocate, and anaerobic bacteria move in. The tissue breaks down from the inside out.
I used to think more water meant more love. I was wrong. 90% of indoor plants die from overwatering, and the Money Tree is a classic victim. These trees store water in their thick, swollen trunks. They are designed to survive drought, not constant moisture.
Crown rot is simply the final stage. The infection travels up from the roots into the main stem. If the base is brown, sunken, or leaking liquid, you are in a race against time.
The 3 Fatal Mistakes Newbies Make (I Made All of Them)
Before I give you the fix, let’s talk about the mistakes that put your plant in the ICU. I have killed my fair share of plants. Actually, I killed my third Money Tree before I figured this out.
① Watering on a Schedule (The Overwatering Trap)
I used to water every Monday. Rain or shine, soil dry or not. That is the fastest way to kill this plant.
The soil should be dry to the depth of your second knuckle before you even think about watering. I now wait for the pot to feel noticeably lighter. If in doubt, wait another day.
The fix I use now: A wooden chopstick. I stick it down to the bottom. If it comes out with wet dirt stuck to it, I close the watering can. That simple trick saved my fourth plant.
② Getting the Light Wrong
I placed my first Money Tree in a dark corner of the living room. I saw glimpses of sunlight and assumed it was fine. Wrong again.
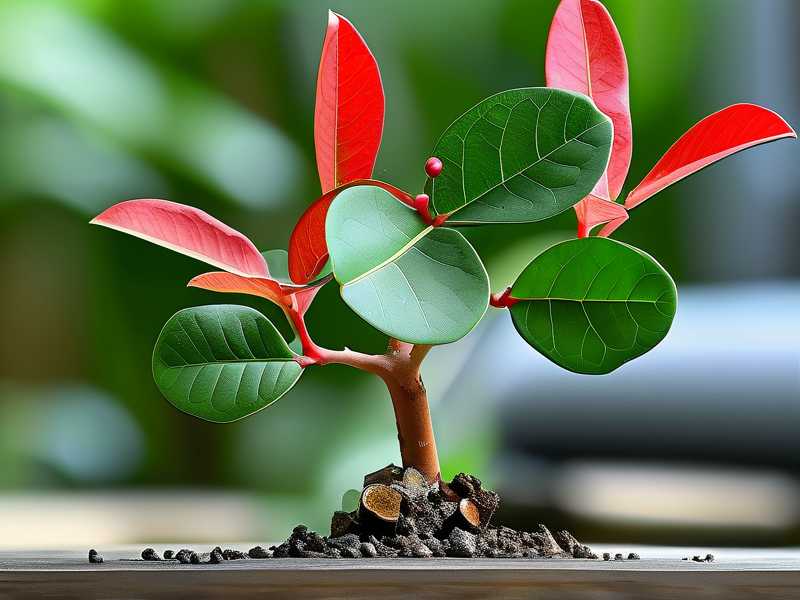
Money Trees need bright, indirect light. They can handle a bit of morning sun, but the harsh afternoon sun burns the leaves under stress. This stress makes them more susceptible to disease.
My turning point: I moved the plant 3 feet away from an east-facing window. The leaves perked up within a week. Light is the fuel that drives the plant’s immune system. No light, no defense.
③ Using the Wrong Pot (The Silent Killer)
Drainage holes are non-negotiable. I tried a cute ceramic pot without holes once. It collected water at the bottom, and the roots sat in a puddle for months. That was the direct cause of my second plant’s stem rot.
You also need a pot that offers airflow. I prefer terracotta for my current healthy Money Tree. It wicks moisture away from the soil. Plastic pots trap everything, including the bacteria that cause crown rot.
A pro tip I picked up: Lift the pot slightly off the saucer using a couple of pebbles. This allows air to circulate underneath and prevents stagnant water from being reabsorbed by the soil.
My Step-by-Step Rescue Plan (The 14-Day Project)
So, you have a mushy stem. Here is the brutal truth: the original plant is a goner. You must act like a surgeon.
Tools I used:
- A sharp, sterilized knife (I cleaned it with rubbing alcohol)
- A glass jar filled with filtered water
- Fresh, well-draining potting mix (peat, perlite, and sand)
- A new, clean pot with drainage holes
- Cinnamon powder (a natural fungicide)
Day 1: The Amputation
I grabbed the knife. I made a clean cut above the rot. The cut must be into healthy, green tissue. If you see any brown or tan spots in the center of the cut, you need to cut higher.
On my plant, the rot had climbed about 6 inches up the main trunk. I cut at the 8-inch mark. The core of the stem was slightly cream-colored, which was a good sign. I know I got it right because the cambium layer (the ring just inside the bark) was bright green.
I removed all the leaves from the lower half of the cutting. The top leaves I left to help with photosynthesis.
I then sprinkled the cut end with cinnamon powder. It helps prevent fungal spores from attaching to the fresh wound.
Day 2: Water Propagation vs. Soil Propagation
I had to make a choice. Do I root this in water, or do I stick it straight into soil?
Honestly, I have failed at soil propagation with Money Trees. The cutting tends to rot again because it’s hard to control moisture. I went with water.
I placed the cutting in a clear glass jar. I used room-temperature, filtered water. The node (where the leaves were removed) must be submerged. The cut end should not touch the bottom of the jar.
My observation: Within 48 hours, the water stayed clear. No slime formed. That was a good sign. Slime means bacterial overgrowth.
Day 7: The Waiting Game
I changed the water every 48 hours. You must do this. Stagnant water is a breeding ground for the exact bacteria that killed the parent plant.
Around day 7, nothing had happened yet. The leaves looked a little droopy, but they were still firm. I almost panicked and poked the stem with my finger. Don't do that. Every time you touch it, you introduce new bacteria.
I left it alone. I moved the jar to a spot with bright, indirect sunlight. In my apartment, that was the kitchen windowsill.
Day 10: Roots Appear
I saw the first little white nub. It was a tiny protrusion from the node area. I was honestly shocked. I thought the cutting was a lost cause because the top leaves had drooped even more.
I placed the jar a little closer to the window. The nub turned into a full root over the next two days. The root was a beautiful, crisp white. That is the color you want. Brown or gray roots mean rot, which means you start over.
Day 14: The Soil Transition
By day 14, the root was about 3 inches long. I knew it was time to transfer it to soil. I did not wait any longer because long, water-grown roots can struggle to adapt to soil.
I pre-moistened my pot mix. This is the key step most people miss. If the soil is bone dry, it will shock the delicate water root.
I made a hole in the moist soil with a pencil. I gently placed the root in and backfilled around it, pressing down lightly to remove air pockets. I kept the planting depth shallow. I buried the node, but I did not bury too much of the stem.
I watered it immediately with tepid water. I applied a very light sprinkle of cinnamon on the soil surface, just as a precaution.
What I Noticed During Those Two Weeks
The progress is slow if you obsess over it. I noticed the leaves remained firm from Day 3 onward. The droopiness went away. The cutting looked … stable. There was no yellowing, which told me the stem was not rotting again.
Key observation on the parent stem: After I cut the top off, I left the bare stump in the soil for the experiment. Guess what? It did shoot out two new tiny leaves from the side nodes. That was in week three.
So, my advice is this: if you do the surgery, don’t throw away the base. As long as the base is solid and woody, it might sprout again. I keep the stump in a warm, dry place with minimal watering. I treat it like a cactus. That treatment works.
The Daily Care Routine That Prevents Recurrence
Now that I have the new cutting in soil, I cannot fall back into my old lazy habits. Here is the strict routine I follow now.
Watering Strictly by Touch
I check the soil every single day. But I only water when the mix is dry to 2 inches deep. I use the finger test.
During the cooler months, I water every 10 to 14 days. In summer, it might be every 5 days. I never water on a calandar.
Drainage is Everything
I use a pot that is exactly 2 inches wider than the root ball. No big pots. A big pot means more soil moisture retention around the roots.
I added a thick layer of coarse perlite to the bottom of the new pot. This acts as a reservoir for excess water.
Air Circulation
I keep a small oscillating fan blowing across my plant shelf. It gently moves the leaves. It dries out the top layer of the soil faster. It also prevents fungal spores from settling and germinating on the bark.
The Light Balance
I place the cutting in bright, filtered light. South-facing windows in the northern hemisphere are too harsh. I filtered the light with a sheer curtain.
The Money Tree thrives when it gets 6-8 hours of indirect light. The leaves turn a darker green. The stems build up strength.
Expert Opinions and Plant Science
I am a hobbyist, but I wanted to verify my methods. I found that the Royal Horticultural Society (RHS) provides clear guidelines on root rot in container plants. They stress that root rot is caused by poor drainage and waterlogging. Their advice aligns perfectly with my experience: remove affected material and repot in fresh compost.
Similarly, the American Horticultural Society (AHS) emphasizes the importance of sanitation when dealing with plant diseases. Sterilizing your pruning tools is a cornerstone of their guidelines. I clean my knife with a 10% bleach solution before every cut.
The RHS states that most fungal diseases require a moist environment to germinate. The AHS recommends ensuring adequate spacing between plants to increase airflow. I moved my plants further apart on the shelf. This might seem trivial, but it reduces the humidity trapped between leaves, which is a perfect breeding ground for trouble.
Let me be direct about the science here. Pachira aquatica has a swollen, trunk-like stem. It stores water in that tissue. Overwatering causes the cell walls to rupture because they can't hold the excess water weight. Once those cells burst, bacteria begin to feast.
FAQ: Your Burning Questions Answered
Can I cut off the mushy part of the trunk and plant the rest?
Yes, if the rot is confined to a small area. You must cut deep into the healthy tissue. I cut about half an inch into the green zone. But if the rot has consumed the entire bottom third of the trunk, your best bet is the "top cut and reroot" method I described above.
How long does it take for a Money Tree cutting to root?
From my own experiment, it took about 7-9 days to see the first root in water. It took two weeks to get a root long enough to transplant. Do not stress if you see roots at week three. It just depends on the light and temperature. Warmer is better, but keep it below 85°F.
Is coffee grounds good for a rotting Money Tree?
No, absolutely not. Do not use them. Coffee grounds hold moisture. You need the opposite right now. You need the soil to dry out. Adding coffee grounds will just increase the chance of the stem rotting again. Skip the fertilizer. A stressed cutting does not need food; it needs air.
Should I pull the plant out of the pot to check the roots?
Yes, you should. Perhaps once a month. I lift the pot and look at the drainage holes. If you see white roots, you are good. If you see brown, soggy mush, you have a problem. But don't unpot the plant every week as a habit. It causes transplant shock. I check mine only when the soil is dry.
My Final Thoughts on Saving a Money Tree
If there is one thing I tell people who have this problem, it is this: stop giving your plant so much water. It is not a lotus. It is a rainforest understory tree. Those trees experience periods of heavy rain followed by weeks of dryness. They depend on that dry period.
I feel bad when I think about my early plants. I didn't know what I was doing. I was watering out of anxiety. I was checking on it every day and watering if the top looked dusty. I was killing them with kindness.
Now, I let my plants get thirsty. I wait for the leaves to look slightly less perky. That is when I water.
If you are currently staring at a brown, shrunken stem, don't be afraid to cut it. I know it feels violent. A part of you thinks, "I'll just wait and see." That wait is fatal. Within a week, the rot will turn the whole trunk into jelly.
Cut it today. Focus on the top. With a little patience and a dry run, you will have a fresh, healthy plant again.
The stump I left in the soil? It now has two beautiful leaves sprouting from the side. It gave me a second chance without me even asking for it. All I did was stop watering it. It just sat there, in the bright window, and it grew.
This whole process taught me that listening to the plant is the real secret. Watering less is often the trick to growing more.





