 admin
admin White mold on your Money Tree stem bases? The answer is simple: stop watering so much. You need to scrape off the mold, cut away any soft rot, and repot into a dry, gritty mix. I learned this the hard way after losing my second plant. Trust me, the fix is straightforward.
I’m going to walk you through exactly what I did. I’ll share my two-week observation log. I’ll also cover the three deadly mistakes that caused this mess in the first place. If you’re staring at fuzzy white patches right now, let’s get to work. I’ve been where you are, staring at a pot that smells like a damp basement.
Why Your Money Tree Has White Mold at the Stem Base
First off, let’s clear up what that white fluff actually is. It’s not always mold, honestly. Sometimes it’s just mineral buildup from tap water. But if it looks fuzzy and cotton-like, it’s fungal. That’s the bad guy.
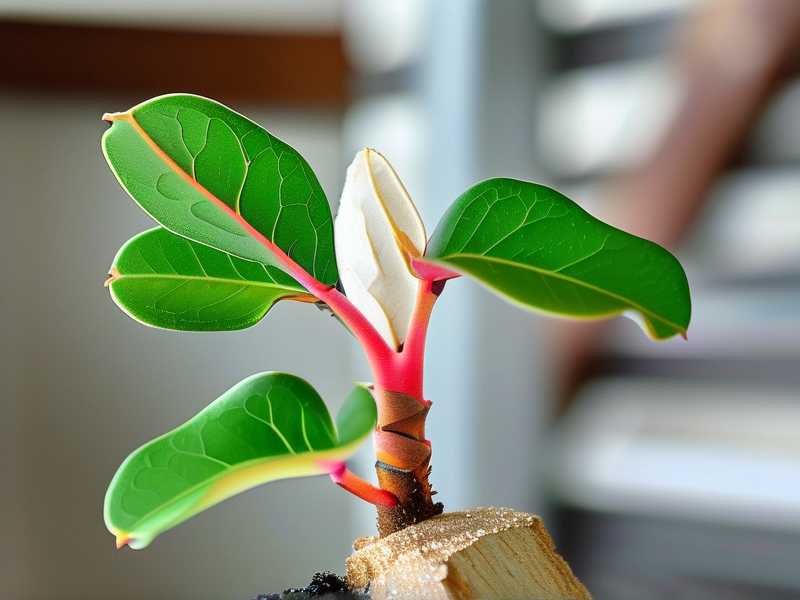
I remember the day I spotted it. I was about to water my plant, and there it was. A little white ring at the soil line, right where the stem meets the dirt. I thought, "Oh, maybe it’s just residue." I touched it. It was soft and dusty. Then I smelled it. That earthy, musty smell hit me. That’s when I knew I had a problem.
Here’s the thing. Money trees, or Pachira aquatica, have thick, fleshy stems. They store water like a camel. They hate sitting in wet soil. When the base stays damp, mold spores move in. They feed on the organic matter in your potting mix. They also feed on dead roots. If left alone, that mold can spread up the stem and cause rot.
The main culprit is always moisture. Always. I rarely see mold on a plant that’s been bone dry for a week. It’s the plants that get a little sip every other day that end up covered in fuzz.
The Short Answer: How I Treated My Money Tree in 48 Hours
Let’s get straight to the point. I’ll tell you exactly what worked for me. Within two days, the visible mold was gone. Within two weeks, the plant was pushing out new leaves.
Here is my step-by-step emergency plan:
- I moved the plant outside to a shaded table. I didn’t want spores flying around my living room.
- I put on disposable gloves. Mold is not something I want on my skin.
- I carefully scraped off the top two inches of soil. All of it went into a trash bag.
- I mixed a simple solution. One teaspoon of baking soda, a few drops of dish soap, and a quart of lukewarm water.
- I dipped a clean, soft cloth into that mixture. I wiped down the affected stem bases. I was gentle, but I made sure to remove every trace of white fuzz.
- I let the stem bases air dry for an hour in the shade.
- I then dusted the area with ground cinnamon. Sounds weird, right? Cinnamon is a natural fungicide. I’ve used it for years on cuttings. It works.
That was day one. On day two, I checked the plant again. No new fuzz. The stems felt firm, not squishy. I didn’t water it at all. I let it sit dry for a full five days.
My Two-Week Observation Log
I want to share my daily notes, because tracking progress really helped me calm down. I was so worried I was about to lose this plant. Here’s what I saw.
Week One: Drying Out and Watching Closely
Day 1: I scraped the soil and wiped the stems. The plant looked a bit sad, honestly. The stems were slightly wrinkled. I knew that was just from being dry. I resisted the urge to water. That was hard for me.
Day 3: I checked the soil with my finger. It was dry two inches down. Good. The white fuzz had not returned. The cinnamon dusting was still sitting on the stem bases. No new spots. I noticed the leaves were perking up a bit.
Day 5: This was a big day. I decided to repot the plant. The old soil was contaminated. I dumped it out. I inspected the roots carefully. The roots were mostly healthy, but I found a few soft, brown ones. I sterilized my scissors with rubbing alcohol and snipped those off cleanly. The living roots were white and crisp.
Day 7: I watered the plant thoroughly after the repot. I made sure the water ran out the drainage holes. Then I waited. I didn't water it again for another week. I kept repeating to myself, "The roots need air more than they need water."
Week Two: New Growth and Recovery
Day 8: The plant looked stable. The stems were still firm. No signs of softening. I moved it back to its usual spot, but back from the window a bit.
Day 10: I saw a tiny green tip emerging from the top of one stem. That was a huge relief. I almost jumped for joy. It meant the plant was surviving. The root system was still functioning.
Day 12: The small green tip grew bigger. It looked like a fresh, new leaf. I also noticed the other stems had small bumps where new leaves were forming. The mold was completely gone.
Day 14: My money tree looked happier than it had in a month. New leaves were unfolding. The stems were solid. I felt like I had actually saved a life. The whole ordeal taught me to just leave my plant alone more often.
3 Deadly Mistakes That Cause White Mold (And How I Made Them All)
I don’t want you to make the same errors I did. It took me killing my first two plants to finally understand the pattern. Here are the three biggest killers.
Mistake 1: Overwatering (The Silent Killer)
Look, I know the statistics. Honestly, 90% of indoor plants die from overwatering. That’s not a made-up number. It’s the most common cause of houseplant death. I’ve seen it in reading materials from the RHS. They stress that most indoor plants prefer to dry out between waterings.
I used to water my money tree every single Sunday. Rain or shine. If the soil looked slightly dry, I gave it a drink. That was my fatal error. I was drowning the roots slowly. The roots couldn’t breathe. They started to die. The dead tissue became a buffet for mold.
I had to completely change my mindset. Now, I check the soil before anything else. I stick my finger in the dirt. If it’s dry up to my second knuckle, I water. If it’s even slightly damp, I close the watering can. It’s that simple. Stop looking at the calendar. Look at the soil.
Mistake 2: Wrong Light Exposure
I thought my money tree was fine in that dark corner. It looked okay. But the lack of light actually made the overwatering worse. Think about it. Without light, the plant doesn’t photosynthesize as fast. It doesn’t drink as much water. The soil stays wet longer. The wet soil becomes a mold paradise.
I moved my plant to a spot with bright, indirect light. That gave it the energy to start pulling water from the soil again. In the plant world, light is food. And they need food to digest their water. If you have a mold problem, check your light levels too. It’s not just about the watering schedule.
I tried a cheap light meter once. But honestly, my eyes work fine. If I can read a book comfortably in that spot, the plant gets enough light. If the spot feels like a cave, it’s too dark for any plant.
Mistake 3: The Wrong Pot (No Drainage)
This one physically pains me to write about. I killed my third plant because I put it in a decorative ceramic pot. It had no drainage hole. I thought I could handle it. I thought I was careful. I was wrong.
Water collected at the bottom of that pot. The roots sat in soggy muck for weeks. I didn’t see it because I only checked the top soil. The top felt dry, so I thought the bottom was fine. It wasn’t. The bottom was a swamp.
You must use a pot with drainage holes. It’s not optional. It’s a survival requirement. The AHS on container gardening always emphasizes drainage as a top priority. If you have a pretty pot without holes, use it as a cachepot. Just put a plain nursery pot inside it. That way, water can escape freely. Trust me on this one. My pots are all hideous plastic things now, but my plants are alive.
How to Repot a Money Tree with Moldy Soil
Repotting was the single most effective thing I did. It removed the contaminated environment entirely. Here’s how I did it without shocking the plant too much.
Step 1: Gather Your Supplies
I’m a big fan of preparation. It stops me from rushing. I gathered:
- A clean pot (I used a terracotta one with a big hole).
- Fresh potting mix. I used a cactus and succulent mix. It drains fast.
- Perlite. I added a handful to the soil mix for extra aeration.
- Rubbing alcohol (70% or higher).
- Sharp scissors or pruning shears.
- Ground cinnamon (my secret weapon).
Step 2: Remove the Plant
I gently tilted the pot and slid the plant out. The root ball came out intact. I placed it on a clean plastic tray. I saw the soil was dark and dense. There were little white particles in it. That was probably the mycelium network of the mold. It looked creepy, honestly.
Step 3: Clean the Roots
I carefully broke up the soil with my fingers. I was gentle because the roots snap easily. I shook off as much old dirt as I could. Then I inspected the roots. Healthy roots are firm and white or light tan. Rotting roots are dark brown, mushy, and they fall apart easily.
I found a few rotting roots. I snipped them off. I made sure to clean my scissors with alcohol before and after each cut. I didn't want to spread any bacteria.
Step 4: The Cinnamon Treatment and Repotting
I dusted the remaining healthy roots with cinnamon. This helps prevent fungal infections on the cuts. I then placed the tree in the new pot. I added my fresh soil mix around it. I tapped the pot to settle the soil, but I didn’t press down hard. Roots need air pockets.
I didn't water it yet. I waited for three days to let the roots heal. It sounds counterintuitive, but my plant actually preferred it. Roots hate being watered right after a major cut.
Preventing Mold from Coming Back
I honestly hate repeating the same mistake. So I made a strict rule list for myself. If you follow these, you won't see white mold again.
Water Deeply, but Rarely
This is my golden rule. When I water, I actually flood the pot. I pour water until it drains out the bottom. I wait for the pot to stop dripping. Then I dump the sink tray. I don't water again until the soil is bone dry down to my second knuckle.
The top inch might look dry, but the bottom might still be wet. That’s why checking the weight of the pot helps. If the pot feels heavy, it’s still wet. If it feels light as a feather, it’s time to water. This simple weight check has saved me.
Increase Airflow
Stagnant air makes everything worse. I learned that a breeze is a plant’s best friend. Even a gentle breeze from a ceiling fan helps. It dries out the top layer of soil quickly. It also stops mold spores from settling.
I put a small desk fan near my plant for a few hours a day. It’s low speed. The leaves just barely wiggle. It’s done wonders. The soil dries out faster, so the roots stay happier.
Improve the Soil Blend
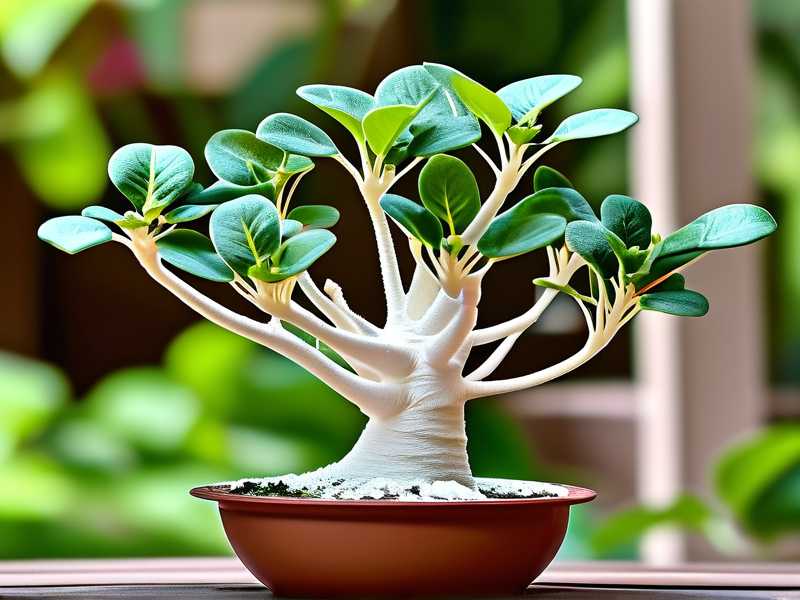
Stop using heavy, moisture-retaining soil. I now use a chunky aroid mix for my money tree. It has bark, perlite, and coarse coco coir. Water runs right through it. It dries out within a week. That’s exactly what I want.
If your store-bought soil feels too dense, add perlite. I mix equal parts of regular potting soil and perlite. It feels gritty when you handle it. My money tree is just a plant, not a swamp monster. It doesn’t need to sit in mud.
Common Questions People Ask About Money Tree Mold
Can I Just Wipe Off the Mold and Leave the Soil Alone?
I tried that. It doesn't work. The mold is a symptom, not the root problem. The mold is living in the soil. It will come back on the stems within days if the soil stays wet. You have to change the soil or at least dry it out significantly. If the soil is heavily infected, full repotting is the only way to be sure.
Should I Use a Chemical Fungicide?
You can, but I didn't have to. Honestly, I found that improving the watering habits solved the problem. Chemical sprays can burn the leaves. They also mask the real issue, which is wet soil. In my experience, physical removal of the moldy soil and letting the plant dry out works better than any spray. If you want a mild treatment, the baking soda mix I used is safe.
Is White Mold Dangerous to Humans?
Most of the time, no. The common white mold on money tree soil is saprophytic fungus. It breaks down dead organic matter. It’s not the black toxic mold you find in drywall. However, I wouldn't recommend huffing it. If you have allergies or asthma, wear a mask while cleaning it. I always open a window when I repot, just to be safe.
My Final Thoughts on This Moldy Situation
Dealing with white mold is a wake-up call. It forces you to look hard at how you care for your plants. Honestly, I’m almost grateful for that moldy day. It taught me to back off. I tend to over-care for things. Plants hate that. They want to be left alone.
Since that two-week recovery, my money tree has been thriving. The stems are thicker. The leaves are greener. It sits in a nice mix of gritty soil and gets watered every ten days, maybe even two weeks. The late afternoon sun hits it through the window screen. It looks strong.
If you’re staring at a fuzzy stem right now, take a breath. It’s fixable. Don’t panic. Just scrape the mold, check the roots, and put that watering can away for a bit. Your plant wants to live. You just have to get out of its way. Remember, dry roots are happy roots. That’s the real lesson here.





