 admin
admin How to Recover Money Tree Roots After Removing Infected Soil? Here is the straight answer I wish someone gave me years ago: rinse the roots, cut away every brown or mushy piece, soak the rest in a mild hydrogen peroxide solution, let them dry in the air, and repot into a dry, extremely well-draining mix. Then do not water for at least two weeks. I know that sounds too simple, but it saved my fourth Money Tree after the first three drowned in my sink.
Most people panic when they see infected soil or smell rotten roots. They water more, move the plant into a darker corner, or just shove it into a bigger pot. Those are all terrible ideas. I know because I have done every one of them.
The real issue is that Money Trees, or Pachira aquatica, store water in their thick, swollen trunks. They do not need constant moisture. In fact, 90% of indoor plants die from overwatering, and Money Trees are some of the most sensitive ones to wet feet. So if you have just pulled your plant out of infected soil, the first thing you need to do is slow down and think about what the roots are telling you.
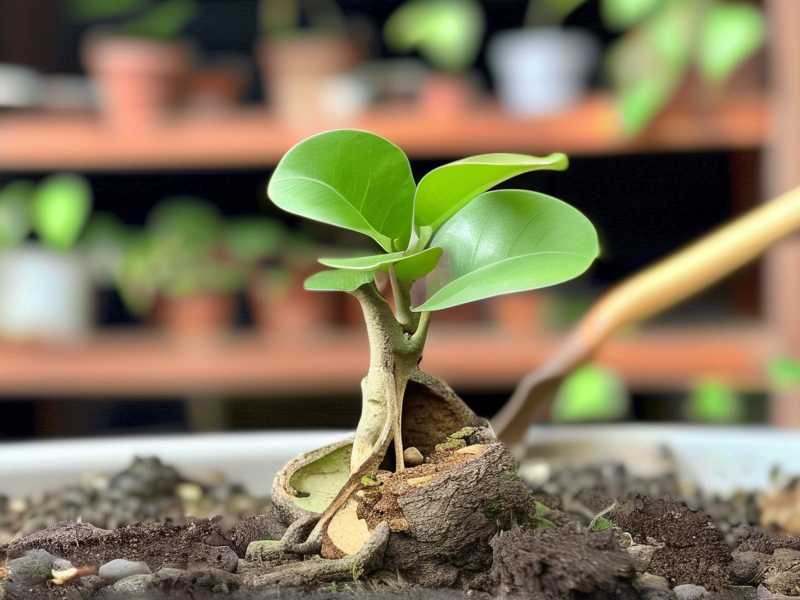
I am not a botanist. I am just a plant lover who made a lot of mistakes. But after two weeks of patient recovery, I finally saw new white root tips appear. That was the moment everything clicked. In this article, I am going to walk you through exactly how I recovered my Money Tree roots, what worked, what did not, and the mistakes that nearly killed my plant.
Let me start with the mess I created before I understood anything.
Why Money Tree Roots Rot in the First Place
Money Trees are native to wetlands, but that does not mean they like sitting in constantly soggy soil. Their roots need oxygen. When you water too often, or when the soil holds water like a sponge, the roots suffocate. Then bacteria and fungi move in, and the soil starts to smell like a swamp.
I remember the first time I noticed something wrong. The leaves on my Money Tree turned yellow, then brown and crispy at the edges. The trunk felt soft near the base. Honestly, I thought it was a lighting issue, so I moved it to a brighter spot. That made things worse because the roots were already dying and the plant could not take up enough water to match the increased light.
The real problem was below the soil. When I finally tipped the pot over, I saw black, slimy roots and soil that smelled like rotten eggs. That was infected soil. I had to remove it all and start over.
According to the RHS, root rot is often caused by overwatering combined with poor drainage. They recommend checking the roots whenever a plant looks unhealthy. I ignored that advice for a long time, and I paid for it.
But here is the good news. Infected soil is not the end. You can recover the roots if you act quickly and follow a strict procedure.
The 3 Beginner Mistakes That Hurt My Money Trees
Before I get into the recovery steps, I have to be honest. I killed three Money Trees before I got this right. Each death taught me something painful. If you are new to indoor plants, avoid these three fatal mistakes.
① Overwatering on a Schedule
I used to water every Monday. It felt responsible. The problem? My house was cool and humid, so the soil never dried out. Then one day, the trunk started to bend. When I pulled the plant out, the roots were mush.
I know the phrase sounds dramatic, but it is true: 90% of indoor plants die from overwatering. Money Trees are especially prone because their thick trunks make them look thirsty when they actually store plenty of water. The best way to decide if you need to water is to stick your finger two inches into the soil. If it feels damp, stop. If it feels dry, go ahead.
Looking back, I was watering my first Money Tree three times too often. I thought the top soil being dry was enough of a signal. But the bottom was still soaked. That one mistake killed my plant in about three weeks.
② Wrong Light Placement
My second Money Tree survived the overwatering phase, but I placed it in a dark hallway. It had beautiful braided trunks, but the leaves grew thin and pale. I assumed it needed more water because the leaves looked weak. Wrong.
In dim light, plants use even less water. So my watering routine made the soil even soggier. The roots went through the same cycle: suffocation, infection, death. The AHS actually highlights the importance of matching light and water. I never connected those two before.
The AHS explains that plant growth rate is directly tied to available light. More light means the plant uses more water. Less light means the soil stays wet longer. So if you put a Money Tree in a dark corner, you have to water much, much less. I did the opposite.
③ Using the Wrong Pot
My third Money Tree was in a decorative ceramic pot with no drainage hole. I thought I could just be careful. I was not careful. There was half an inch of stagnant water at the bottom for weeks. The roots were swimming in a bacterial soup.
The fix is simple: use a pot with at least one drainage hole, and if you want a decorative outer pot, keep the plant in a nursery pot inside it. That way, you can lift the inner pot and check for excess water. I also learned that terracotta pots are great because they let moisture evaporate through the walls. Plastic pots hold moisture longer, which is dangerous for a recovering Money Tree.
I lost my third plant because I was too focused on aesthetics. That was a bitter lesson.
Step-by-Step: Recovering Money Tree Roots After Removing Infected Soil
Now let me show you exactly what I did with my fourth Money Tree. This process took me about an hour from start to finish, but the recovery lasted two weeks. Follow these steps carefully.
Step 1. Take the Plant Out and Remove All Soil
I wore gloves because the infected soil smelled bad and I did not want to introduce more germs. I carefully slid the plant out of the nursery pot. Then I used my fingers to gently shake off as much soil as possible. It was wet and clumpy, so I had to rinse the roots under lukewarm running water.
Do not be afraid of using water here. You are washing away the infection, not hydrating the plant. I held the root ball under a gentle spray and used my fingers to separate the roots. It felt like untangling hair after a muddy day. I kept going until the roots were clean and I could see all the healthy tissue.
Step 2. Cut Away Every Bad Root
This step was scary. I had to look at the root system and decide what was alive and what was dead. Healthy roots are firm and white or light tan. Infected roots are brown, black, soft, slimy, and usually hollow.
I used sterilized pruning shears. I wiped them with rubbing alcohol before and after each cut. I cut away every dark, mushy root, even if it meant removing more than half of the root ball.
For my fourth plant, about 40% of the roots were dead. I trimmed off all of those. It felt brutal, but it was necessary. Dead tissue would only rot again and kill the healthy roots.
Step 3. Disinfect the Remaining Roots
I filled a bowl with one part 3% hydrogen peroxide and three parts water. Then I soaked the roots for about ten minutes. The peroxide bubbled up, which is a sign it was working to kill bacteria and fungal spores.
I have also tried using a dilute cinnamon solution instead of peroxide. Cinnamon has some antifungal properties, but honestly, the peroxide gave me more peace of mind. The RHS recommends using a fungicide for root rot, but for a small indoor plant, a mild peroxide rinse worked perfectly for me.
After the soak, I placed the plant on a clean paper towel and let the roots air dry for three hours. This step is important. If you repot with wet roots, you are inviting new rot. The roots need a little time to callus over the cut sites.
Step 4. Prepare a Fast-Draining Soil Mix
I stopped using regular potting soil after my third Money Tree died. That stuff is too dense for Money Trees. Now I mix:
- 2 parts coco coir or peat-free compost
- 1 part perlite
- 1 part coarse orchid bark
- A small handful of horticultural charcoal
This mix drains quickly and does not hold onto excess water. The charcoal also helps keep the soil fresh and prevents odor. Some people add a bit of coarse sand instead of perlite, but I prefer the perlite because it is lighter.
Step 5. Repot in a Small, Clean Pot
I chose a terracotta pot with a drainage hole. The pot was only slightly bigger than the remaining root ball. This is crucial. A huge pot holds too much soil, and that soil stays wet too long. Your recovering Money Tree roots do not need that kind of stress.
I placed a piece of mesh over the drainage hole to prevent soil from washing out. Then I added a thin layer of my soil mix, placed the roots in the middle, and gently filled around them. I tapped the pot on the table to settle the soil. I did not press down hard, because compacted soil means less air.
Step 6. Do Not Water for Two Weeks
This is the part that will scare you. You have just removed infected soil. The roots have been soaked and rinsed. The plant might look thirsty. But I promise, the roots are not ready to absorb water yet.
For the next two weeks, I left the plant in bright, indirect light. No fertilizer. No water. The soil stayed completely dry. I checked the trunk and leaves every day, but I did not give in to the urge to water.
At first, my plant looked droopy. I was convinced it was dying. But I remembered that the roots were in shock, and moisture would only finish them off.
Step 7. Wait for New Growth
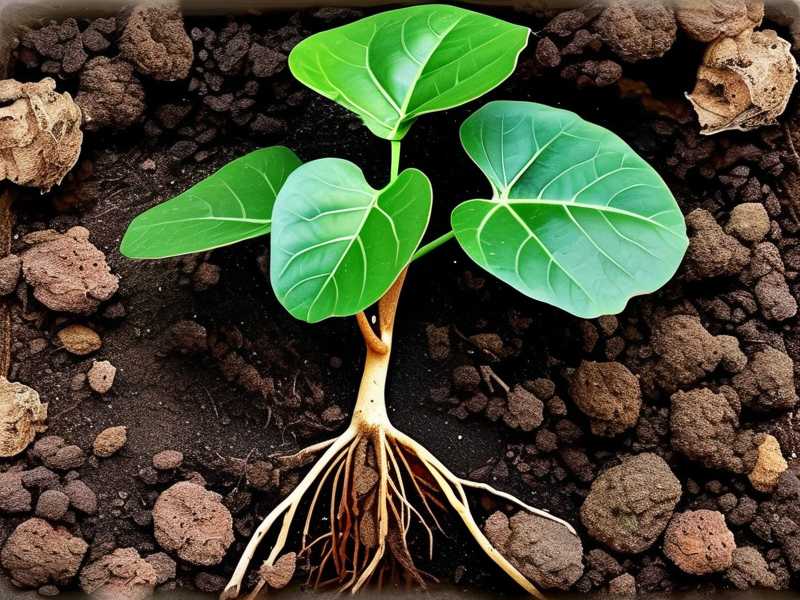
After about ten days, I gently lifted the plant out of the pot to inspect the roots. This sounds risky, but I did it because I wanted to know if there was any new root growth. I was relieved to see small white tips emerging from the cut ends.
That moment made all the patience worthwhile. I carefully placed the plant back and waited two more days. Then I gave it a light bottom watering, only about half a cup of water, just to moisten the lower part of the soil. I have been doing that ever since.
My 2-Week Observation Log
Here is exactly what I noticed during those two weeks. I kept a small notebook because I wanted to track every change. I think you will find this helpful.
Day 1–2: The Shock Phase
The leaves still looked yellow and the trunk felt slightly soft. The plant looked worse than before I repotted it. I nearly panicked. I kept telling myself to trust the process.
Day 3–4: The Soil Stayed Dry
The remaining healthy roots were still adjusting. I saw no new growth, but the softness in the trunk did not get worse. The soil was bone dry, just as I wanted.
Day 5–6: A Little Color Change
The lower leaves dropped. I know that sounds bad, but it was actually a good sign. The plant was shedding leaves it could not support anymore. The top leaves started to firm up a bit. I took a picture every morning to compare, and the difference was subtle but real.
Day 7–8: The Trunk Stabilized
The soft spots on the trunk felt harder. I think the roots were starting to heal and regain water uptake. I still did not water. The dry soil forced the roots to grow and search for moisture.
Day 9–10: First White Root Tips
This was the breakthrough. I gently lifted the plant and saw those tiny white root tips. That was the proof that the root system had recovered enough to start growing.
Day 11–12: Slow Leaf Movement
The top leaves stopped drooping. They looked more upright, and the yellowing stopped spreading. The plant was still stressed, but the trend was positive.
Day 13–14: First Light Watering
I gave about half a cup of water around the edge of the pot, not directly at the base. The soil absorbed it quickly. Then I waited two more days before the next watering.
By the end of week three, my Money Tree had several new leaf buds. The root system was not huge, but it was healthy. The process worked.
What I Learned the Hard Way
I have to be honest with you. The first time I tried this, I failed. I was too impatient. I watered after five days because the leaves looked sad. That reopened the infection and killed the plant.
The second time, I used a pot that was way too big. All that extra soil held moisture, and the root system could not drink it. The roots rotted again.
I learned three things from those failures. First, never water a recovering Money Tree based on how the leaves look. Second, always use a small pot. Third, fresh air circulation is your friend. A window with indirect light and a gentle breeze helps dry the soil surface and reduces fungal pressure.
Another thing that surprised me was the importance of the roots breathing. Air is just as important as water. When you water too soon, you fill the air pockets in the soil and suffocate the roots. That is why I wait for the soil to dry completely, not just the top inch but the whole pot.
I also stopped using tap water for my Money Tree. My tap water is very hard, and I noticed white mineral deposits building up on the soil surface. Now I use filtered water or rainwater. This is not a strict requirement for every plant, but it helped mine recover.
If you see mold growing on the soil surface after repotting, that is a sign that the soil is staying too wet. Remove the top layer and let the soil dry out more. I had this problem once with a bag of cheap potting mix. Now I always sterilize my soil by baking it in the oven at 180°F for 30 minutes. I know it sounds extreme, but it kills any remaining pathogens.
Another mistake new growers make is to apply fertilizer right after repotting. Please do not do that. Fertilizer can burn damaged roots. I have made this mistake, and I lost a young shoot because of it. Wait at least three weeks after the recovery phase, and then use a half-strength liquid fertilizer.
3 Questions People Always Ask About Recovering Money Tree Roots
1. How long does it take for Money Tree roots to recover?
From my experience, you will see the first sign of new root growth in about ten days after a clean repotting. Full recovery takes a few months. The leaves will not bounce back immediately. But if you see new white roots and then new leaves, you are on the right track.
2. Can I save a Money Tree with no healthy roots left?
That is a tough one. If every single root is mush, you are better off taking a stem cutting from above the rot and rooting it in water. I have done this once, and it worked. I cut a healthy branch with a couple of leaves, let the cut end dry for a day, and placed it in a glass of water. After three weeks, small roots appeared.
For the original plant, if the trunk itself is mushy, there is almost no chance. The infection has likely traveled into the vascular system. You can try trimming the trunk up to healthy tissue, but I have only had success when at least 20% of the roots remained.
3. What is the best soil for a Money Tree after root rot?
Use a very coarse, fast-draining mix. A combination of coco coir, perlite, orchid bark, and charcoal works well. Many commercial cactus mixes are also fine, but I recommend adding extra perlite because most cactus mixes are still too heavy for Money Trees.
Remember to keep the pot small and provide bright, indirect light. A south-facing window with a sheer curtain is perfect in winter. In summer, an east-facing window is even better.
One Last Thing
I am still amazed at how forgiving Money Trees can be. They store water in their trunks, which means they can survive a dry period much better than a wet one. The key is to let the roots dry out fully after you remove the infected soil. Do not rush. Do not water early. Let the plant show you it is ready.
I have owned six Money Trees now, and the one I rescued using this method is still alive. It has grown about eight inches in the last year. I still cringe when I think about my first three plants, but I am glad they taught me such a valuable lesson.
If you are standing in front of your own sick Money Tree right now, take a deep breath. You have already done the hardest part: you identified the problem and removed the infected soil. Now give the roots time to heal. Two weeks of dryness can feel like an eternity, but it is exactly what the plant needs.
Keep an eye on the trunk. Keep the leaves dry. Keep the pot in a place where you can see it every day, but do not touch it too much. And please, do not water on a schedule. Water when the soil tells you to. When you see those new white roots, you will know you did it right.





