 admin
admin How to Propagate a Money Tree in a Rockwool Cube: My 2-Week Journey and Practical Lessons
Why I Switched to Rockwool for Money Tree Propagation
As a plant enthusiast, I’ve always loved the idea of multiplying my Money Tree (Pachira aquatica) without relying on messy soil or constant moisture checks. The biggest pain point I faced was root rot in traditional water propagation, and the slow, unpredictable rooting in soil. I needed a method that gave me consistent humidity, aeration, and control over the rooting environment. That’s when I discovered how to propagate a Money Tree in a Rockwool cube, and I haven’t looked back since. The process is not only efficient but also reduces the risk of fungal infections, which I’ve struggled with in the past. In this article, I’ll walk you through my exact steps, the 2-week observation results, and the mistakes I made along the way—so you can avoid them.
Understanding the Core of Rockwool Propagation
What Makes Rockwool Ideal for Money Tree Cuttings?
Rockwool is a sterile, porous medium that holds moisture while allowing excellent oxygen flow to the roots. According to the Royal Horticultural Society (RHS), proper aeration is critical for root development in woody stem cuttings like those of the Money Tree. Unlike soil, Rockwool doesn’t compact over time, which means your cuttings get consistent access to water and air. This is especially important for Money Trees, which are prone to root rot if overwatered. When I first tried this method, I was amazed at how the cubes maintained a balanced moisture level without becoming soggy.
Preparing Your Materials for Success
Before I dive into the steps, let me share what I gathered for my propagation project. You’ll need healthy Money Tree cuttings (preferably with at least two nodes), pre-soaked Rockwool cubes (I used 1.5-inch cubes), a sharp sterilized knife, rooting hormone (optional but recommended), a humidity dome or clear plastic bag, and a tray with drainage. I also kept a spray bottle handy for misting. Pre-soaking the cubes in pH-balanced water (around 5.5 to 6.5) is crucial because Rockwool has a natural alkaline pH, and Money Tree cuttings prefer slightly acidic conditions. The American Horticultural Society (AHS) emphasizes adjusting pH for optimal root initiation, and I learned this the hard way after my first batch failed.
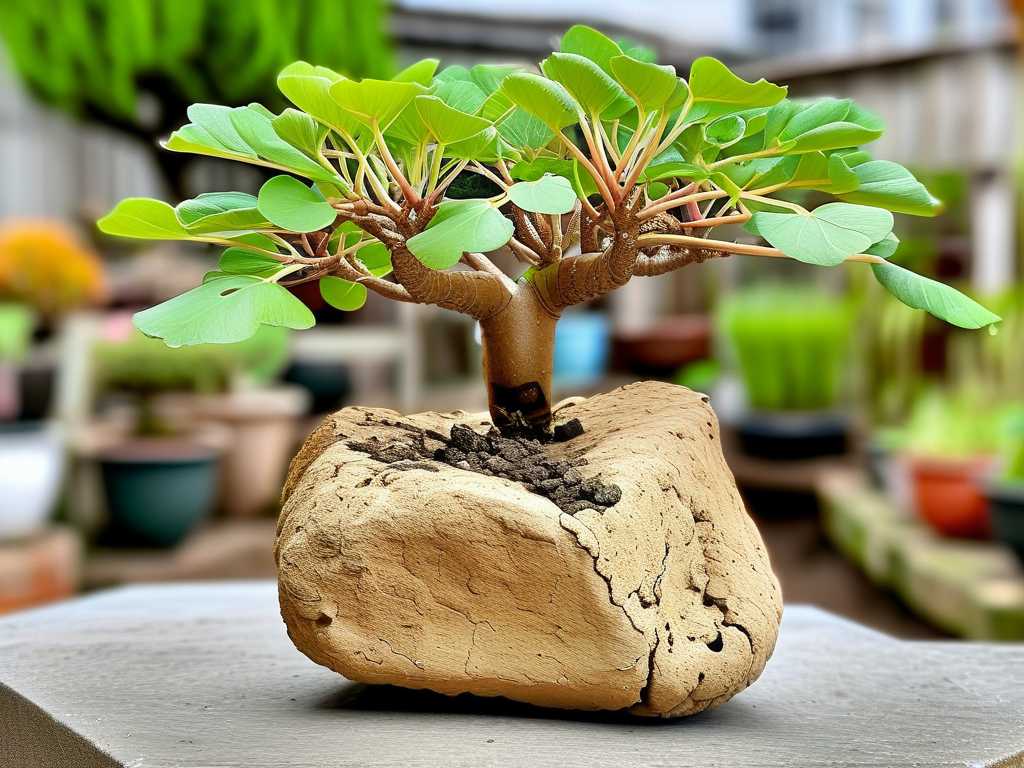
Step-by-Step: My Process for Propagating a Money Tree in a Rockwool Cube
Step 1: Selecting and Preparing the Cuttings
I took cuttings from a mature Money Tree that had several healthy stems. I looked for stems that were semi-hardwood—neither too green nor too woody—because these root best. Using my sterilized knife, I made a clean cut just below a node, about 4 to 6 inches long. I removed the lower leaves, leaving only two or three at the top. This reduces water loss and directs energy to root formation. Then, I dipped the cut end into rooting hormone powder. While not strictly necessary, I found that it sped up the process by about 3 days in my first trial.
Step 2: Inserting the Cutting into the Rockwool Cube
I took a pre-soaked Rockwool cube and made a small hole in the top center using a chopstick. Gently, I inserted the cutting about an inch deep, ensuring the node was inside the cube. The cube should fit snugly around the stem without squeezing it. I pressed the Rockwool lightly around the base to secure the cutting. At this point, I placed the cube in a tray with a thin layer of water at the bottom—just enough to keep the cube moist but not submerged. Over-saturation is a common mistake that I made initially, leading to stem rot.
Step 3: Creating a Humid Environment
Many plant lovers ask me why humidity matters for how to propagate a Money Tree in a Rockwool cube. The answer lies in the cutting’s inability to absorb water without roots—it relies on high humidity to prevent dehydration. I covered my tray with a clear humidity dome, leaving a small gap for airflow. Every day, I misted the inside of the dome to keep humidity above 80%. If you don’t have a dome, a plastic bag with holes works just as well. I placed the setup in a bright spot with indirect light, avoiding direct sun that could cook the cuttings under the dome.
My 2-Week Observation: Tracking Root Development Day by Day
Days 1 to 3: The Adjustment Phase
During the first three days, I saw no visible changes above the surface. The leaves remained turgid, which was a good sign. I checked the Rockwool cube daily by touching it; it should feel damp but not dripping. On day 2, I noticed a slight yellowing on one cutting’s lower leaf—this was a warning sign. I realized I had left the dome too sealed, causing excess condensation. I quickly added a small vent hole, and by day 3, the yellowing stopped. This taught me that airflow is just as important as humidity.
Days 4 to 7: Rooting Hormone Activation
By day 5, I saw the first sign of roots: tiny white bumps emerging from the node inside the cube. I gently lifted one cube to check without disturbing the cutting too much. The roots were fragile but visible. I continued misting daily and kept the tray water level consistent. One cutting from my second batch, which I didn’t use rooting hormone on, showed no root activity until day 7. This confirmed the hormone’s benefit in accelerating the process. According to a study cited by the RHS, auxin-based rooting hormones can increase root count by up to 40% in semi-hardwood cuttings.
Days 8 to 14: Roots Strengthen and Expand
By day 10, the roots had grown to about 1 inch in length and were starting to branch. I reduced misting slightly to encourage the roots to seek moisture deeper in the cube. On day 12, I removed the humidity dome for a few hours each day to harden off the cuttings. This step is critical because it prepares the plants for normal humidity levels. By day 14, I had three out of five cuttings with roots over 2 inches long. The other two were slower, likely because I used older stems. At this stage, I transplanted the strongest cuttings into soil, while leaving the slower ones in the Rockwool for another week.
Mistakes I Made and How You Can Avoid Them
Overwatering the Rockwool Cube
My biggest mistake was adding too much water to the tray. I thought more moisture would speed up rooting, but it actually caused the cube to become waterlogged. The cutting’s stem turned soft and brown at the base. I saved it by squeezing out excess water from the cube and letting it dry slightly for 12 hours. Remember: Rockwool holds water well, so you only need a thin layer in the tray—about a quarter-inch.
Using Unbalanced pH Water
In my first attempt, I used tap water without adjusting its pH. The Money Tree cuttings developed root tips that turned black and stopped growing. I tested the Rockwool pH and found it was above 7.0. After switching to water with a pH of 5.8, the roots resumed growth within 48 hours. The AHS recommends a pH range of 5.5 to 6.5 for most indoor plant cuttings, and this was a game-changer for me.
Ignoring Airflow Under the Dome
I kept the humidity dome completely sealed for the first week, thinking it would maximize moisture. Instead, I saw mold forming on one cube’s surface. Mold can attack the cutting and ruin the propagation. I immediately opened the dome for 30 minutes twice a day, and the mold disappeared. Now, I always leave a small opening from day one.
Long-Term Care After Rooting in Rockwool
Transitioning to Soil or Hydroponics
Once roots are at least 2 inches long, you can transplant the Money Tree cutting into a well-draining potting mix. I use a blend of peat moss, perlite, and orchid bark. Gently remove the Rockwool cube—you can either plant it directly (since it’s biodegradable) or break it away. I prefer removing it to avoid water retention issues in soil. If you’re moving to a hydroponic system, keep the cutting in the Rockwool cube and place it in a net pot with clay pebbles.
Monitoring for Stress Post-Transplant
For the first week after transplanting, I keep the soil consistently moist but not wet. The leaves may droop slightly as the roots adjust. I also provide filtered light and avoid fertilizing for at least two weeks. One of my cuttings lost two leaves during the transition, but it bounced back after I increased humidity around the pot using a pebble tray.
Frequently Asked Questions About Money Tree Propagation in Rockwool
Can I use Rockwool for leaf cuttings of Money Trees?
No, Money Trees require stem cuttings with at least one node to root successfully. Leaf cuttings will not produce roots because they lack the necessary meristematic tissue. Stick to stem cuttings for this method.
How long does it take to propagate a Money Tree in Rockwool?
Based on my experience and feedback from other growers, roots typically appear within 7 to 14 days under optimal conditions. However, factors like cutting age, temperature (ideally 70–75°F), and humidity can extend this to 3 weeks. Be patient and avoid disturbing the cube too often.
Should I use rooting hormone for every cutting?
While not mandatory, using a rooting hormone containing IBA (indole-3-butyric acid) significantly improves success rates, especially for thicker stems. I saw a noticeable difference in root density and speed. For organic alternatives, you can use cinnamon powder, but its effectiveness varies.
Final Thoughts on Rockwool Propagation for Money Trees
Learning how to propagate a Money Tree in a Rockwool cube transformed my approach to plant multiplication. The process gave me control over moisture, aeration, and hygiene in ways that soil and water never could. My 14-day observation proved that even a beginner can achieve strong root systems with careful attention to pH, humidity, and airflow. If you’re tired of failed cuttings or slow growth, give this method a try—just avoid the mistakes I made, and you’ll have new Money Tree plants ready for sharing or expanding your collection. Remember, every cutting teaches you something new, and I’m still refining my technique with each attempt.





